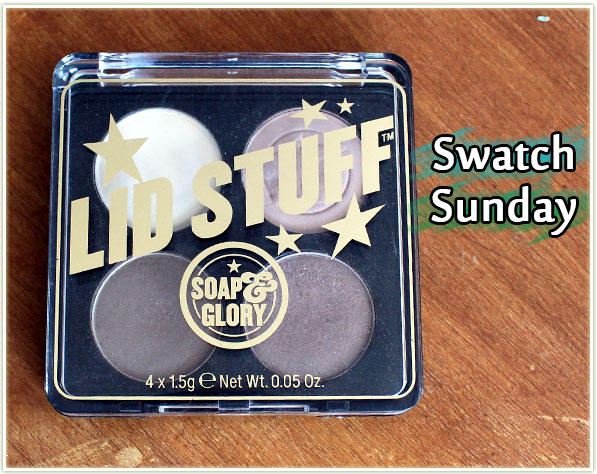
So the sad news is that Soap & Glory makeup products aren’t actually available in Canada (to my knowledge!), but my goddamn it… they sure are pretty. While Canada has the skincare, we just don’t have access to the makeup. As a result, I have to pick up the makeup products when I’m overseas. I grabbed (read: launched myself at the display in Boots) this lovely quad while I was on a layover at Heathrow late last year and it’s so damn versatile. This is the dude you want to take on vacation with you, cuz he can cover any situation.
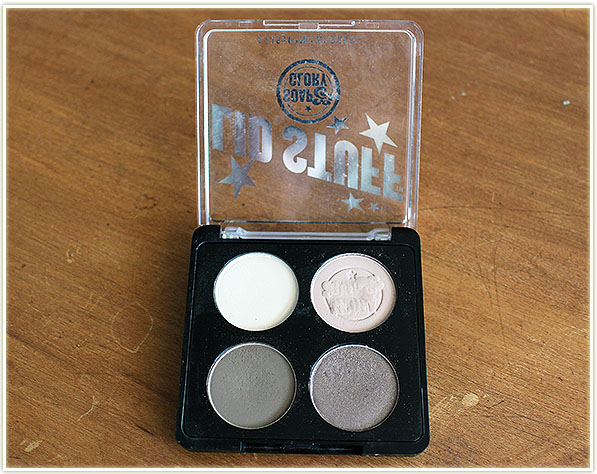
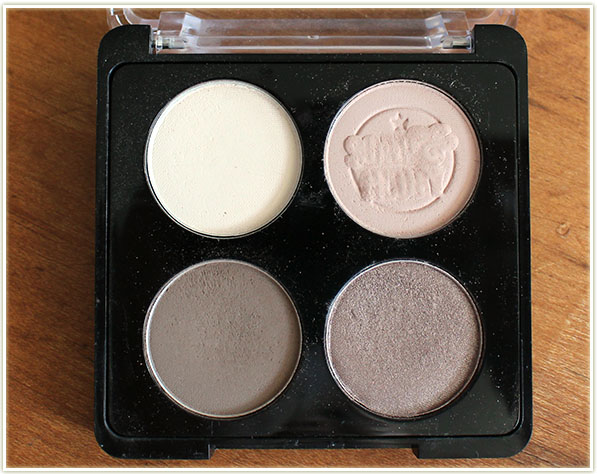
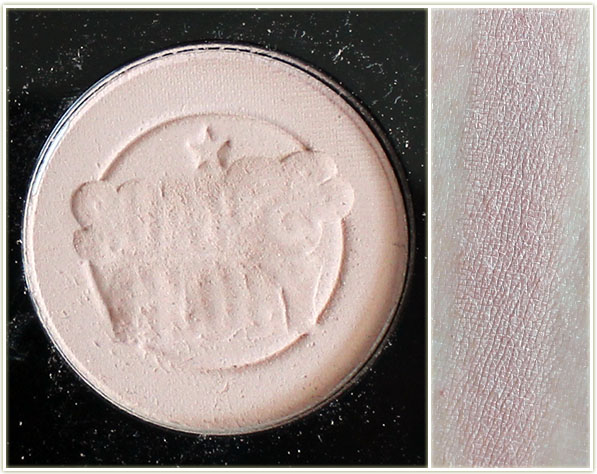
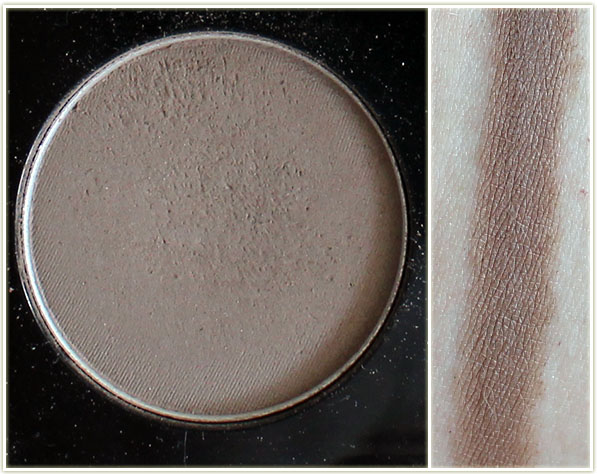
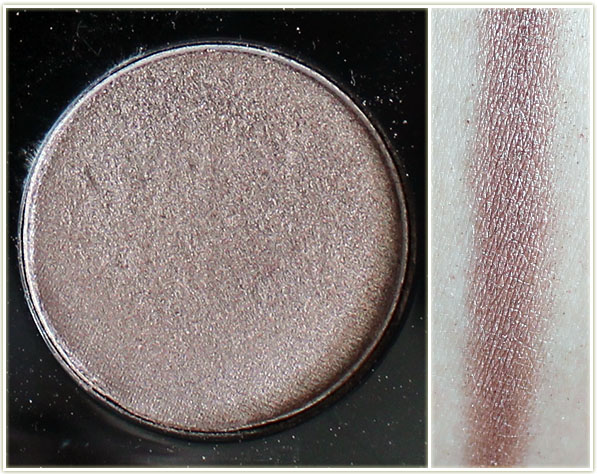
Say hello to Soap & Glory Lid Stuff quad in What’s Nude.
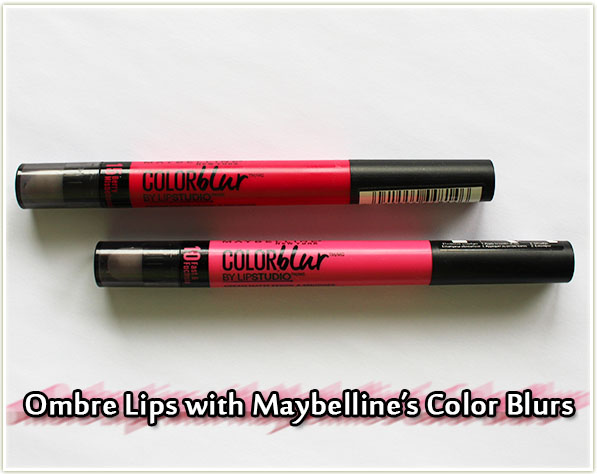
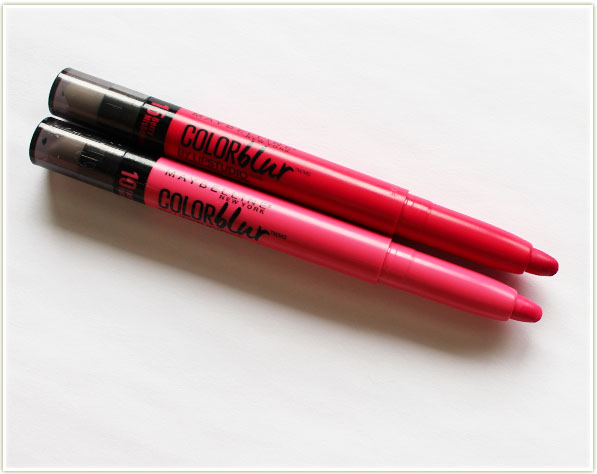
You may have noticed the MaybellineColor Blurs have started popping up at drugstores across Canada lately. It’s a lineup of fairly awesome bright matte colours.
Bright, matte colours? Take me now!
Maybelline Color Blurs
Currently available in ten shades; the Color Blurs range from several shades of pinks to some dark reds. There’s an orange and a plum thrown into the mix as well.
Maybelline Color Blurs
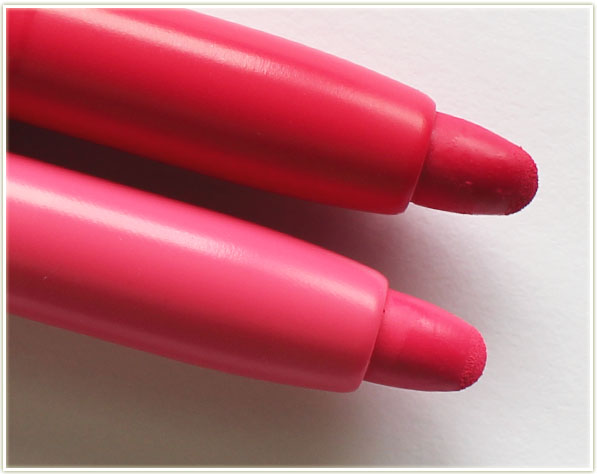
So what’s the deal with the Color Blurs? Well, it’s a twist up product (twist from the BOTTOM! It’s weird, but that’s how it works!) similar to the chubby lip crayons that have been popular for quite while now. Thankfully these are on the much thinner side which means they are a lot easier to apply to the lips (for me anyway) and you can get a much more precise line.
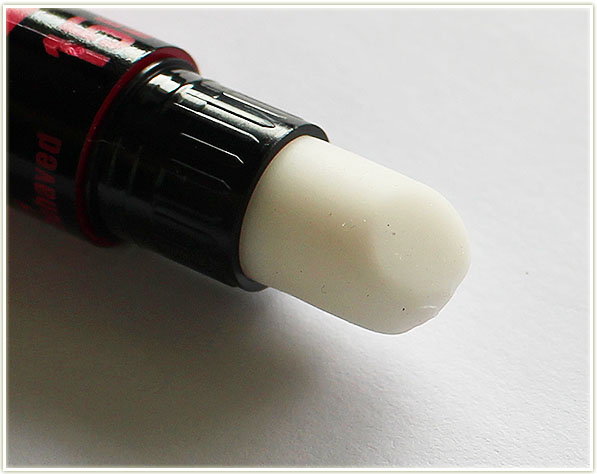
Maybelline Color Blurs – Smudger
On the opposite end is a soft rubbery smudger intended to help give you a blown out/blurred look.
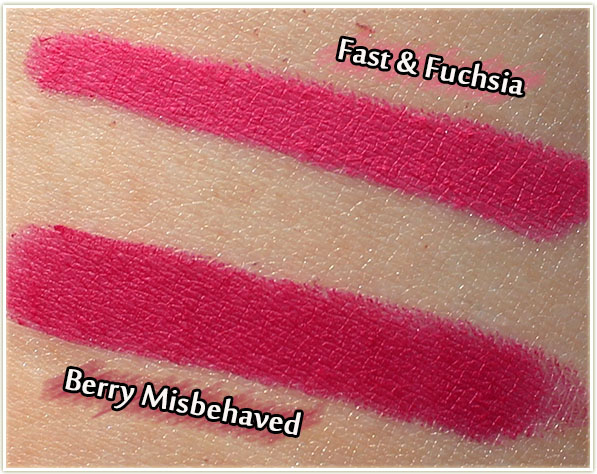
Maybelline Color Blur in Fast & Fuchsia and Berry Misbehaved
The colours are opaque on the lips in one swipe and pack one hell of a colour punch. I mean, look at the swatches – that’s a LOT of colour!
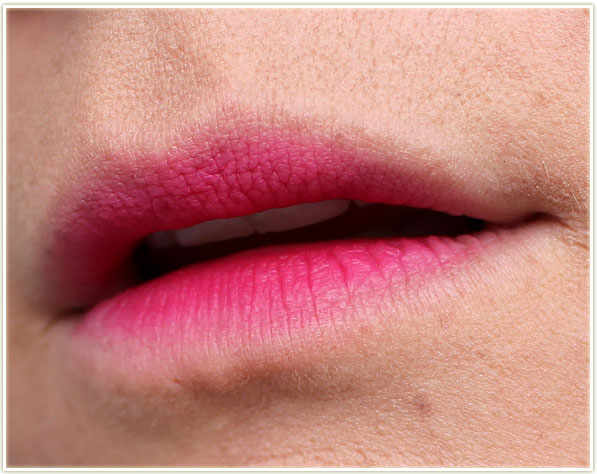
Maybelline Color Blur Berry Misbehaved – Smudged Application
In keeping with Maybelline‘s recommendation with these products, I applied a little bit of the Color Blur in Berry Misbehaved to the inside edge of my lips. I then used the smudger to blur out the edges towards the outside of my lips. It’s a bit on the high maintenance side, but it actually produces quite a beautiful effect. I looked into it a bit more and it seems to be a lip trend that started in Korea last year (2014) and it’s started to seep into North America trends recently. It’s supposed to give you that “been eating a popsicle” look. It’s a reverse ombre in my eyes, and I think that makes this trend fairly unique.
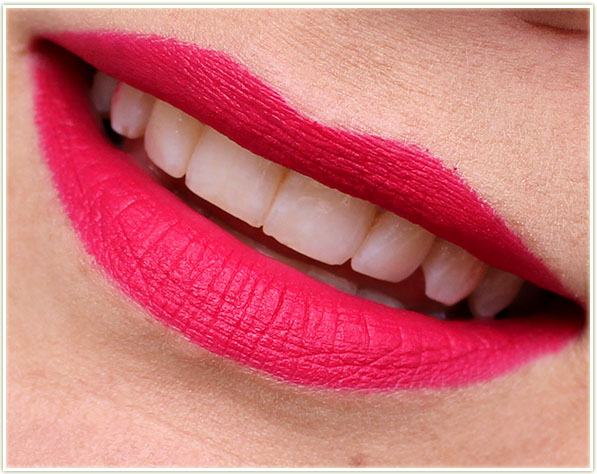
Maybelline Color Blur Berry Misbehaved – Full On Application
Of course, if you want full colour impact, you can absolutely achieve that with this product. And my god how it delivers.
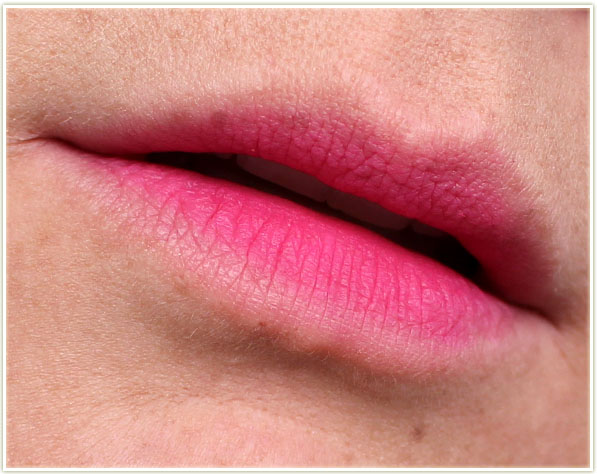
Maybelline Color Blur Fast & Fuchsia – Smudged Application
Here’s how the second shade (Fast & Fuchsia) looks blurred out. It’s a slight bit softer than Berry Misbehaved, but I personally don’t notice much of a colour difference when it’s applied this way.
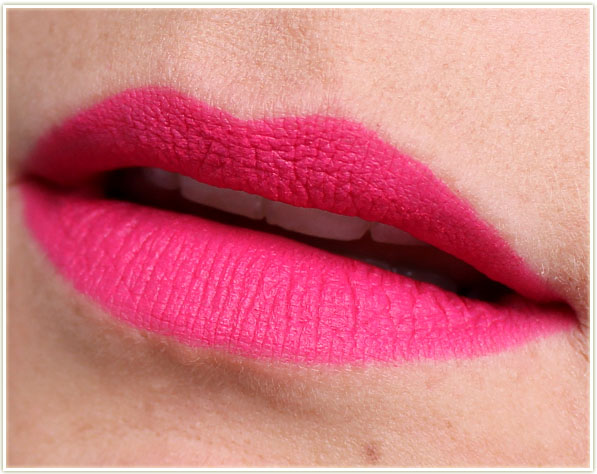
Maybelline Color Blur Fast & Fuchsia – Full On Application
However, with a full application, you can definitely see the difference between the two shades.
Final Thoughts
Whether you’re looking for the blurred effect that Maybelline suggests, or are just seekingr a new vibrant matte colour for your lips, these Color Blurs absolutely deliver. They are smooth and feel soft on the lips. They don’t drag or feel chalky which is an absolute blessing in a matte lip products. They also provide full colour opacity in one swipe. The Color Blurs are scent-free, so if you’re not a fan of Maybelline‘s traditional sweet scent these will absolutely make you happy!
And the smudger? I totally scoffed at it when I first saw it thinking I could produce a better result with my fingertip. I was wrong – that smudger is golden for getting that soft blurred out line. Be sure to wipe it off between uses so you have a clean smudger every time you start blurring out your edges for that ombre look.
In case you hadn’t guessed, I give the Color Blurs two very enthusiastic thumbs up!
This post features press samples sent for consideration.
The Too FacedA few of my Favorite Things palette was released during the 2013 holiday season and it is one I hold near and dear to me. The variety of colours within the palette make for multiple fantastic looks and being that it has two blushes and two bronzers, it’s also a fantastic travel palette (I took it Prague and Vienna with me last year). Should you ever discover this palette in a blog sale or something – definitely snatch it up! If you need inspiration to use this palette, I did Challenge Week over a year ago using it.
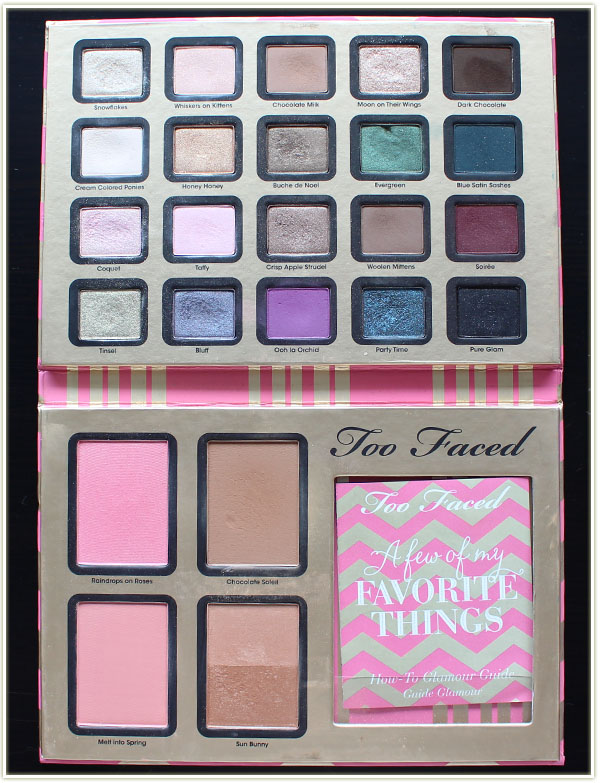
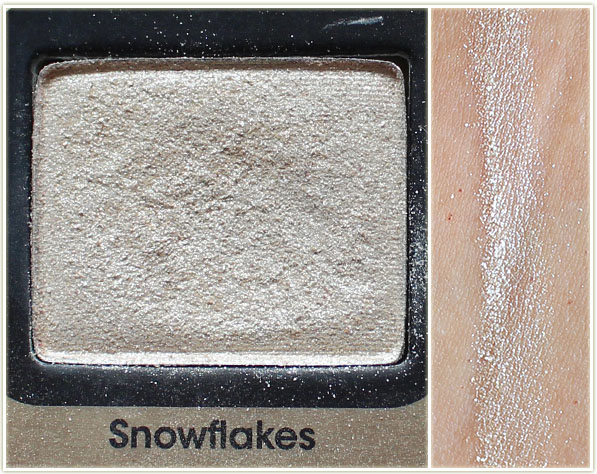
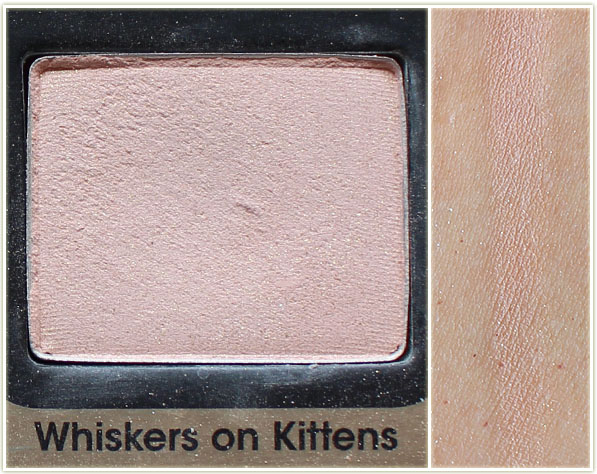
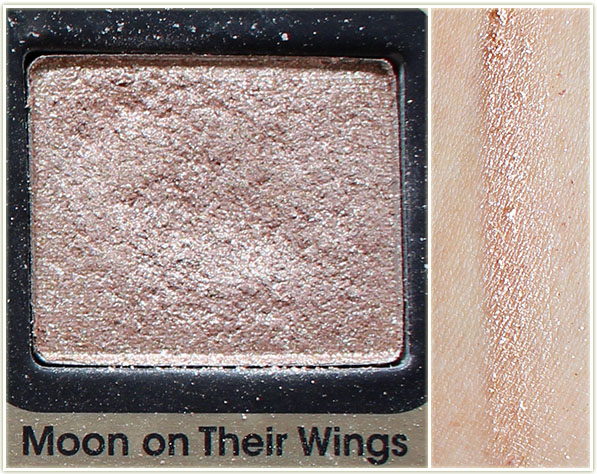
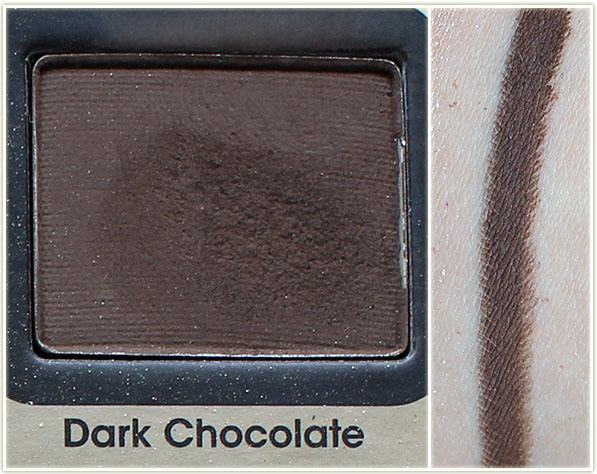
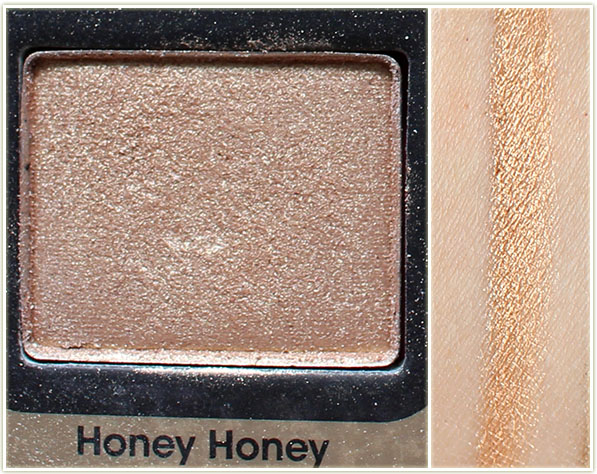
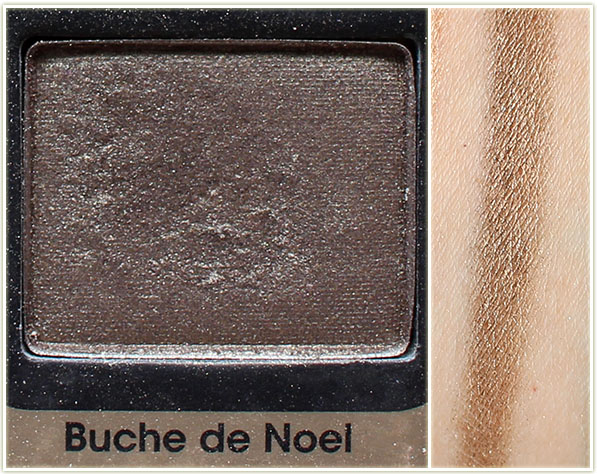
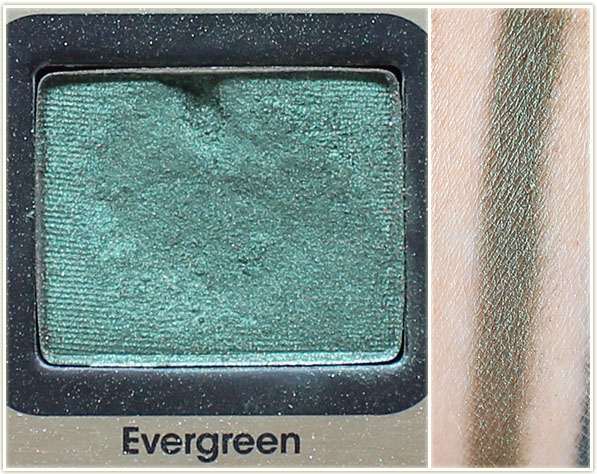
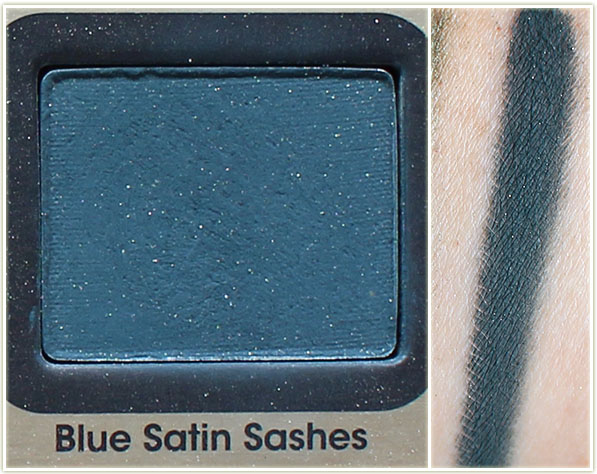
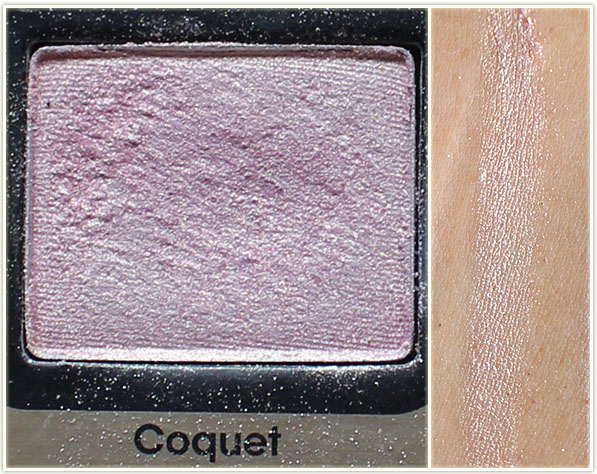
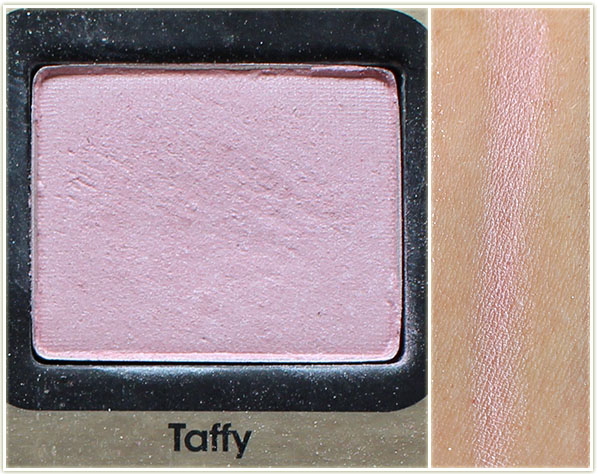
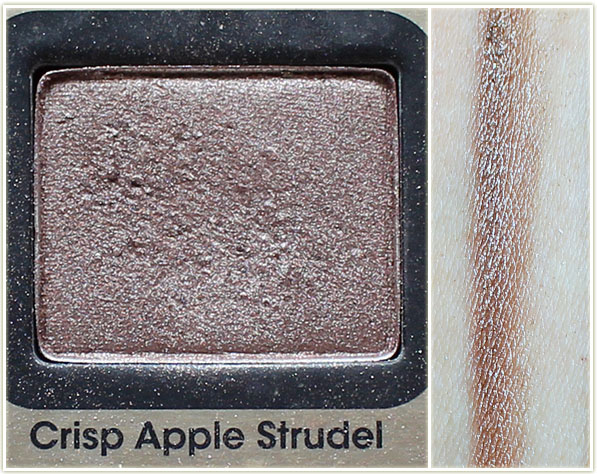
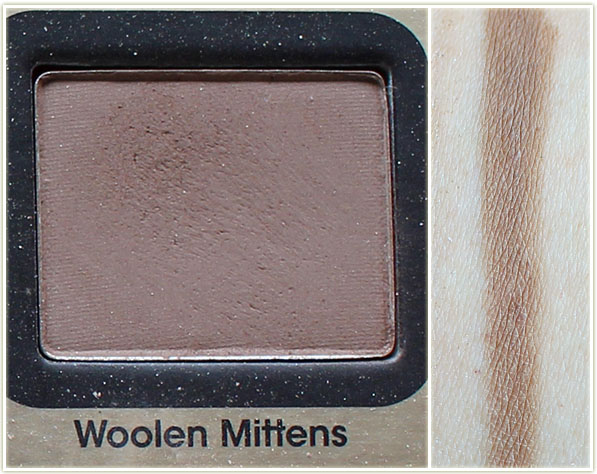
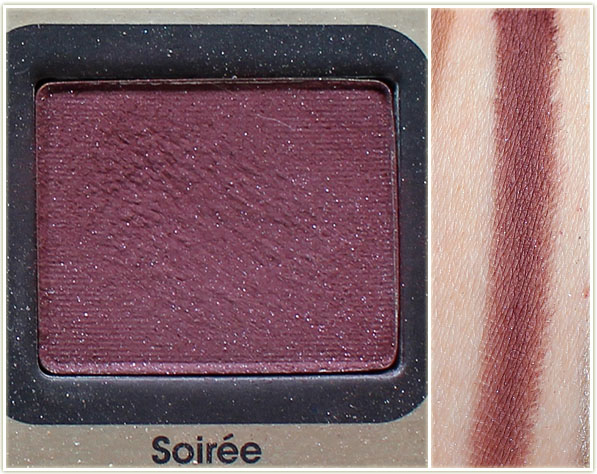
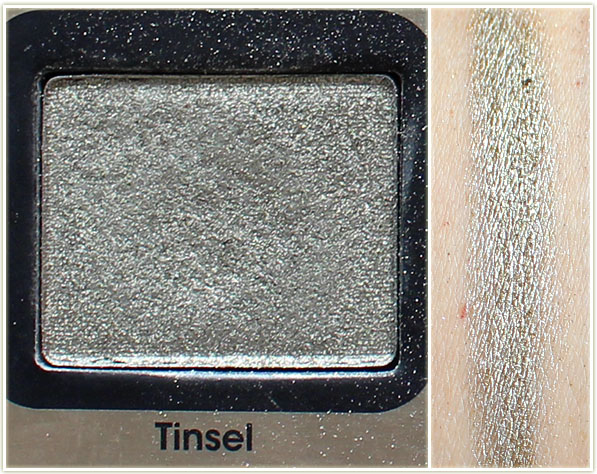
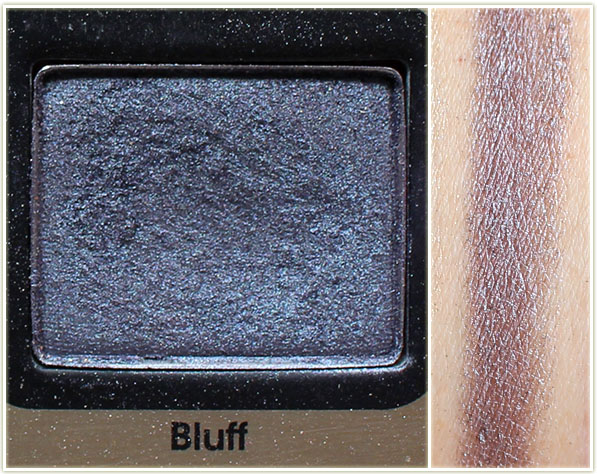
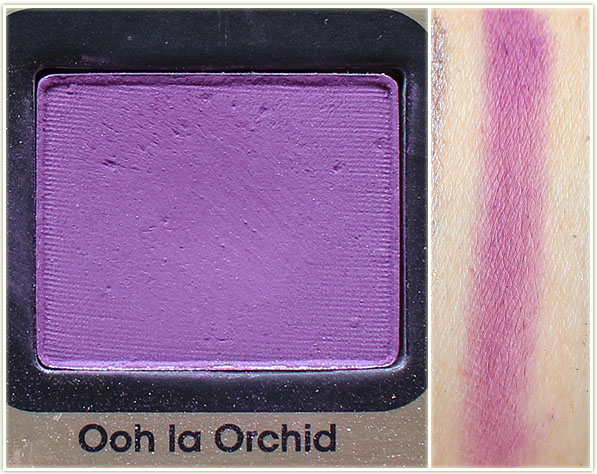
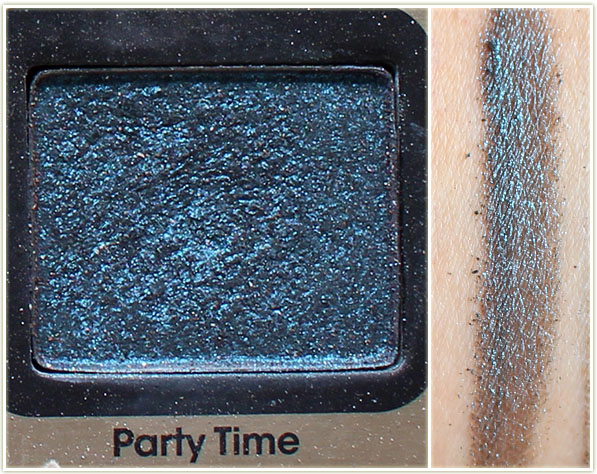
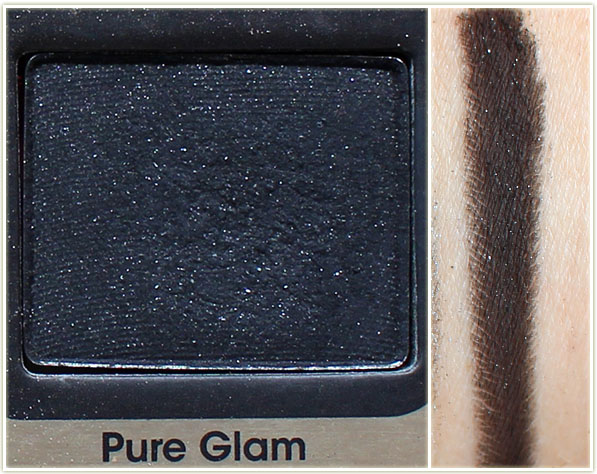
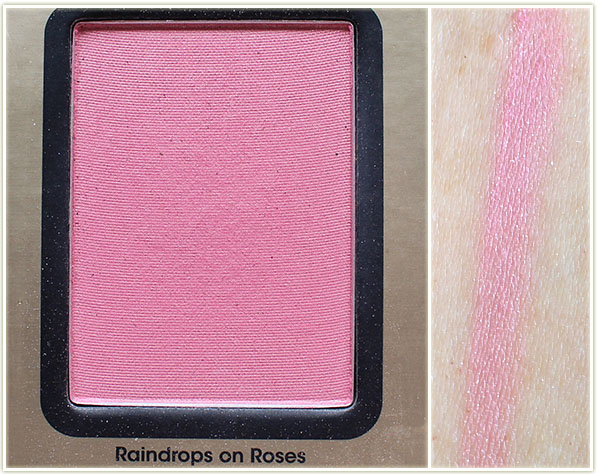
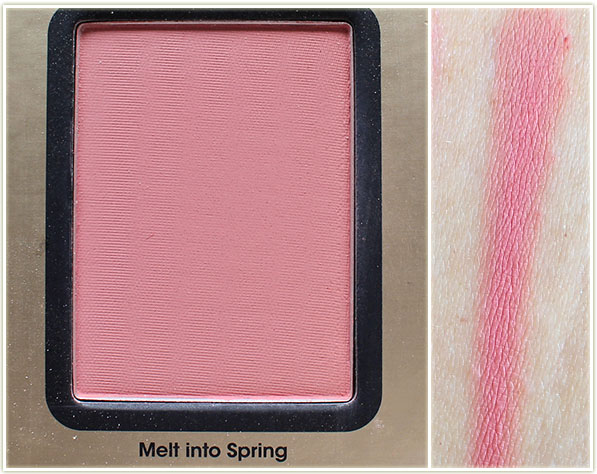
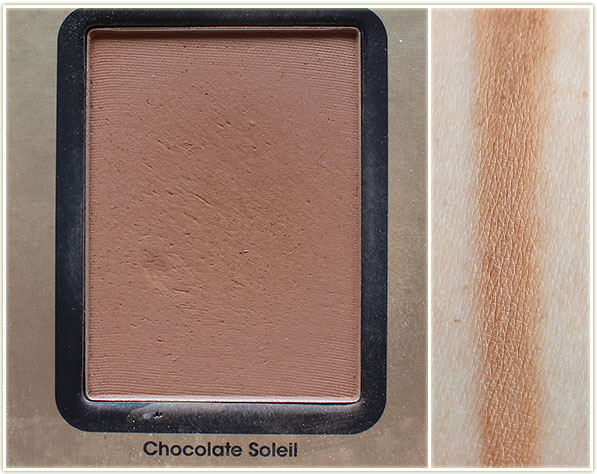
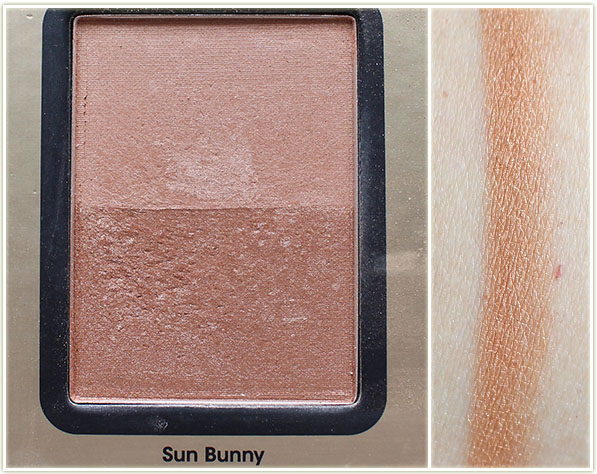
Too Faced – A few of my Favorite ThingsToo Faced – SnowflakesToo Faced – Whiskers on KittensToo Faced – Chocolate MilkToo Faced – Moon on Their WingsToo Faced – Dark ChocolateToo Faced – Cream Colored PoniesToo Faced – Honey HoneyToo Faced – Buche de NoelToo Faced – EvergreenToo Faced – Blue Satin SashesToo Faced – CoquetToo Faced – TaffyToo Faced – Crisp Apple StrudelToo Faced – Woolen MittensToo Faced – SoireeToo Faced – TinselToo Faced – BluffToo Faced – Ooh La OrchidToo Faced – Party TimeToo Faced – Pure GlamToo Faced – Raindrops on RosesToo Faced – Melt into SpringToo Faced – Chocolate SoleilToo Faced – Sun Bunny
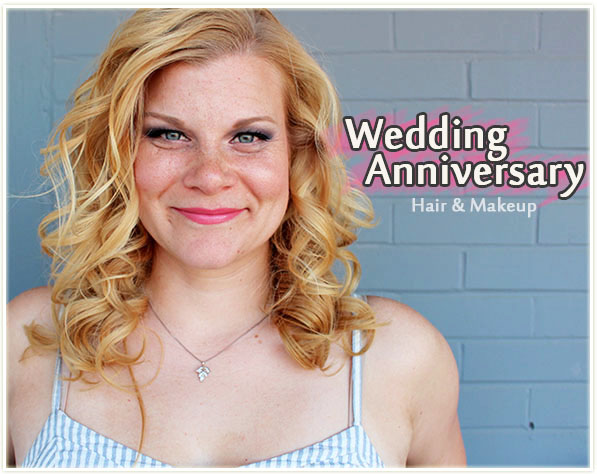
My fifth wedding anniversary was in July, and we had a lovely dinner out in Toronto. I kept it fairly simple: I curled hair (my husband’s favourite style on me) and did some makeup that semi-matched what I was wearing (because really, I have no idea how to do this contrasting business).
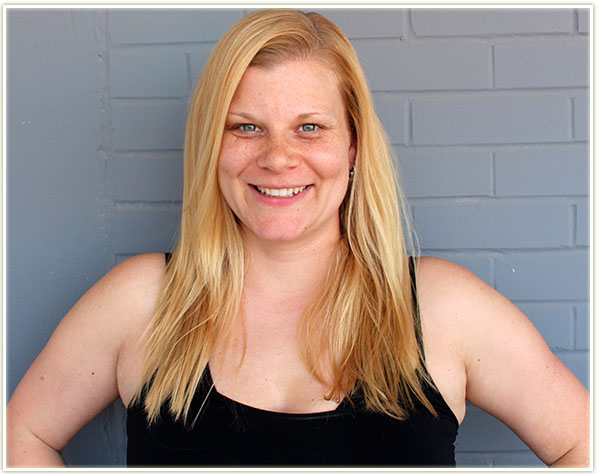
So I took it from this:
No makeup, freshly washed and dried hair
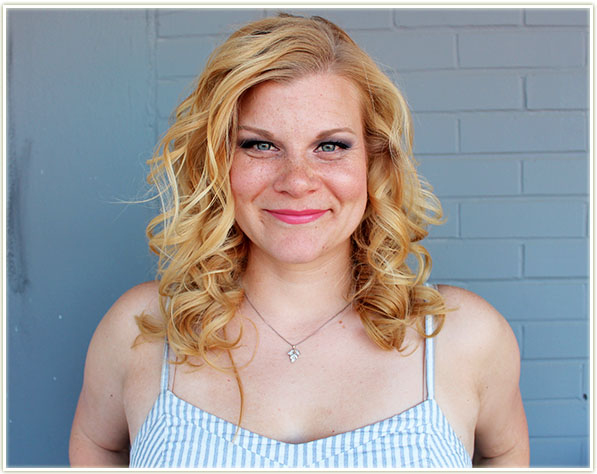
To this:
Tada!
And here’s how I did it:
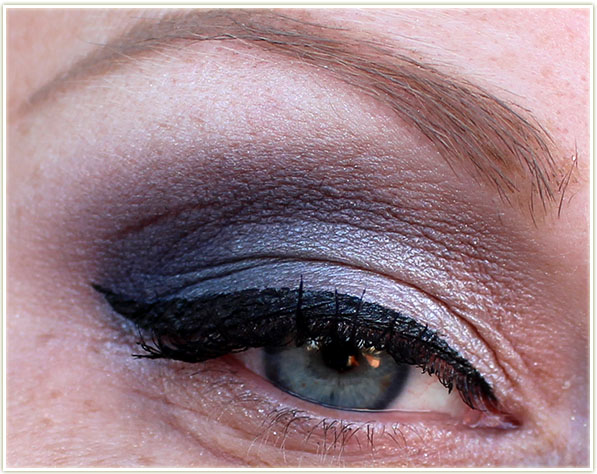
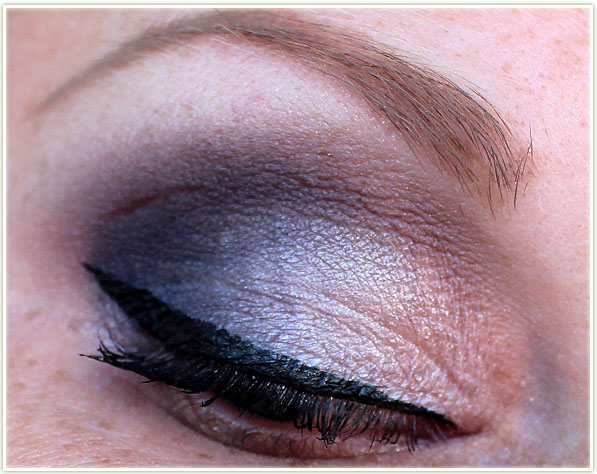
Urban Decay Vice 3 palette eye look
I always start out with doing my makeup first- it’s the most time consuming portion and the one I have the most fun doing. I also hate having my hair in my face when I’m trying to blend foundation (although, in hindsight, I didn’t apply any for this night out) because it’ll inevitably end up in my hair!
Urban Decay Vice 3 palette eye look
I didn’t really have anything planned out for our anniversary, so I opted to use a palette I don’t get around to using as much as I wish I did! Using the Urban DecayVice 3 palette (the 2014 holiday release), here’s what I did:
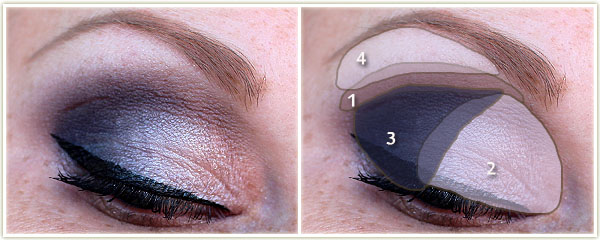
Urban Decay Vice 3 palette eye look
Eyes
Undone through the crease to make blending easier.
Bobby Dazzle and Last Sin mixed together and packed all over the lid.
Heroine in the outer corner and dragged through the crease.
I used the Hourglass Ambient Lighting powder in Ethereal Light to highlight the brow bone.
I then created the wing with Kat Von D‘s Tattoo Liner in Trooper and applied Make Up For EverSmoky Stretch mascara to my lashes.
Rest of the Face
Bronzer: Hard CandyHula Hula
Blush: HourglassDiffused Heat
Highlighter: BeccaChampagne Pop
Lips: Bite BeautyFig
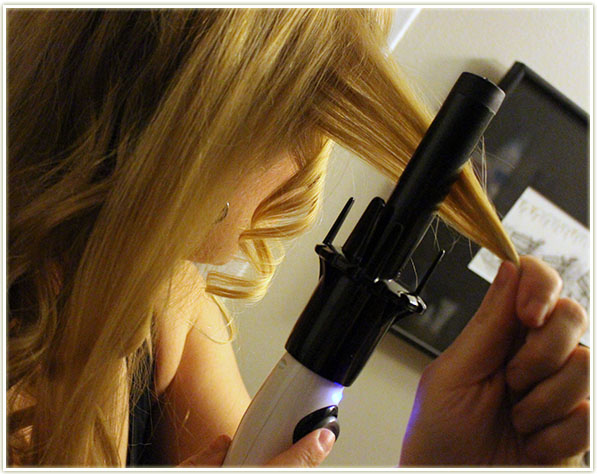
Using the KISS InstaWave hair curling tool for the first time
With my makeup done, now was the time to tackle my hair. I had never tried the KISSInstaWave hair curling tool before and was really curious to see how it would compare to my normal technique of using a flat iron to create my curls.
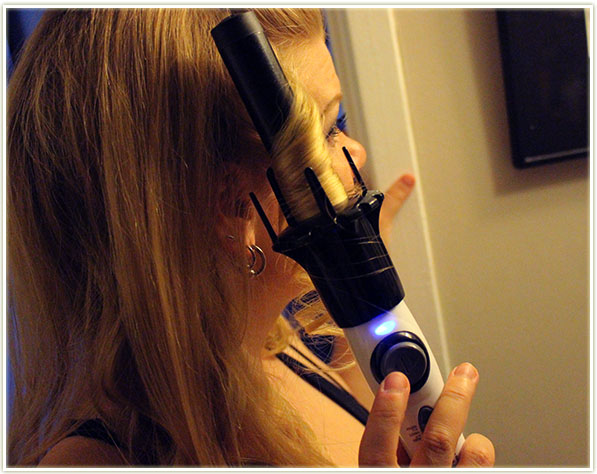
Using the KISS InstaWave hair curling tool for the first time
The tool has a button that spins the barrel either clockwise or counter clockwise. The spokes you see at the base of the wand help to corkscrew your hair onto the barrel and keep it in position. To get your hair to spin into place on the barrel, all you need to do is hold a section of hair perpendicular to the barrel, hit the button to rotate the wand, and it’ll automatically suck your hair on the barrel and curl it whichever direction you chose. I let the hair sit for a little bit on the barrel before I release it.
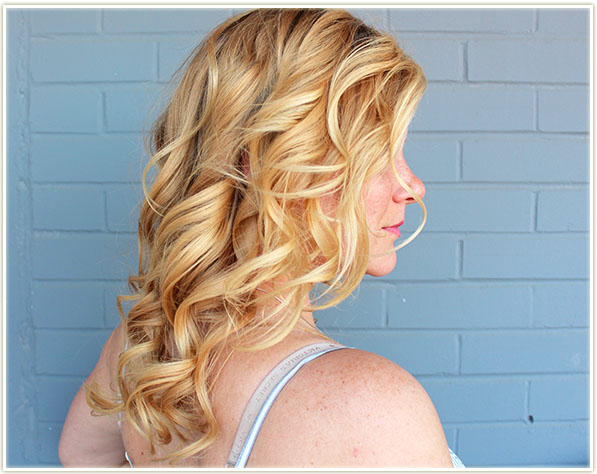
Beautiful curls!
Et voila! Ringlet curls! I don’t brush them out because I prefer them tighter and they’ll relax over time anyway. My first impression is that I think the KISS InstaWave is pretty decent for people who aren’t great at curling their hair – it a foolproof product since it does the whole wrapping motion for you. It also heats up lighting fast.
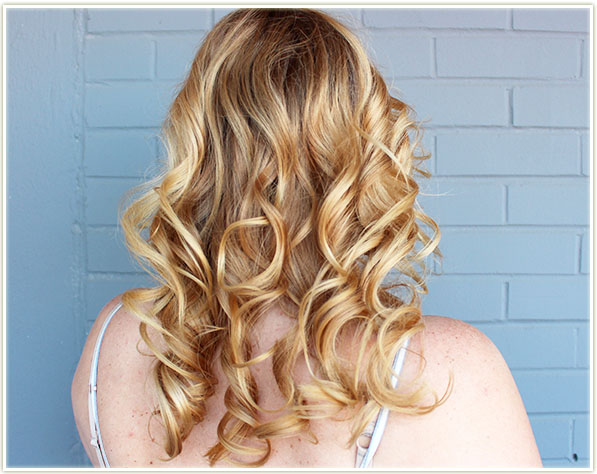
It’s even pretty easy to get everything at the back of your head too!
I think it’s awesome that it rotates both ways so you can choose what style you’re going for without having to crane your arms and neck. It also doesn’t clamp your hair like a flat iron or a true curling iron does so keep that in mind. For those of you who want a much tighter curl at the root, this won’t get you that. However, because it’s not as tight at the root, nor does it clamp your hair, you may actually save yourself a little bit of heat damage there (although that’s not something I’m personally that fussed about).
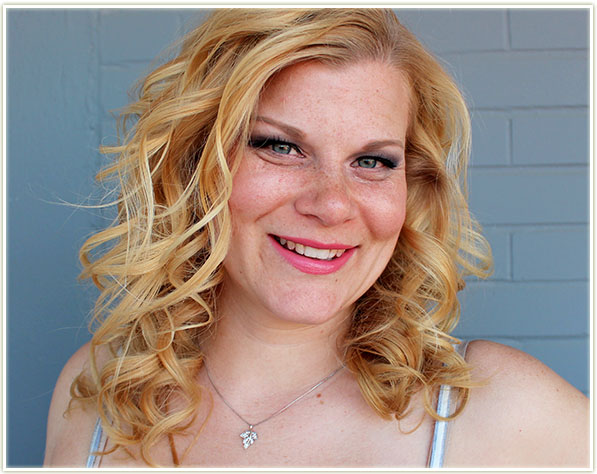
End result!
I sprayed my hair with a bunch of hairspray to make sure my hair stayed in place (it was a pretty humid night) and there we go! All done!
The KISS InstaWave hair curling tool was sent to me for consideration.
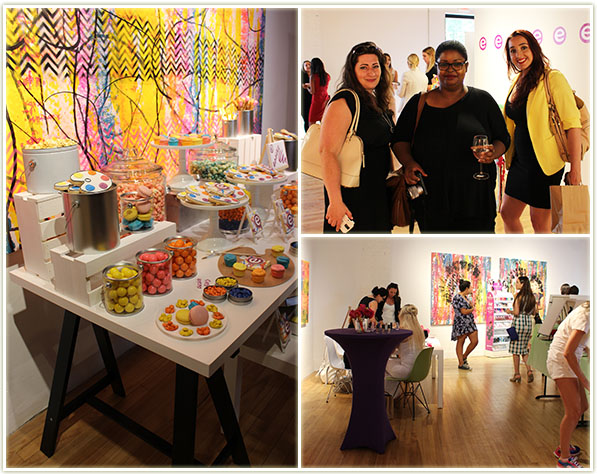
A few weeks ago I was invited to check out essence‘s upcoming Fall and Winter 2015 products. It was a preview of sorts, along with a Paint Nite! This is the second essence event I’ve been to (the first being princess themed) but so far each of them has had a fairly impressive theme. Not only do the decorations, candy, food and drink all fit the theme, but they even go all out with activities. It’s a lot of fun going into an event knowing there’s a plan to do something, not just a product show and tell!
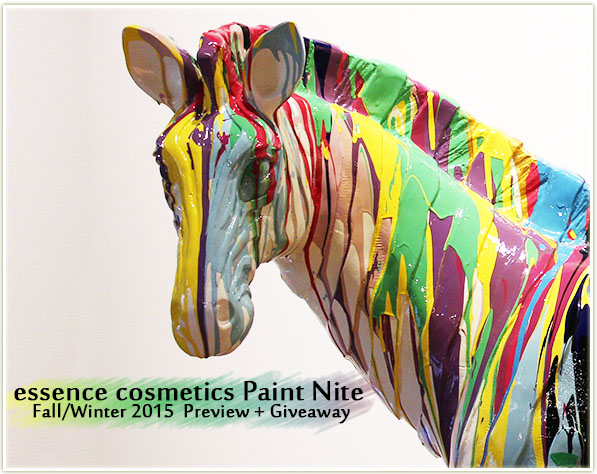
essence Paint Nite!
While we stuffed us ourselves with candy, we took a peek at some of the upcoming products essence is featuring through the next two seasons.
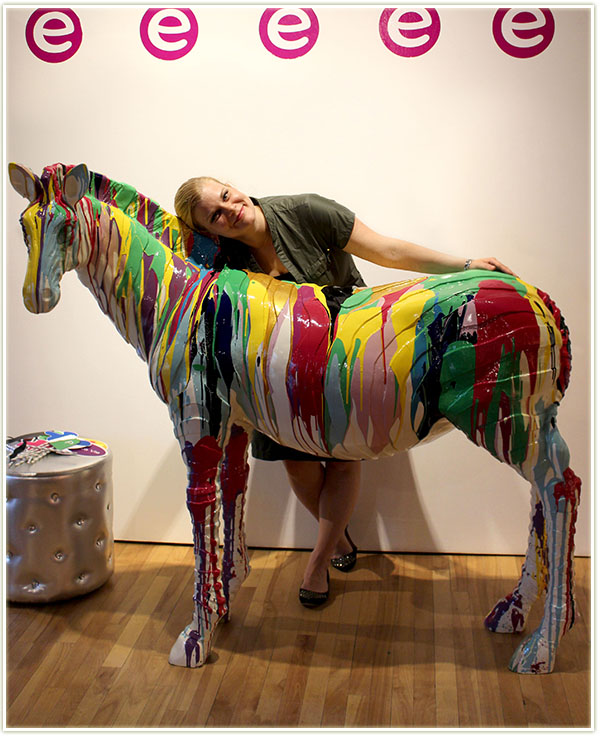
I *loved* this splattered zebra so much!
There are some shade updates to essence‘s regular line (eyeshadows, lip liners and lipsticks), but there are also a bunch of new products to look out for as well. The ones I’m most looking forward to trying out are their Sun Club Shimmering Bronzing Powders (because I love me some bronzer), the Lash Princess False Lash Effect mascara (because I really liked the original Lash Princess mascara quite a bit) and the Eyebrow Fixing Pencil (it’s a wax stick in pencil format!).
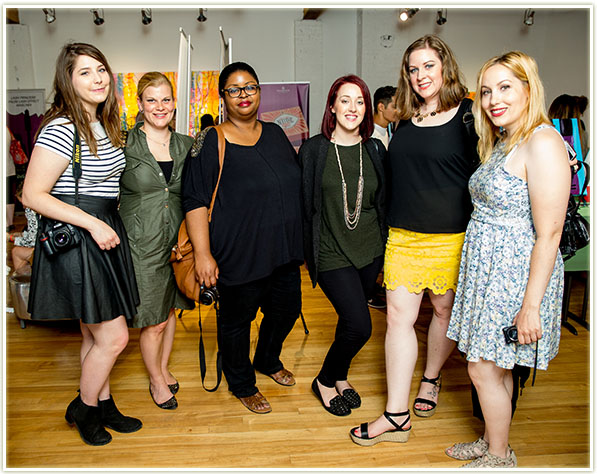
Shawna of Spill The Beauty boasting some pretty awesome painting skills at Paint Nite!
Just a bunch of Canadian Beauty Bloggers hanging out!
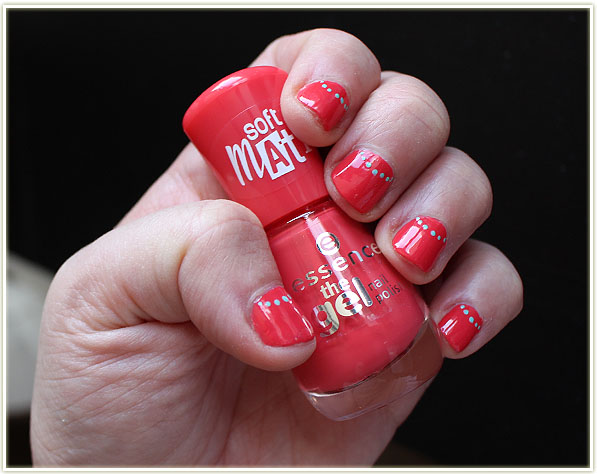
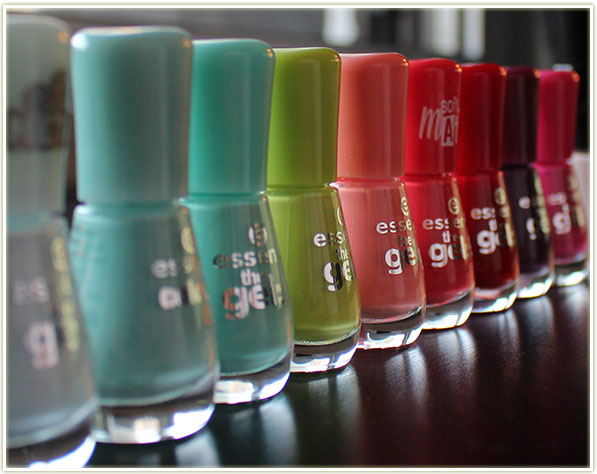
The biggest thing out of the Fall/Winter 2015 preview was the news that essence has completely redone their nail polish line. While the bottles and brushes (yay!) are thankfully the same, the formula has been updated. The entire line now sports a gel finish but is easy to remove with normal nail polish remover. As a complete amateur when it comes to nail polish, the only thing I can really say is that you get a shiny finish without having to cure it under some kind of lamp.
Manicure courtesy of the essence event
What I experienced with this new gel polish is a gorgeous finish that lasted longer than any nail polish I have experienced in recent memory. The polish job above was done on me by a nail technician at the event using all essence products and the manicure lasted EIGHT WHOLE DAYS. And even then, there was only one chip (because I picked at my nail) and very minor tip wear. I was beyond incredulous – that’s amazing longevity!
Giveaway Time!
One of my Canadian readers is going to be very lucky because I am giving 21 polishes from essence‘s new line up. We were gifted these at the event, but I’m not enough of a regular nail polish wearer to justify keeping these for myself. I want someone to win these who will actually use them! This giveaway is open exclusively to Canadians because shipping nail polish outside of the country is not on my list of favourite things I like to do. (The long story there is that some countries do not accept mail that has nail polish because it has alcohol in it and I’m afraid there’s no worldwide listing as to which countries do, or do not accept it.)
Details
Open to Canadians only!
Giveaway starts on August 5, 2015 and runs for two weeks.
One winner will receive the following 21 shades of nail polish by essence:
01 absolute pure
06 space queen
07 party princess
09 # lucky
16 fame fatal
18 fly firefly fly
24 indian summer
27 don’t be shy!
33 wild white ways
40 play with my mint
46 black is back
47 va-va-voom
49 turn the lights on!
52 amazed by you
146 that’s what i mint!
I <3 trends
02 i nude it
03 i’m lost in you
10 nude sweet nude
gel nail polish base coat
gel polish top coat
Please be aware that all entries will be double checked to ensure fairness.
Once the winner has been contacted, they will have 48 hours to provide me with their Canadian mailing address. If the winner fails to respond within that time frame, I will pick another winner. (And so on.)