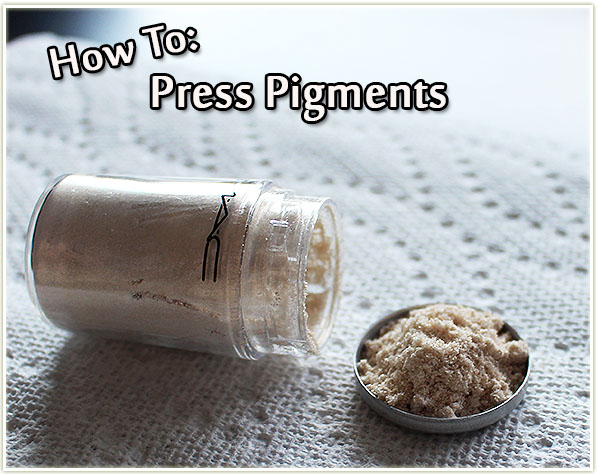
Shawna over at Spill The Beauty was asking me about how I press my pigments one day and I thought I’d just go ahead and dedicate a whole post to the process. If you’re like me, you find that pigments are a freaking disaster to deal with. They’re unnecessarily messy – I often end up with more pigment on my furniture, than I do on my lids! To solve this problem, I press all of my pigments.
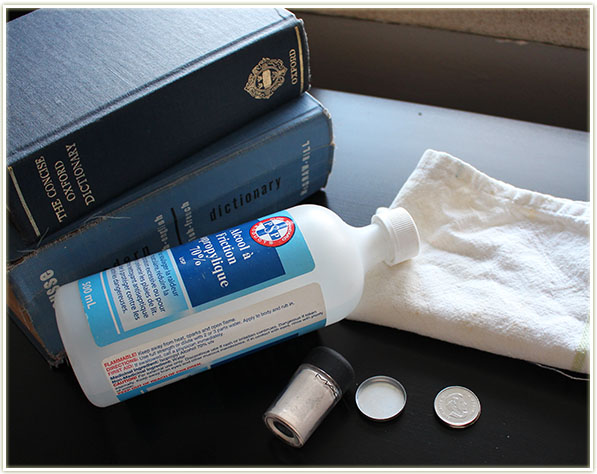
The key ingredients to pressing any pigment are plain old rubbing alcohol (I bought that enormous bottle for something like $3), an empty shadow pan (this is from an old MACeyeshadow I had finished), a couple of quarters, a few heavy books to press the actual shadow, and a clean dish towel. And of course, whatever pigment you’d like to press! In general, I find that shimmers are the easiest pigments to press. Mattes can go a bit dusty (although it’s still feasible) and glitters are a total no no.
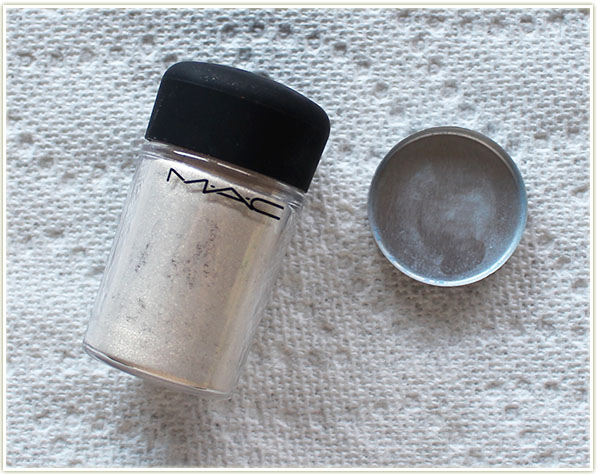
Alright, let’s get to it! Take your empty shadow pan and clean of any remaining dusty shadow particles.

Pile your pigment high into the pan. The more you can get in there, the better. We’ll be adding alcohol to this and it’ll soak down the pigment. The shot above shows you how much I put in initially, but that’s barely enough for half the pan. You need far more pigment than you think you do to press one into such a tiny pan.
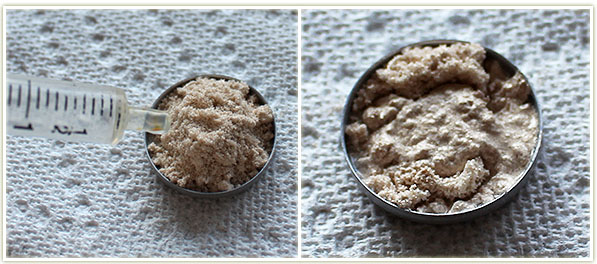
I then add rubbing alcohol via a dropper directly to the pigment in the pan. There’s no rhyme or reason to this and unfortunately I don’t have an exact measurement. I will say that you want your pigment to end up slightly chunky. In the shot on the right, you can see the texture is quite thick and the powder has dropped down in size. At this point I’ll start adding more pigment or more alcohol to get the right consistency. Do not let your pigment get “thin” or super runny – it means you’ve got way too much alcohol in it. If that happens, add more pigment until it gets thick again.
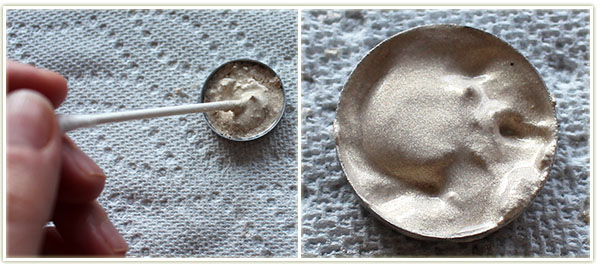
I typically take a cotton bud, snap off the end, and use that to mix up the pigment with the alcohol. Since the alcohol is the binding agent, you want to make sure the entire pigment is thoroughly mixed with the alcohol. The shot on the right (above) shows the best consistency: It’s a bit thick, can hold some form, but is still somewhat liquid.
From there, I pick up the pigment pan and drop it lightly a few times. This levels off the pigment so that you get a flat surface.
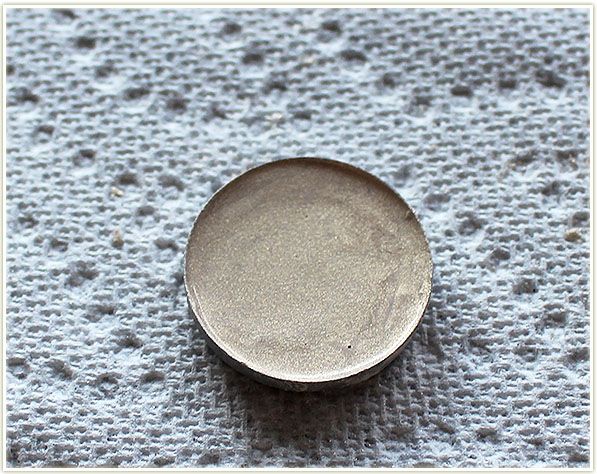
Tada! A level surface! At this point, your pigment is too wet to press, so you have to let some of the alcohol evaporate. I’ll generally leave it alone for an hour or so then come back to press it.
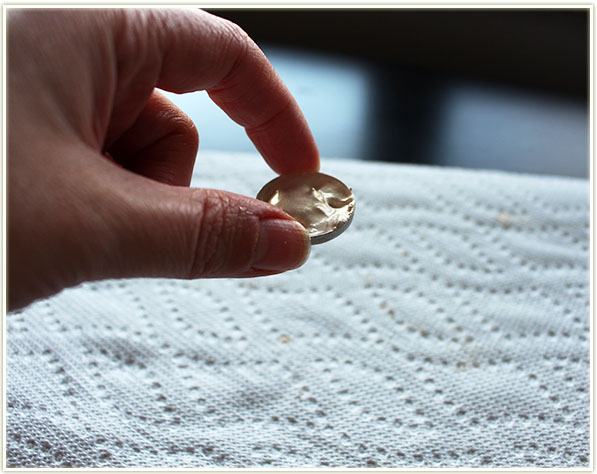
We’re almost there! Once your pigment is soft to the touch, but not sopping wet, take a tea towel, place it over pan, then slot in two quarters on top.
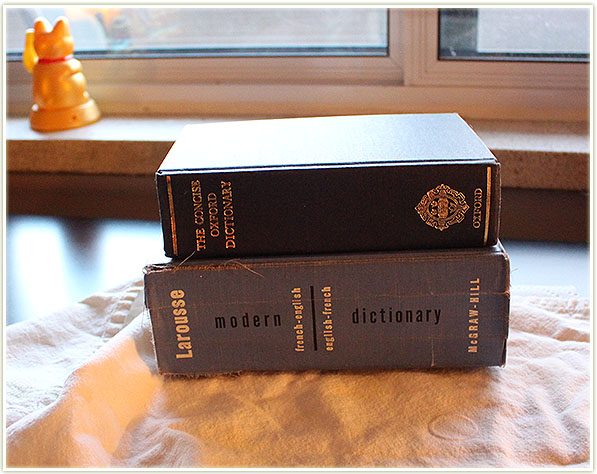
Add a heavy book or two on top of the quarters and let it dry completely overnight.

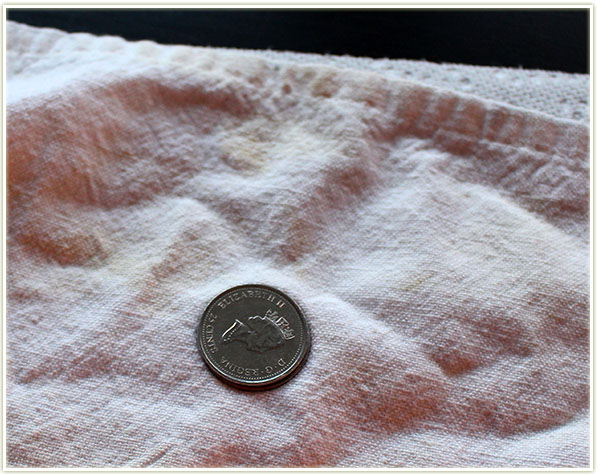
And there you have it, a freshly pressed pigment that won’t cause you so much grief! Keep in mind that whatever tea towel you use, that’s the imprint you’ll end up with on the pigment.
I hope this helped! Let me know if this works out for you. 🙂
Wow this is awesome! thanks for sharing during the twitter party! i know what to do with my loose shadows!
Gabrielle recently posted…Clarins Aquatic Treasures review
Glad you like it! I really don’t like using loose pigments either… they are just so MESSY!
Thank you Chelle!! <3
Jodi recently posted…Urban Decay Naked Basics 2 Eyeshadow Palette Review & Swatches
You’re welcome! I hope it works out!