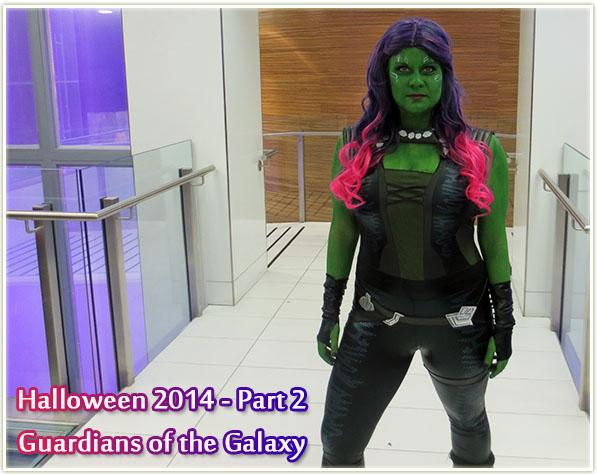
Halloween was QUITE the event this year! A group of friends and I saw the movie the Guardians of the Galaxy in August and walked out of the theatre with the realization that we had the exact perfect combination of people to go as the Guardians for Halloween. We knew it was going to be a lot of work, but holy cow did I ever not realize just how much! We got started at the beginning of October and it feels like it consumed the entire month!
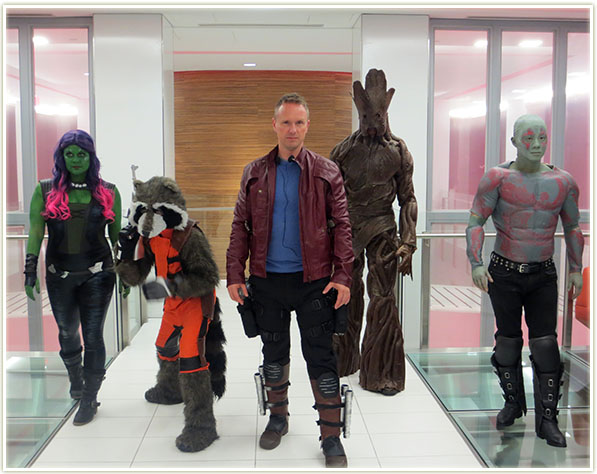
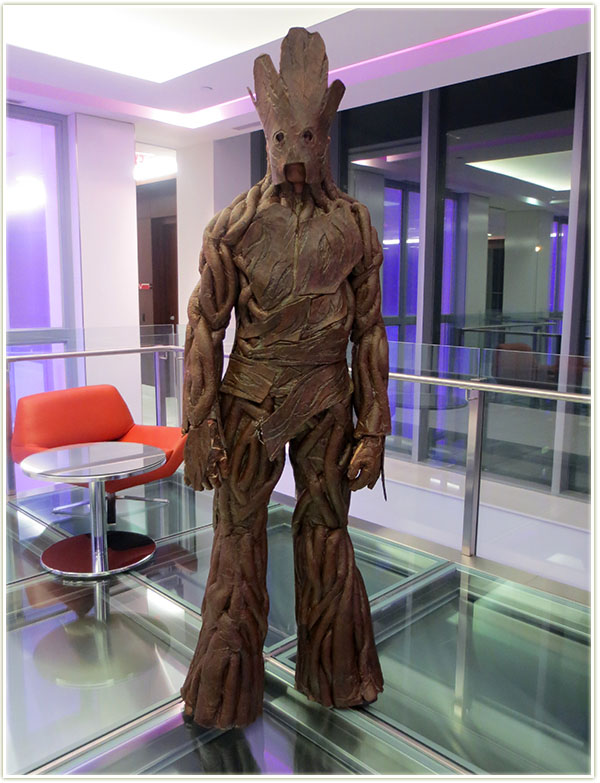
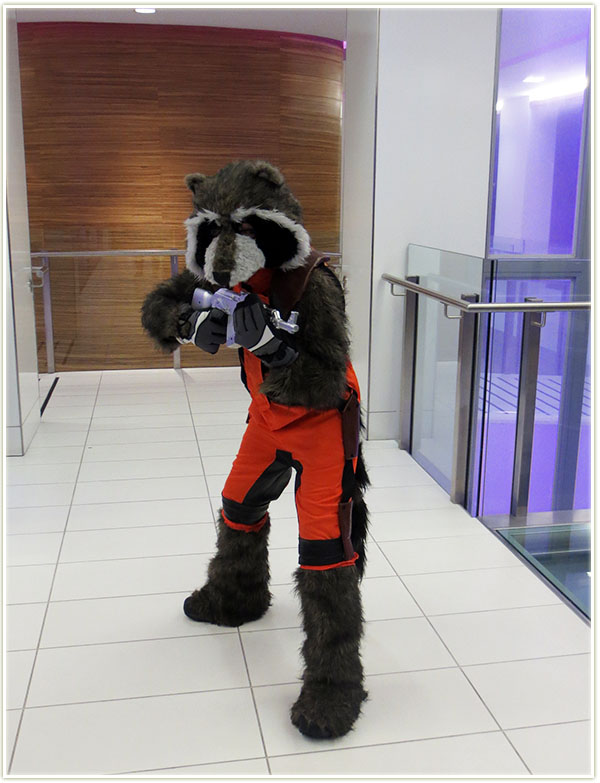
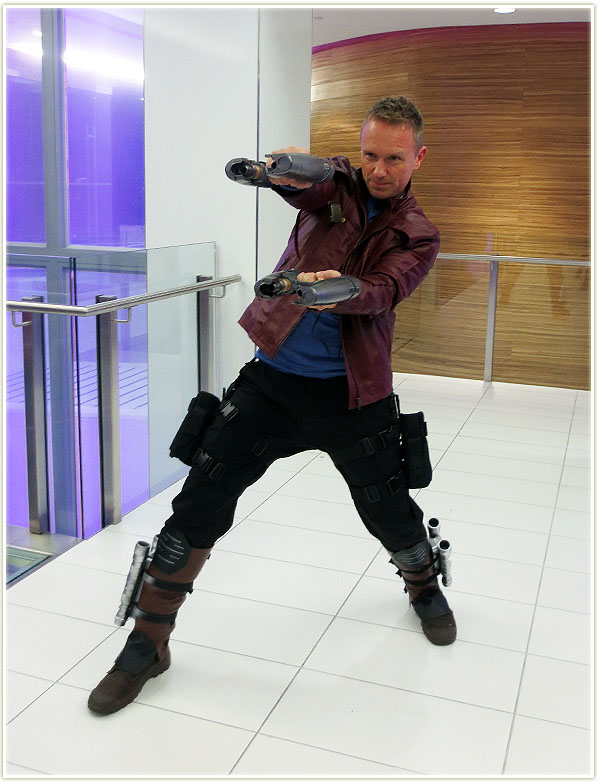
The bulk of the work was spent working on the Groot costume since that was not only massive, but super involved. I think it came out especially well – and we have our costume designer mastermind behind it all – Steve did an amazing job pre-planning and executing the Groot outfit, his own Drax costume (amazing muscle suit!) and then did Rocket Raccoon’s entire costume by himself! It’s worth pointing out that all of those costumes were made from scratch! I got off pretty easy – all of my parts (wig, costume) were all purchased online.
I have a few details on some of our makeup below, if you’re only interested in photos, be sure to scroll down to see some amazing shots of our group in action!
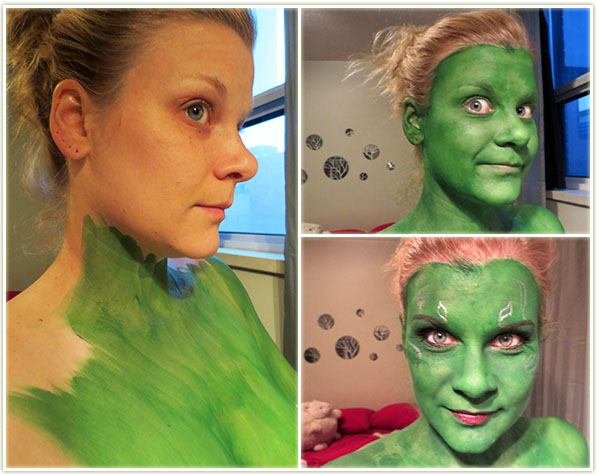
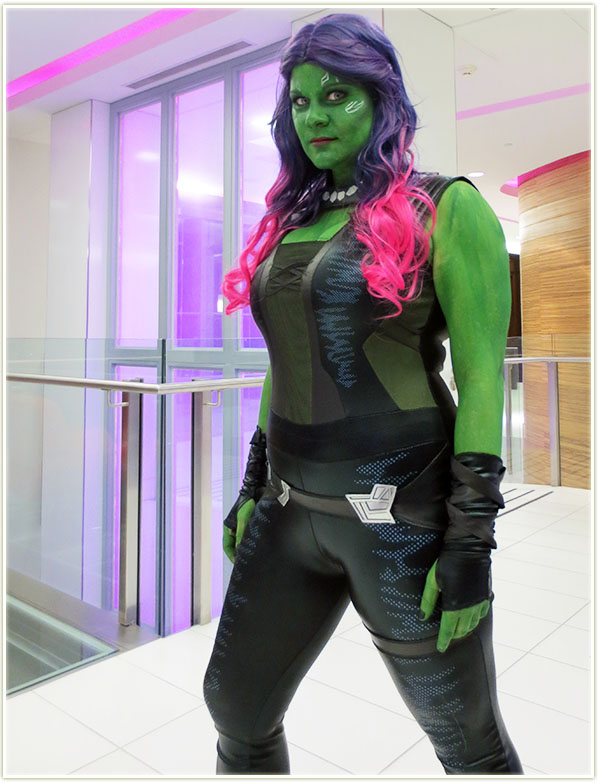
My makeup took longer than I expected – about two hours to get me completely done. I used MAC‘s Chromacake in Landscape Green to change the colour of my skin. It took about two layers but I’m still not pleased with how it turned out as I feel it’s too patchy. The texture seemed to be more even on my face, but the body was especially bad. I think using an airbrush system would’ve been a better idea.
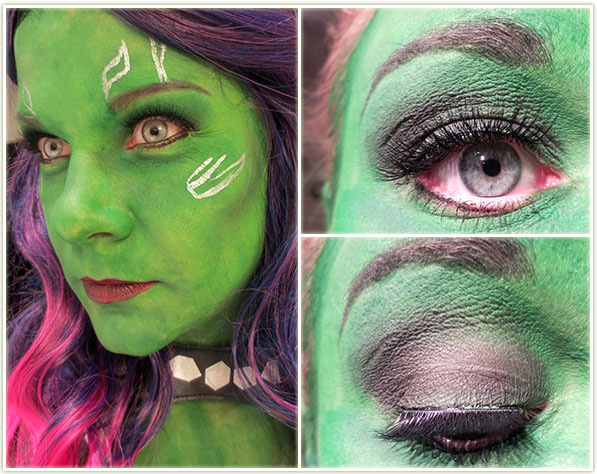
My face was pretty straightforward once I had the green base on. I kept it simpler than the trial I had done before and stuck with a single colour on my eye for shadow (MAC Print). I used the same shade through my eyebrows and to contour my face. The contour helped a lot to give me some depth and bring out my cheekbones since I looked especially flat before doing so. I popped on a pair of Femme Fatale lashes in their Catwalk style since I felt my eyes were getting lose amongst all the green. Any liner touchups were done with Urban Decay‘s Black Velvet pencil. On my lips is Revlon‘s Black Cherry because I couldn’t find a decent darker green and I was running out of time to mix shades. Gamora has a few silver lines on her face so I sketched out some rough shapes with a silver liquid liner from NYX.
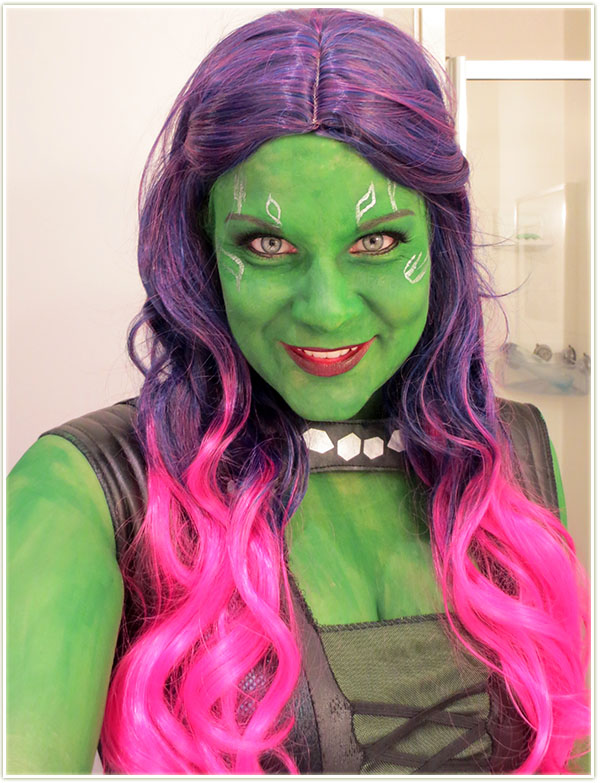
I think the end result is decent. Not movie quality, certainly, but definitely good enough for Halloween! The wig was a $20 I got from Ebay and it worked out far better than I ever expected from a relatively cheap wig (plus I’d never even worn a wig before). I had to pin some of the pieces into the wig cap because they kept dangling in my face, but I think the overall look is relatively realistic. Let me know what you think!
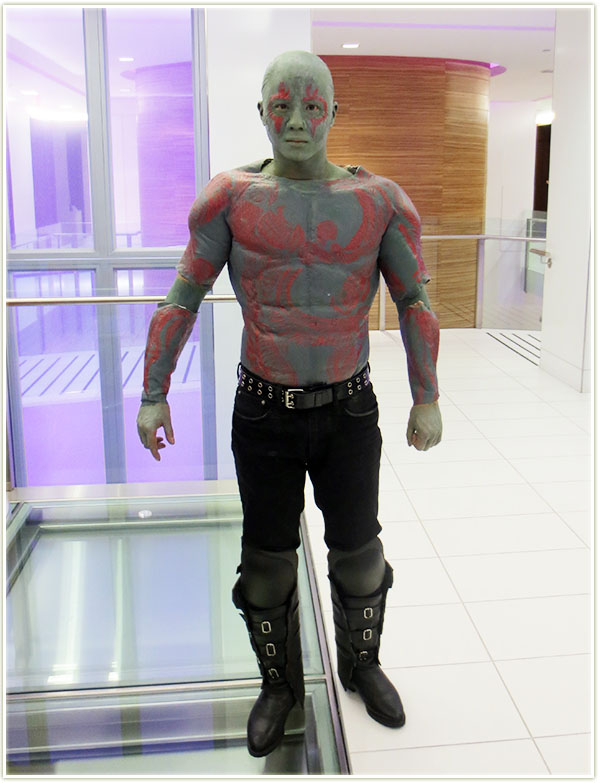
My friend Steve did his own makeup for Drax and he was kind enough to share how his turned out. Here’s his summary of what he did on his face:
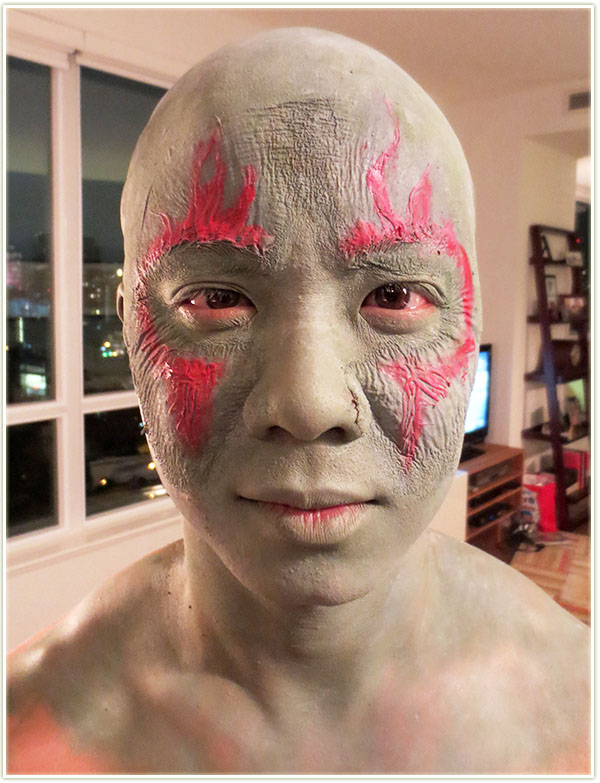
Creating the Drax make-up required a fair amount of thought, and I wasn’t altogether sure about what supplies to use, or if I would be able to create it properly. For the movie, the tattoos were created using foam latex pieces that were made by taking a cast of Dave Bautista’s face, sculpting the tattoos on the cast, then taking a mould of the sculpt, and then creating the foam latex out of that. I do not have the kind of skills to do that, nor the materials, so I needed a work around that would allow me to have a base coat of greyish green, with raised red tattoos over top. I was comfortable working with latex, but could not get latex that was the greyish green I needed, nor could I make the latex thick enough to hold the shape of the tattoos.
I chose to use acrylic paint mixed with latex. What I found was that acrylic alone would flake off of the latex once it dried, as the latex did not give enough to adhere to. When I mixed the paint with liquid latex, I found that the paint now stuck and kept its thickness. I started by putting on the bald cap (which was an ordeal unto itself) trimming to size first, and then applying to my head using spirit gum. I then sponged “ruddy flesh tone” liquid latex to blend it into my skin so there was no seam.
I would need a base on which to apply the acrylic, so I used the ruddy coloured latex above my eyes and below them (I applied olive oil to my eyebrows so that I would hopefully not lose them all when I pulled off the latex). I then applied a green acrylic/liquid latex blend (I used a 3:2 ratio of liquid latex to acrylic paint) and then some grey to lighten the green, blow-drying between applications to set the latex.
I then applied the red acrylic and liquid latex mix (for this I needed it thicker so chose to use a 1:1 ratio of acrylic to latex). I lacked dexterity when applying to my face, so just used the side of the brush to make lines that criss-crossed and carefully applied tails and sharp ends using a toothpick. I added a coat of grey-green over top to lighten the tattoos.
Unfortunately, as I attempted to blend everything together using Ben Nye‘s Creme Make-up in Army Green mixed with some grey made from white and black Ben NyeCreme make-up, the latex sopped-up all of the colour, and a few minor mishaps ruined the red of the tattoos. As a result, I completely blended using the make-up and then used some leftover red creme make-up to bring the tattoos out.
You’ll notice in the close-up that there is a lot of wrinkling happening with the latex. I realized after the fact that this was probably because of the acrylic. It wasn’t sticking to my face as well because the acrylic didn’t want to stretch as much as the latex. In the end the make-up worked fine, but I wish I had done things slightly differently. I wish that I had just used acrylic and latex for the tattoos to make them raised, but then just used make-up to create colour and blend everything in. In the end the latex took the make-up so well that I would have been fine to paint the raised tattoos using red make-up after the fact.
In the end, I was satisfied with the look, and of course the best news is that my eyebrows escaped intact.
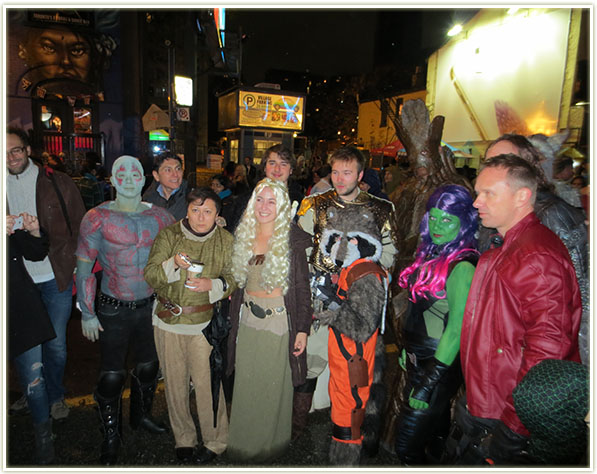
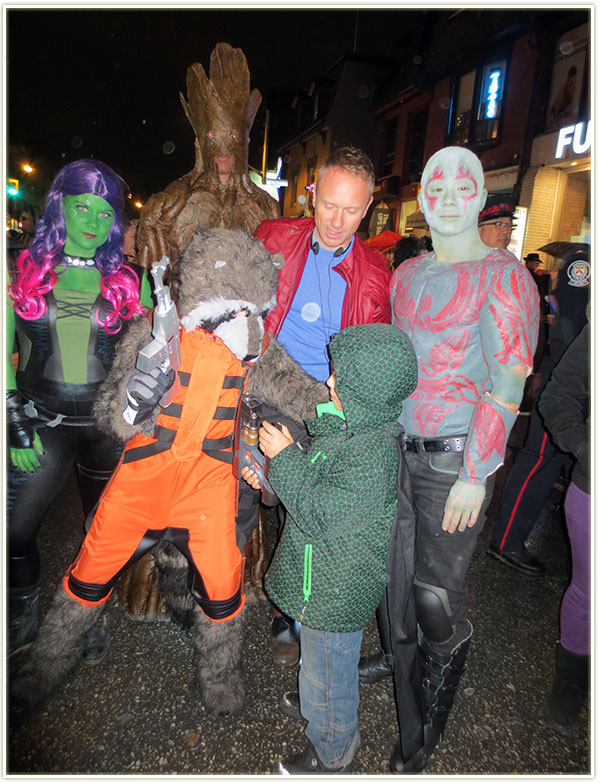
And now for some amazing shots we got before heading out onto the street!
After our brief “photoshoot”, we hit up Church Street which is shut down to traffic on Halloween for the entire evening for a street party. It was seriously cold (about 2 degrees), but it stopped raining for the hour we were out there which was a HUGE blessing since most of the paint would’ve melted off us!
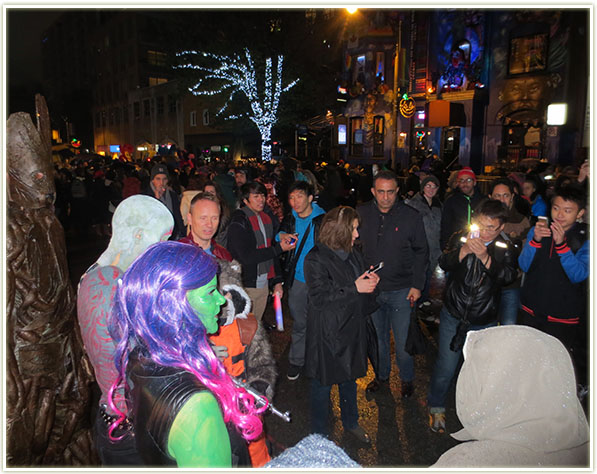


As always, Halloween was an amazing experience on Church Street in Toronto. If you live in the city and don’t know what to do on Halloween, it’s worth it to come down to the area and check out all the costumes. Even if you’re not dressed up yourself, it’s still worth it to see what others put together. And if you DO dress up, you’ll end up feeling like a celebrity for the evening.
Happy Halloween everyone. 🙂
3 thoughts on “Halloween 2014 – Part 2 Guardians of the Galaxy”