Tag Archives: Hard Candy

Hard Candy Wet Ever Bold Hold Lip Lacquer (Review & Swatches)

Hard Candy Wet Ever in Temptress

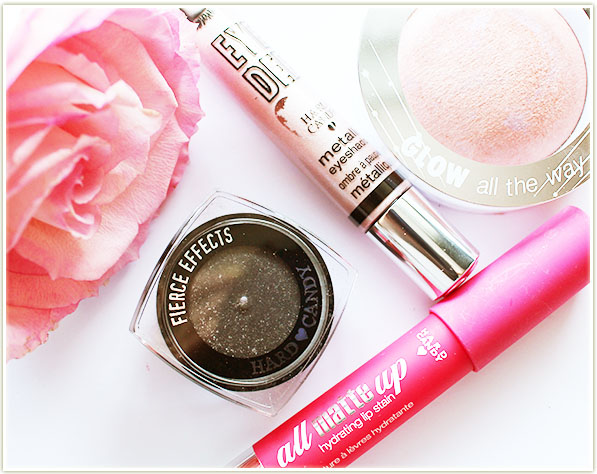
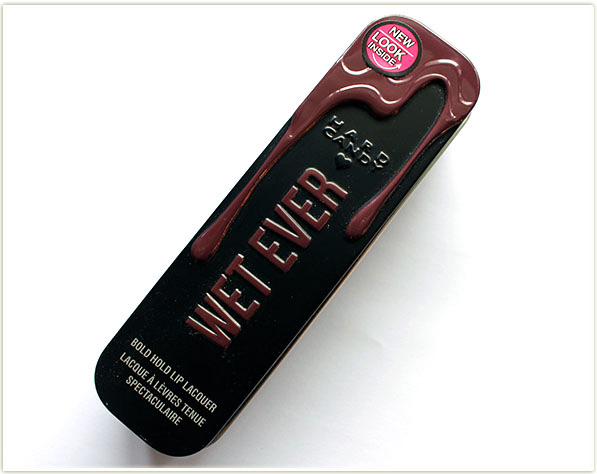
Has anyone else spotted these adorable tin packages of lip gloss by Hard Candy at Walmart yet?? These are Hard Candy‘s Wet Ever – a bold hold lip lacquer, although I do believe they have a matte one as well.

Hard Candy Wet Ever Bold Hold Lip Lacquer

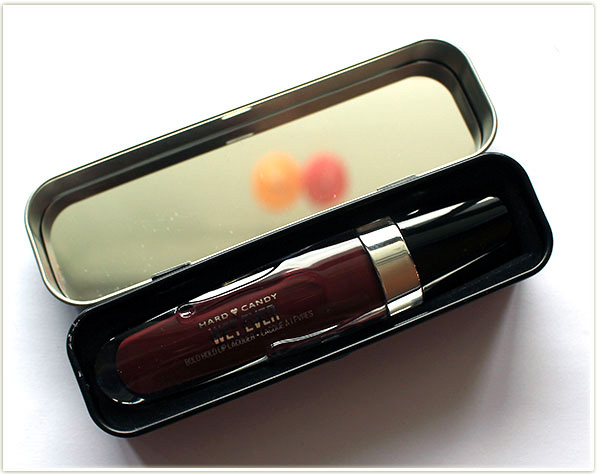
Every time I see these tins I’m so impressed by the quality. I mean, it’s fairly unique to have a tin with a relatively large mirror inside (in the lid) to house your lip gloss! Even more so for a drugstore brand to do this! Each tin is colour-coded on the outside to match the lipstick inside with a dripping, melty lipstick that’s embossed on the tin. It’s such a nice touch!

Hard Candy Wet Ever Bold Hold Lip Lacquer in Temptress

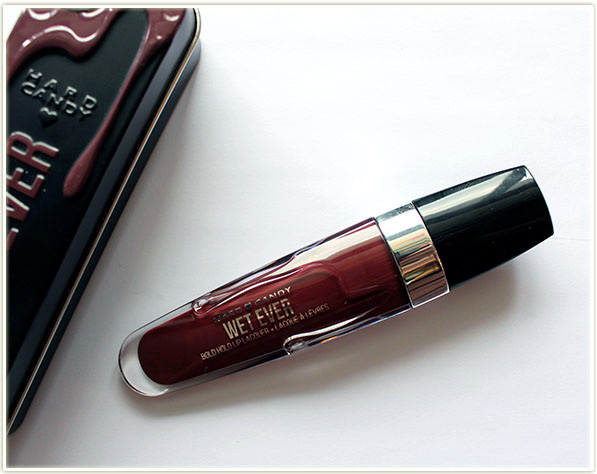
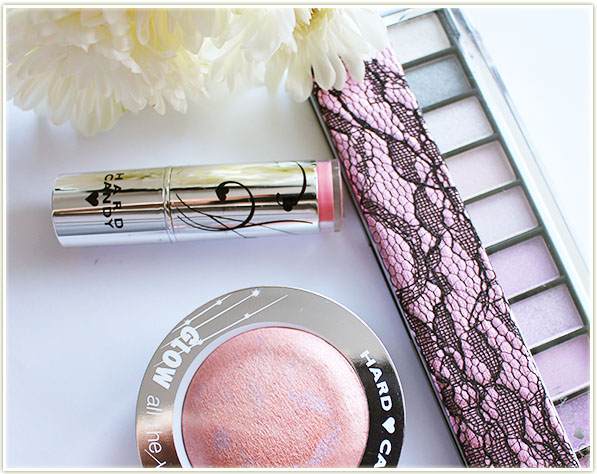
The tube of product is actually entrancing – the component is specially crafted with upraised drips of “melting lipstick” and it comes to a flattened out point at the end. I know I’m talking a lot about the packaging, but I’m really quite enamoured by it. It’s so unique for a drugstore brand!

Hard Candy Wet Ever has a flattened out doefoot applicator.

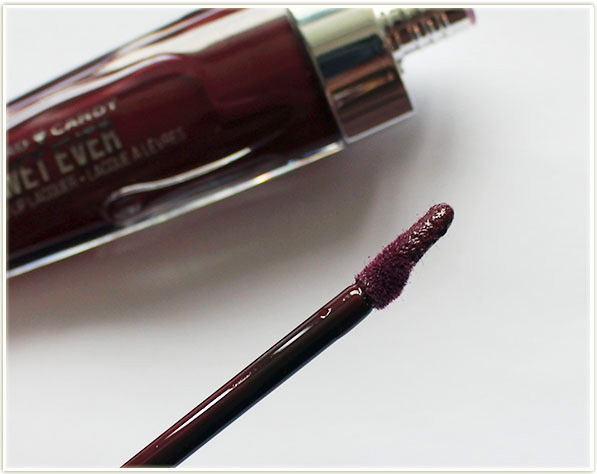
Twist off the top and you’ll pull out your doefoot applicator. This one doesn’t have the “bucket” that some doefoots now have, but this one has more of a scooped shape that comes to a flattened out tip. This does wonders to help cover your entire lip, and the tip is also great for getting more precise lines around the edge of your lip line.

Hard Candy Wet Ever Bold Hold Lip Lacquer in Temptress - swatch
Hard Candy Wet Ever Bold Hold Lip Lacquer in Temptress – swatch

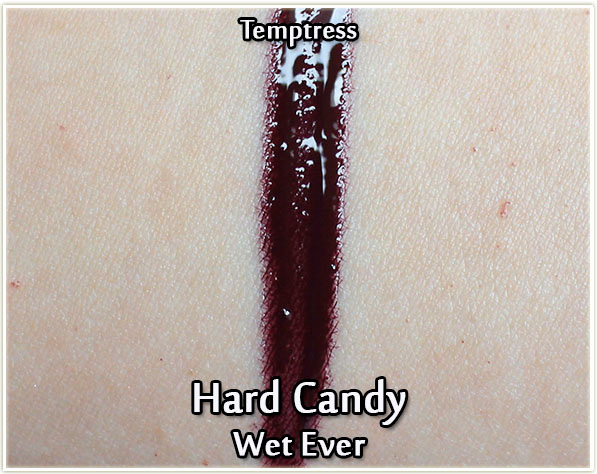
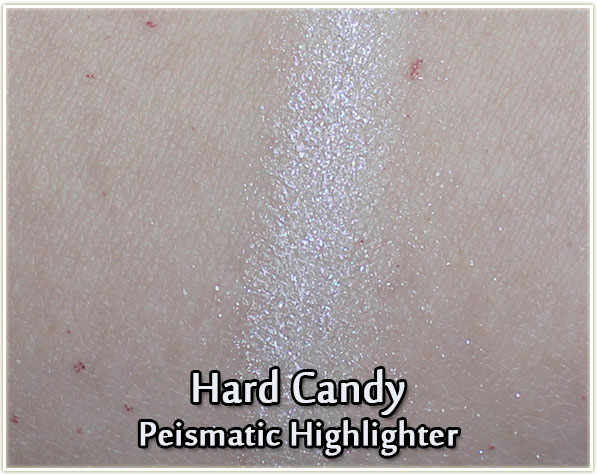
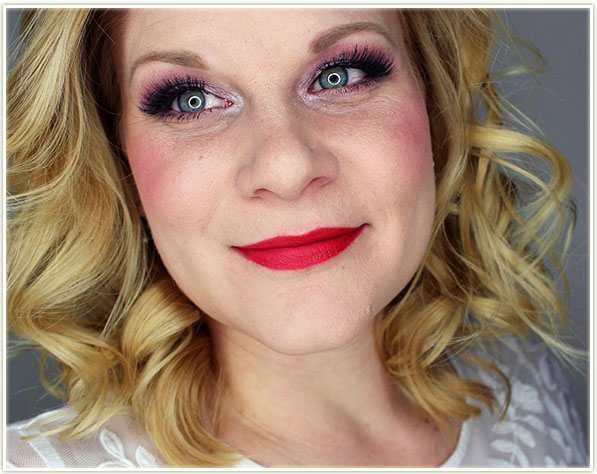
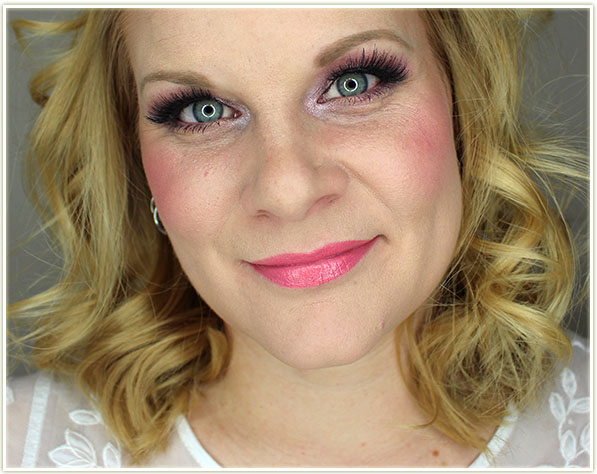
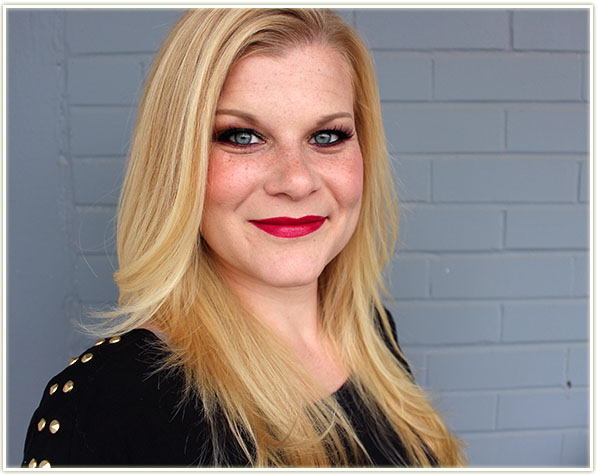
The colour I have is Temptress – a deep burdgundy-red with a hint of brown. Pigmentation is solid in one swipe (as shown above) and it definitely has that lacquer-like look because it looks very, very wet on the lips.

Wearing Temptress
Wearing Temptress

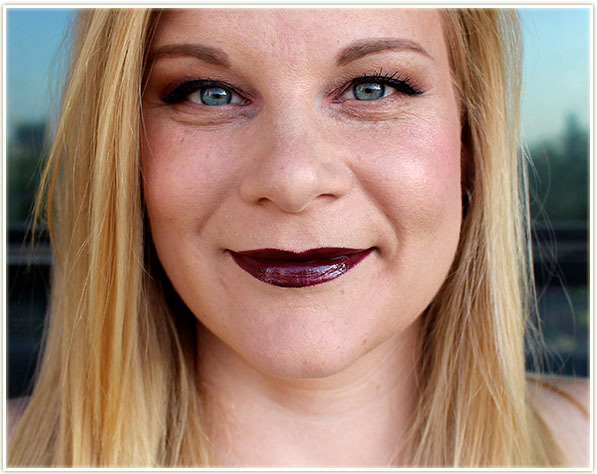
In these shots, I’ve applied the Wet Ever in Temptress without anything underneath so I could show you just how pigmented the product is. Hard Candy says these have the longwearing properties of a liquid lipstick with the shine and hydration of a lip gloss. I agree completely with the lip gloss statements (shine and hydration) but I feel like it misses the mark with the liquid lipstick claims (you definitely need to re-apply if you want it to stay glossy).

Close up of Temptress

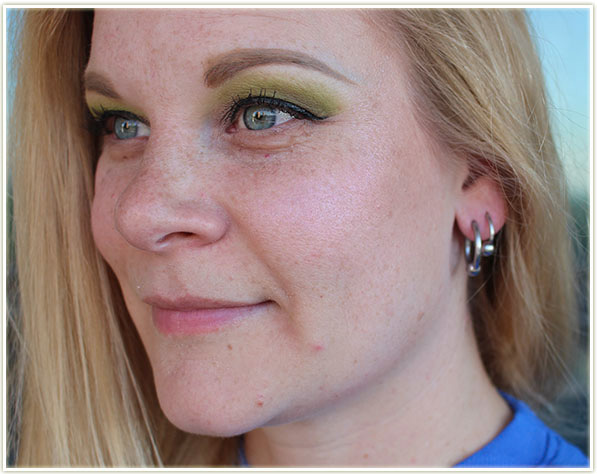
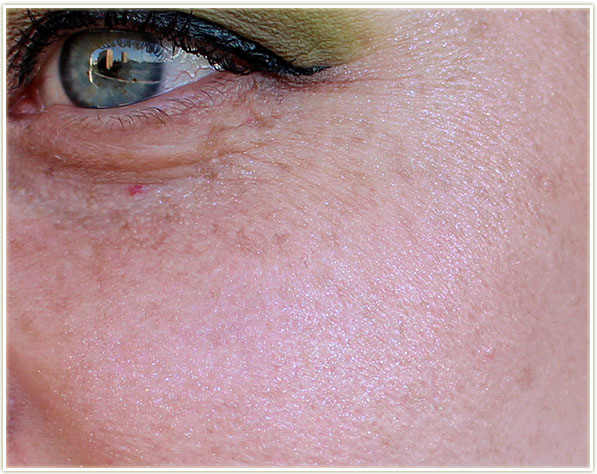
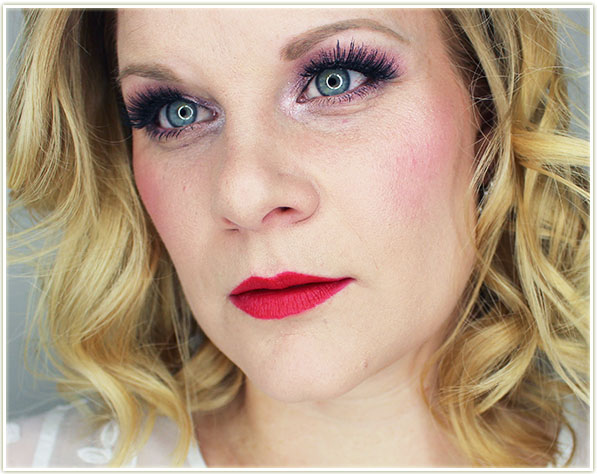
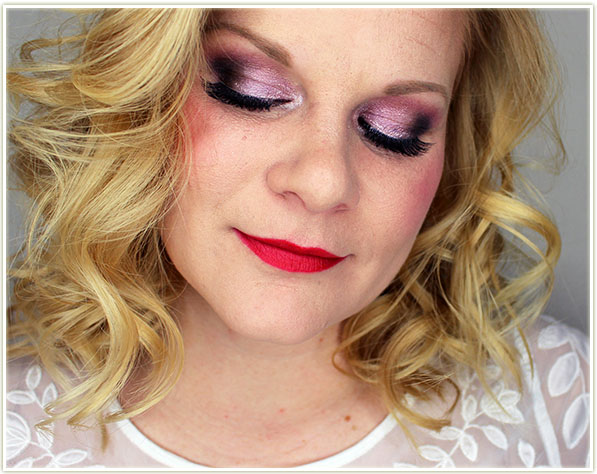
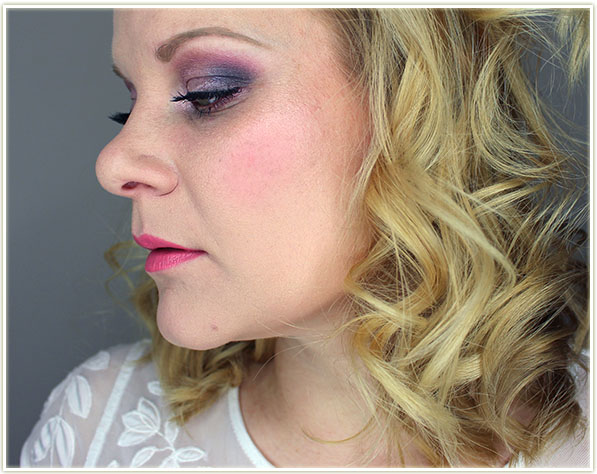
In practice, I know that a lip gloss is never ever going to work on me because I am prone to lip line bleed out IMMEDIATELY upon application. You can see what I mean in the shot above- I had *just* applied the Wet Ever and you can see that I’m getting “the fuzzies” around the edge of my lips. So while the colour and pigmentation is gorgeous, for me this is a product that I have to use a lip primer and lip liner underneath in order to get it to stay put. I am an exception though, as most of the people I have talked to over the course of the years don’t experience such intense lip line bleed out as I am prone to, so please keep that in mind.

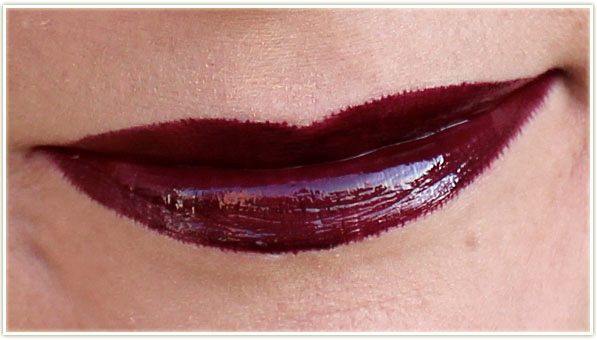
Longevity is what I would expect from a lip gloss – around 1.5 to 2 hours before I felt the need to reapply. I was extremely impressed that my lips continued to feel hydrated while wearing this even though I had tested it with a primer and a lip liner (which are generally prone to drying my lips out a tad). The colour is INTENSE on these too – solid, opaque and super glossy. I loved the consistency of the product and there was no scent, which is a huge bonus for me.

In short, although the Hard Candy Wet Ever needs a little bit of TLC from me in order to keep it in line, I think it’s a really decent product that packs one hell of a punch.

You can buy the Hard Candy Wet Ever Bold Hold Lip Lacquers on walmart.com for $5 USD each.

The product featured in this post was sent to me for consideration. Post may contain affiliate links.

Hard Candy Sheer Envy Prismatic Highlighter (Review & Swatches)

Hard Candy Sheer Envy Prismatic Highlighter

I had high, high hopes for the Hard Candy Sheer Envy Prismatic Highlighter! It’s billed as an iridescent pearl powder that is intended to catch the light and give you good lighting no matter where you go.

Hard Candy Sheer Envy Prismatic Highlighter

The product itself retails for $6 USD at Walmart and contains 12 grams of product, which is not only a great price point, but also a ton of product. However… the goodness stops there. (And this pains me, because I do really enjoy Hard Candy.)

Hard Candy Sheer Envy Prismatic Highlighter - swatched
Hard Candy Sheer Envy Prismatic Highlighter – swatched

Swatched on the skin, you get a white, chunky, speckled-glitter mess. As someone who is IN LOVE with glitter, I was even astonished with just how much I did not like this. The powder has a bit of a purple/pink cast, but none of that is displayed on the skin. All you get is a white chalky mess with glitter thrown in.

Wearing Hard Candy Sheer Envy Prismatic Highlighteron my cheekbones

Like, can you even see it on my cheekbones? Because I applied it very heavily. Let’s zoom in.

Zoomed in shot of my cheekbone

Oh there we go. Now you can see it. You can see the stuck-in-my-pores type glitter mess it’s created too.

Final Thoughts

Hard, HARD pass on the Hard Candy Prismatic Highlighter. I was so eager to try out a drugstore highlighter that would potentially compare to the higher end highlighters that are on the market right now, but this doesn’t even do anything but create a mess on your face. After writing my review I went to the internet to find other reviews and I had to laugh/cry at all the one star ratings I was seeing. I am definitely not the only person who felt this product was a total dud! Yikes.

My recommendation? Pass on the Prismatic Highlighter and get Hard Candy‘s Tiki highlighter instead. It’s insanely beautiful and actually worth your money.

The product featured in this post was sent to me for consideration. Post may contain affiliate links.

Swatch Sunday: Hard Candy Pinking of You

Hard Candy Pinking of You

I did a tutorial featuring the Hard Candy Pinking of You palette on Friday (check out that Valentine’s Day look here) and I’m following it up with a Swatch Sunday post!

Hard Candy Pinking of You

I will say that you’re going to find a lot of the colours in the middle section of this palette are very, very similar. There isn’t a whole lot of pigment definition between them, but it does mean that it’s a really easy palette for people looking for a soft look. One thing to note is that there are no mattes in this palette, so you’ll need some additional colours to balance it out if you want something other than a totally shimmery eye.

Hard Candy Pinking of You Swatches

Hard Candy Pinking of You - Shade 1
Hard Candy Pinking of You – Shade 1

Hard Candy Pinking of You - Shade 2

Hard Candy Pinking of You – Shade 2

Hard Candy Pinking of You - Shade 3
Hard Candy Pinking of You – Shade 3
201601_Hard Candy Pinking of You - Shade 4
201601_Hard Candy Pinking of You – Shade 4
201601_Hard Candy Pinking of You - Shade 5
201601_Hard Candy Pinking of You – Shade 5
201601_Hard Candy Pinking of You - Shade 6
201601_Hard Candy Pinking of You – Shade 6
201601_Hard Candy Pinking of You - Shade 7
201601_Hard Candy Pinking of You – Shade 7
201601_Hard Candy Pinking of You - Shade 8
201601_Hard Candy Pinking of You – Shade 8
201601_Hard Candy Pinking of You - Shade 9
201601_Hard Candy Pinking of You – Shade 9
201601_Hard Candy Pinking of You - Shade 10
201601_Hard Candy Pinking of You – Shade 10
The product featured in this post was sent to me for consideration.

Valentine’s Day Makeup Look featuring Hard Candy

Hard Candy Valentine's Day Look

Hard Candy and I have a past that involves a lot of love and a lot of glitter. I remember becoming enamoured with their products at the ripe old age of 15. I was turned on to their nail polishes by Sarah Michelle Gellar (of Buffy the Vampire Slayer fame who wore their peach polish. Of course, I wasn’t into nail polish really (and still am not to this day), but I was *OBSESSED* with BtVS. And whatever SMG/Buffy liked, I therefore LOVED.

And so, my Hard Candy obsession started. I  have vague memories of the Hard Candy counter at Sears in the Rideau Centre in Ottawa and spending my hard earned babysitting money (keep in mine I was 14 years old) on a 20 dollar eyeliner. (I’m 33 years old and spending $20 on an eyeliner freaks me out NOW and it’s almost 20 years later!)

Hard Candy makeup
Hard Candy makeup

So anyway, this eyeliner. It was called Cyber and it was a black base shot through with silver glitter. It was my life blood at that age. It lined my eyes and the glitter splashed all over my cheeks due to fallout. I loved it so, so much. I went through that entire eyeliner and even repurchased another when Hard Candy was dying out as a high end brand during my first year of university. I have a very strong memory of going to the Hard Candy counter at Yorkdale mall (in Toronto where I was attending York University) and buying my very last Cyber eyeliner liner (still priced around $20). They dissolved within a few months of that purchase.

Hard Candy makeup
Hard Candy makeup

And here we are now. It’s 2016 and Hard Candy has morphed into a drugstore brand sold at Walmart. It’s a weird twist of fate that one of the first brands that made me fall in love with makeup has since turned into a brand that I actually have to spend less to obtain now even though it’s 20 years later.

Since I’ve always had a whole lot of love for Hard Candy, I put together a soft romantic look with two different lip choices that, while appropriate for Valentine’s Day, would also be great for any kind of date. I hope you enjoy. 🙂

Valentine's Day look with a strong lip
Valentine’s Day look with a strong lip colour
Valentine's Day look with a strong lip
Valentine’s Day look with a strong lip colour

For the face, I used the All Matte Up Hydrating Lip Stain in Mattely in Love as a blush (I rubbed it on the back of my hand first and then used a small stippling brush to apply it to my cheeks) and then applied the blush in Honeymoon as a highlighter to bring out the glow on my cheeks. I also applied the Mattely in Love lip stain to my lips as well (that colour is incredible!).

Hard Candy eye look
Hard Candy eye look

I primed my eyes with the Eye Def Metallic Eyeshadow in Golden Earth and then applied the soft lavender duochrome shade from the Pinking of You palette all over the lid, I put the deeper pink through my crease and on my lower lash line and used the shimmery white on my inner corner. On my outer corner I used the Fierce Effects eyeshadow in Heart & Soul (the black shade) and blended that in to deepen everything up. Pop on your favourite mascara and some false lashes, and your eyes are set!

Valentine's Day look with a soft lip colour
Valentine’s Day look with a soft lip colour

If you’re looking for something a bit softer on the lips, try using their Beloved lipstick instead. It’s creamy and hydrating and will add a bit of shine to your lips.

Valentine's Day look with a soft lip colour
Valentine’s Day look with a soft lip colour
Bonus cat photo!
Bonus cat photo!

Thanks for listening to my Hard Candy story and I hope you enjoyed the looks! And please, please let me know if you have any experiences with Hard Candy as a brand (both old and new). 🙂

The products featured in this post were sent to me for consideration.

What’s On My Face – Volume 43

With Halloween over, I can finally catch up on my backlog of posts to get through. I had hoped to have my Kat Von D Mi Vida Loca Remix Challenge Week up this week, but it seems that isn’t happening, so that’ll be up next week! Till then, here’s a collection of looks that I wore at some point throughout October with a couple guest posts chucked in for good measure. Enjoy!


201509_womf43_look1.1

I wore this to a preview of the H&M Beauty Department and got a lot of compliments on it. It’s one of my favourite colour combos so I was really happy that others seemed to like it as well!

201509_womf43_look1.2

Eyes

  1. MAC Illusionary Burning Ambition Duo –  used the white gold shade all over the lid.
  2. Inglot Matte 317 and Matte 338 mixed together on the outer half of the lid with a little bit of Urban Decay Blackout in the very outer corner.
  3. Wet n Wild Brule on the brow bone.

I created the winged liner with MAC‘s Blacktrack fludline and applied Urban Decay‘s Perversion mascara to my lashes.

Face

  • Bronzer: Hard Candy Hula Hula
  • Blush: essence pinky flow
  • Highlighter: Becca Champagne Pop
  • Lips: Bite Beauty Agave Lip Mask in Maple

201509_womf43_look2.1

The Soul Sister glitter I picked up from Lit Cosmetics at IMATS is quite possibly the most beautiful glitter I’ve ever encountered. My shots don’t do it justice, but it’s primarily green with gold and copper flecks. It’s absolutely incredible.

201509_womf43_look2.2

Eyes

  1. MAC Club all over the lid.
  2. Inglot Pearl 418 on the outer half of the lid.
  3. Lit Cosmetics Soul Sister glitter applied on top of Club.
  4. Wet n Wild Brulee on the brow bone.

Urban Decay Perversion mascara is on my lashes.

Face

  • Bronzer: SST Cosmetics Radiant Finish Bronzer
  • Blush: Hourglass Incandescent Electra
  • Highlighter: MAC Whisper of Gilt
  • Lips: NYX Spongecake gloss

201509_womf43_look3.1

I was headed out to Halloween Haunt at Canada’s Wonderland and had to wear something festive. Because even though it may not be seen by anyone due to how dark it was, *I* still knew I was wearing something fun! And by the way? Canada’s Wonderland Halloween Haunt? TOTALLY worth it. I had so much fun!

201509_womf43_look3.2

Eyes

  1. Too Faced Millenial at the top of the crease.
  2. Viseart matte orange from the Editorial Brights palette.
  3. Too Faced Girl’s Night on the outer half of the lid.
  4. Too Faced Chandelier on the brow bone.
  5. Lit Cosmetics California Soul all over the lid on top of the orange.

I created the wing with Kat Von D‘s Tattoo Liner in Trooper and applied Urban Decay Perversion mascara to my lashes.

Face

  • Blush: MAC Gingerly
  • Lips: Revlon Papaya

justmizzj_makeupyourmind_chelle1

I did this look for a guest post over on JustJ last month while she was away getting married!

justmizzj_makeupyourmind_chelle6

justmizzj_makeupyourmind_chelle8

Eyes

  1. Makeup Geek Frappe through the top of the crease.
  2. Makeup Geek Burlesque through the crease.
  3. Makeup Geek Bitten on the outer half of the lid and a bit through the crease. I also used this shade to line the lower lash line.
  4. Makeup Geek Corrupt in the outer corner to deepen up the look.
  5. Makeup Geek pigment in Utopia all over the lid. I used Too Faced’s Glitter Glue to make sure it stayed on my lid!
  6. Makeup Geek Bleached Blonde on the inner tearduct.
  7. Makeup Geek Vanilla Bean on the brow bone.
I created the winged liner with essence‘s easy 2 use jumbo eyeliner pen and tightlined both of my water lines with Maybelline‘s Lasting Drama Waterproof Gel Eye Pencil in Sleek Onyx. I applied a few coats of Urban Decay‘s Perversion mascara to my lashes and popped on some Ardell false lashes in the style 102 Black. I filled in my brows with Anastasia‘s Dipbrow in Taupe.
Rest of the Face
  • Foundation: IT cosmetics Your Skin But Better CC Cream with SPF 50+ in Fair and Light mixed together
  • Bronzer: Make Up For Ever Pro Bronze Fusion in 30M
  • Blush: Clinique Cheek Pop in Cola Pop
  • Highlighter: MAC Mineralize Skinfinish in Soft & Gentle
  • Lips: Too Faced Melted Berry

201909_forzoe1

And another guest post, this time for Zoe! I was going for unicorn inspired and this is what I came up with!

201909_forzoe3

201909_forzoe5

201909_forzoe7

Eyes

  1. Inglot Matte 334 through the top of the crease.
  2. Naked Cosmetics Ivory stack (white shade) on the inner tearduct.
  3. MAC Crystal Avalanche on the lid.
  4. Inglot Matte 325 on the outer half of the lid.
  5. Urban Decay Blackout on the very outer corner to deepen it up.
  6. Wet n Wild Brulee to highlight the brow.
  7. Inglot Matte 317 on the outer edge of the lower lash line.
  8. Inglot Matte 343 right beside it to the halfway line of the lower lash line.
  9. Inglot Matte 370 beside it as well.
  10. Inglot Matte 383 as the very last colour on the lower lash line.

I used the Kat Von D Ink Liner in Neruda to create the wing and applied Urban Decay’s Perversion mascara to my lashes. I filled in my brows with NYX’s MicroBrow in Taupe.

Rest of the Face

  • Foundation: Revlon ColorStay in 220 Natural Beige
  • Bronzer: Make Up For Ever Pro Bronze Fusion in 30M
  • Blush: Hourglass Ambient Lighting Blush in Diffused Heat
  • Highlighter: MAC Iridescent Powder in Silver Dusk
  • Lips: Inglot AMC Lipgloss in 544