All posts by Chelle

MAC Cosmetics Kabuki Magic Collection (Review & Swatches)

MAC Cosmetics - Kabuki Magic Collection

MAC Cosmetics is just on the verge of launching an absolutely behemoth-sized collection on us: Kabuki Magic!

MAC Cosmetics - Kabuki Magic Collection
MAC Cosmetics – Kabuki Magic Collection

Available online on January 19, 2016 (it does say select MAC locations, but I’m not sure if they mean regional online for that launch date, or in stores regionally), the Kabuki Magic collection boats roughly 50 products in its lineup!

“The heart and soul of M∙A∙C Cosmetics comes alive backstage at the 34 Fashion Weeks throughout the world. We pride ourselves on discovering and nurturing new talent and working with the industry leaders who innovate iconic beauty styles. In January, M∙A∙C teams up with three adored makeup maestros – Diane Kendal, James Kaliardos, and Kabuki – to create colour collections reflecting each artist’s signature style.”
MAC Cosmetics - Kabuki Magic Collection
MAC Cosmetics – Kabuki Magic Collection

The collection stays true to MAC‘s traditional black packaging, but adds a little bit of extra flare with some layered gold lettering on the exterior packaging as well as on the products themselves.

I’ve got two pieces from the collection, so let’s run through them.

MAC Cosmetics - Kabuki Magic - Jasper lipstick swatch
MAC Cosmetics – Kabuki Magic – Jasper lipstick swatch

The lipstick Jasper is described as a deep reddish-brown with a satin finish. I’d say that description is fairly bang on!

MAC Cosmetics - Kabuki Magic - Jasper lipstick
MAC Cosmetics – Kabuki Magic – Jasper lipstick

Satin is one of my absolute favourite lipstick finishes by MAC as it has a lot of staying power, so I was really happy to see a shade like this in that finish. Jasper was easy to apply (although obviously not as creamy as an Cremesheen or Amplified) and the colour impact was there right at the get go. Beautiful, beautiful colour!

MAC Cosmetics - Kabuki Magic - The Shining Hour quad
MAC Cosmetics – Kabuki Magic – The Shining Hour quad

I was really excited to try out The Shining Hour dazzleshadow quad from the collection. I love me a good glitter shadow and I had never tried out MAC’s dazzleshadow formula before.

MAC Cosmetics - Kabuki Magic - The Shining Hour quad
MAC Cosmetics – Kabuki Magic – The Shining Hour quad

The quad as a whole is called The Shining Hour, but the shades each have individual names.

  • Letty Lynton White pearl with white reflects
  • Heaven Loves You Gold pearl with gold reflects
  • Last Dance Light pink pearl with duochromatic violet reflects (repromote)
  • Humoresque Light burgundy pearl with teal reflects

Sadly… I wasn’t impressed. These are very light and not that pigmented. They felt almost like speckly… fluff? Dusty? I’m not sure how to describe it other than that I wasn’t really happy with the colour payoff.

Wearing The Shining Hour

In the end, I opted to do a full eye look using only the shadows available in The Shining Hour quad, but I’m starting to think I did us all a disservice by doing that. These dazzleshadows are accent colours – you can’t truly build a singular eye look off of them unless you’re using one colour as a wash of pigment across your lid.

  • In the look above, I made sure to use a sticky eyeshadow base. I applied Last Dance on the lid, Humoresque on the outer corner and through the crease, Letty Lynton on the inner corner of the eye, and Heaven Loves You rimming the entire lower lash line.
Wearing The Shining Hour

I personally see these dazzleshadows as more of a eyeshadow topper to add a punch of shine to the center of your lid, or to the inside corner. I wouldn’t suggest you use them as I did because the effect is not that great.

In the end? Huge thumbs up on the Jasper lipstick, thumbs down on The Shining Hour quad.

The products featured in this post were sent to me for consideration.

Swatch Sunday: Urban Decay Afterdark

Urban Decay Afterdark

I was originally going to resist the Urban Decay Afterdark palette. Some of the shadows are duplicates of shadows I have in other UD palettes (although you can never have enough Fringe eyeshadow as far as I’m concerned) and I figured I didn’t need it. But I kept seeing Rebekah putting together looks using the palette and my willpower caved.

Urban Decay Afterdark

I mean… my willpower was only so strong. Just look at this damn palette!

Urban Decay Afterdark

Urban Decay Afterdark Swatches

Urban Decay - Alter
Urban Decay – Alter
Urban Decay - Scene
Urban Decay – Scene
Urban Decay - Supersonic
Urban Decay – Supersonic
Urban Decay - Sinful
Urban Decay – Sinful
Urban Decay - Offduty
Urban Decay – Offduty
Urban Decay - Druggie
Urban Decay – Druggie
Urban Decay - Backfire
Urban Decay – Backfire
Urban Decay - Lounge
Urban Decay – Lounge
Urban Decay - Fringe
Urban Decay – Fringe
Urban Decay - Paralyzed
Urban Decay – Paralyzed

You can get the Urban Decay Afterdark palette from sephora.ca for $59 CAD or on sephora.com for $49 USD.

PR Samples – What They Are, and How To Get Them

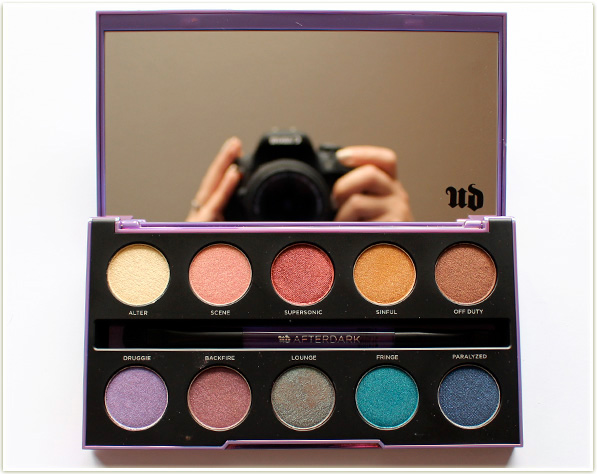
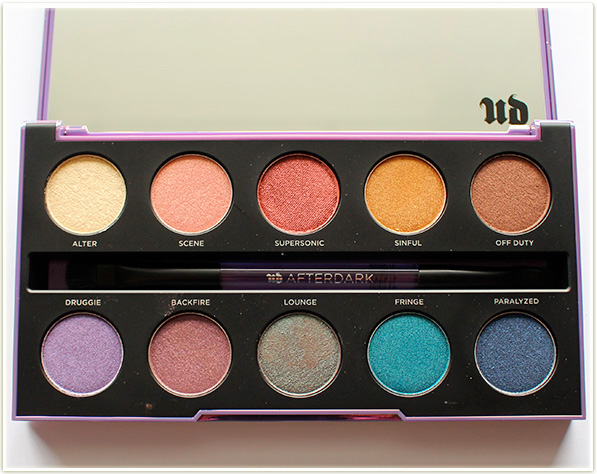
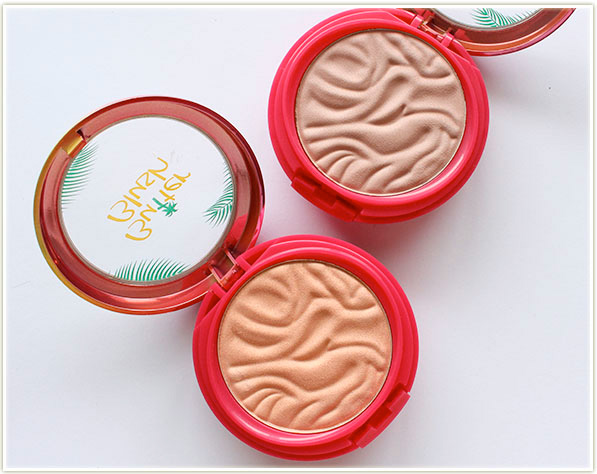
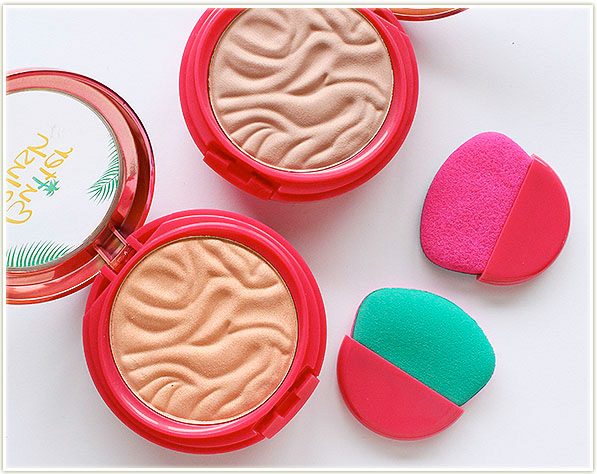
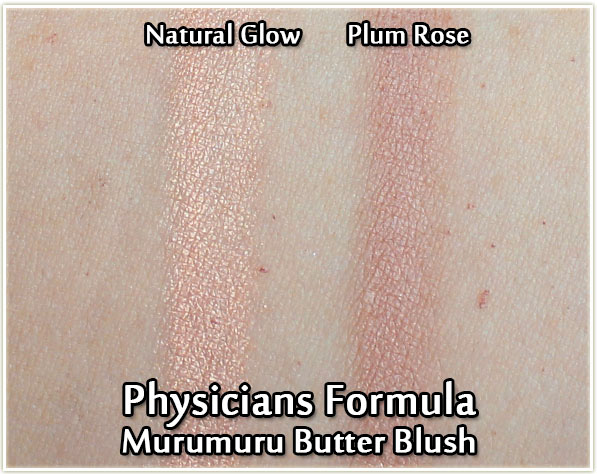
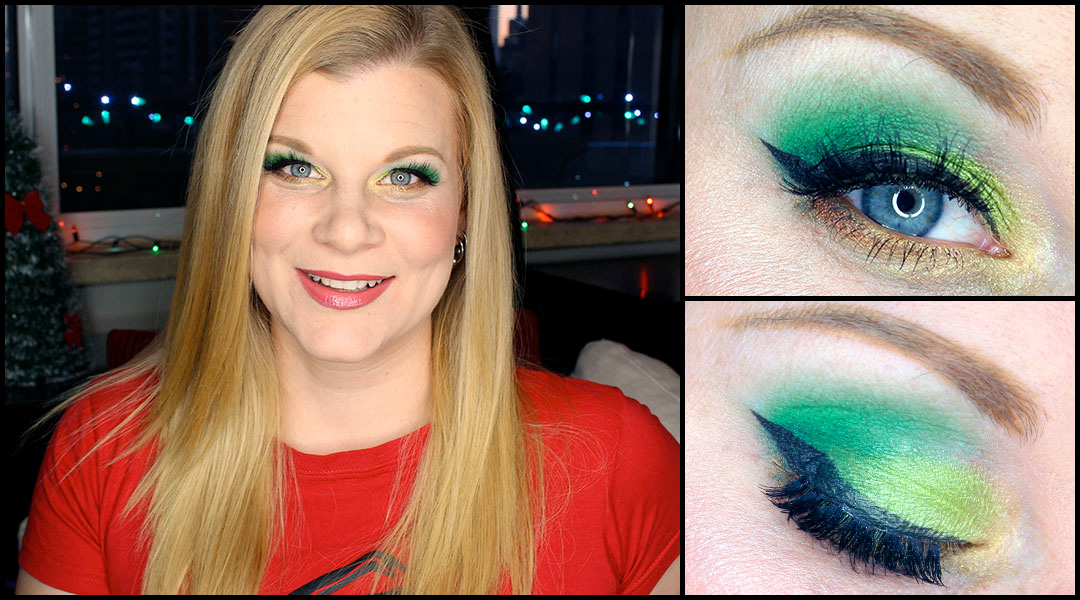
This post is seriously off the rails for this blog, but I have had some questions over the years on how I, as a beauty blogger, get access to PR samples. I’m not going to be divulging contacts, but give you more of a background on how to acquire them yourself.

So let’s start off with the basics.

PR Samples: These are items sent to you by a brand in the hopes that you will promote their product with a review or use it in some way (like a tutorial). While I don’t believe there is legislation yet in Canada on stating whether or not a product was sent to you (I think that requirement does exist in the US though), for transparency reasons, it is often recommended that you state somewhere in your post that you did receive the items for free.

  • Note: PR samples are NOT sponsored content. Sponsored content is when a brand will pay you to promote a product with actual cash. (And/or sending you away on vacation I guess.)

So why do bloggers want PR samples? Well, because it’s really just not financially possible for us to buy every single new product on the market. And let’s get real – the beauty product turnover rate is INSANE. PR samples help keep a blogger’s content fresh and exciting for readers.

For some people, this post is going to be a lot of useless information (or maybe slightly insightful!), but for the most part, if you’re reading this, I think it’s because you’re a blogger or YouTuber and you want to know how to get access to brands. I’m also going to assume that you’ve been doing this for a little while. Let’s say somewhere in the ballpark of 6 to 12 months. That kind of timeframe is important because you need to prove to a brand that you’ve reached some kind of level of stability with your blog/YouTube. And that stability generally comes from putting out consistent content several days a week, for months on end. (For reference, when I started my blog, I was doing about 3 posts a week, but that eventually turned into near daily posting.)

The one year mark is helpful because it shows you’ve got some experience with blogging and you’re in it for the long haul (no one likes a flaky blogger – not readers and definitely not PR). However, you also need to consider follower numbers. This applies to not only how many people come to your blog per month (also referred to as Users on Google Analytics, or sometimes UMV which means “unique monthly views”), but also how many people follow you on social media (Twitter, Instagram, etc.). While not every brand cares about follower numbers, you need to be aware that at the end of the day, these brands are potentially sending you product and you have got to be worth their while. Well lit photos, good interaction with your readers, high follower numbers and a relatively high UMV all contribute to your worth as a blogger and make you more appealing to a brand. Some brands have requirements and if you don’t have those stats, they don’t consider you worth their while. And while that may sting if you don’t qualify, you need to accept that they have a requirement and you need to hit that level in order to be considered of value. (I’m Canadian, so I can only speak to the Canadian PR relationships I have, but 5000 UMV does seem to be the benchmark that most brands are looking for.)

Alright, so now that I’ve covered the background on why stats are important, let’s get into how the heck you find these contacts in the first place. More often than not, YOU need to do the digging to find these people. There’s a heck of a lot of beauty bloggers out there in the world and brands really cannot be bothered with hunting down one blogger in a sea of thousands of them. Being Canadian, I actually have a lot more access to PR than I would if I were American, just because our market in Canada is so much smaller – so keep that in mind too if you’re looking at all of the products I receive and wondering how on earth I managed to snag some of those relationships. Some brands will pay attention to me here with my lower numbers simply because I’m Canadian whereas my value as a blogger/YouTuber would be near worthless in the US.

I can hear you saying “alright, shut up, just tell me already”. So here it is: you need to become intimately involved with Google. You know what you do when you think your significant other is cheating on you and you got to TOWN on the internet trying to dig up pictures, contacts, time stamps, etc. etc.? You need to do all of that, but apply it to the PR world.

Some brands have in-house PR which means they produce and promote their own content (so they’ll have an e-mail address like @brandname.com, etc.). But some brands outsource to a PR firm. This is generally the easiest way to find a brand’s contact as a PR firm will usually list who their clients are on their own web site (and you can usually find some kind of contact e-mail address). Other methods involve looking through LinkedIn and finding out what person works for what brand (if they work for a brand and their title is something associated with social media/influencing, you can probably bet that they deal with bloggers). E-mail addresses aren’t readily accessible there, but once you have a name, it is possible to search for that person online and sometimes their e-mail address will be posted publicly.

And yes, a lot of it is horrendous hours of diligently digging through the internet, using search terms (like “press release” or “[brand name] PR”) and trying to find a glimmer of an e-mail address of a person that is attached to a brand. It’s slow, tedious work, but it’s worth it once you’re able to make contact with a brand.

Smashbox L.A. Lights in Culver City Coral

Once you get that e-mail address though, that’s really only half the battle because then you need to introduce yourself and prove your worth to that brand. If you’ve already done posts on their brand (which I would highly recommend you to have done if you’re going to be approaching someone), you can send those reviews along to help beef up your e-mail. They’re cold call e-mails, so you need to be able to introduce yourself quickly and then ask to get placed on a media list. And yes, the first few times you do it, it is TERRIFYING. But you eventually get used to it and it will be come second nature.

Other things to keep in mind:

  • More often than not, you have to reach out to them. Do not wait around hoping that a brand will notice you – be proactive and approach them!
  • Brands don’t owe you anything, so try not to get too offended if they don’t want to work with you.
  • Perseverance is key. If you don’t get a response, keep following up.
  • Be polite and to the point. Don’t write a brand an epic story when you send them an e-mail. You are far more likely to get a response to a short, concise e-mail than a long-winded one.
  • Don’t ask strangers for PR contacts. There is nothing grosser than someone I don’t know messaging me on IG or Twitter asking for a particular contact. Keep in mind that if a person readily hands out a PR contact, they can run the risk of ruining their relationship with the brand and that is not a risk many people will take on a stranger.

I hope this was helpful to some of you who are bloggers looking to make connections with brands, and maybe at least interesting to those of you who were just curious about the whole process. I’ll happily answer any further questions if you have them!

Physicians Formula Murumuru Butter Blushes (Review & Swatches)

Physicians Formula Butter Blushes

The Butter Bronzer was an ENORMOUS launch for Physicians Formula in 2016, so it’s no surprise that they’d want to continue the line… I present to you: the Physicians Formula Butter Blushes!

Physicians Formula Butter Blushes

However, I feel like the launch of the Butter Blushes was so incredibly subdued. I saw little to no hype about them online (aside from a random “free with purchase” on Ulta’s site that lasted all of six hours) and no one had mentioned them to me.

Physicians Formula Butter Blushes

So when I saw these two Butter Blushes at Shoppers Drug Mart one morning, I gulped in shock at the price tag ($17.99 CAD each! EACH!!!) and glanced mournfully at my wallet who was about to eat the cost of them. But since I’ve been having quite the love affair with the Butter Bronzer in 2016, I didn’t even want to try to resist this launch!

Physicians Formula Butter Blushes

The Murumuru Butter Blushes look and smell identical to the Butter Bronzer. Right down to having that  weird spongey applicator thing in the base – do yourself a favour and throw it out.

Physicians Formula Butter Blushes in Natural Glow and Plum Rose - swatches
Physicians Formula Butter Blushes in Natural Glow and Plum Rose – swatches

So the two shades of the Butter Blush are Natural Glow and Plum Rose. And they show up enough in an arm swatch… and it smells nice like the Butter Bronzer... but… uh… that’s where all the goodness ends.

THESE FREAKING SUCK.

They are so goddamn bad it’s not even funny. I’m a relatively pale skin toned person in the grand scheme of things and these do not show up on me very well.

Wearing five layers of Plum Rose

In the shot above, I’m wearing Plum Rose, but I had to pack about five layers on to get even the pigmentation you’re seeing there. (And frankly, you’re probably seeing more bronzer than blush on my cheeks.) Natural Glow (which I don’t have a cheek shot of) basically ends up looking like the most tame highlighter you’ve ever applied to your face.

While I stand by the amazingess of the Butter Bronzer, I can’t recommend these godawful butter blushes. I can’t even say they’d work on people paler than me. The pigmentation is so bad that it’s practically non-existent. These are just atrocious. I’m actually offended that I spent $18 EACH on these things. Save your money – do NOT buy them. (But if you’re a masochist and want to try them for yourself, you can get them at ulta.com for $12.99 USD each.)