Tag Archives: Kiss
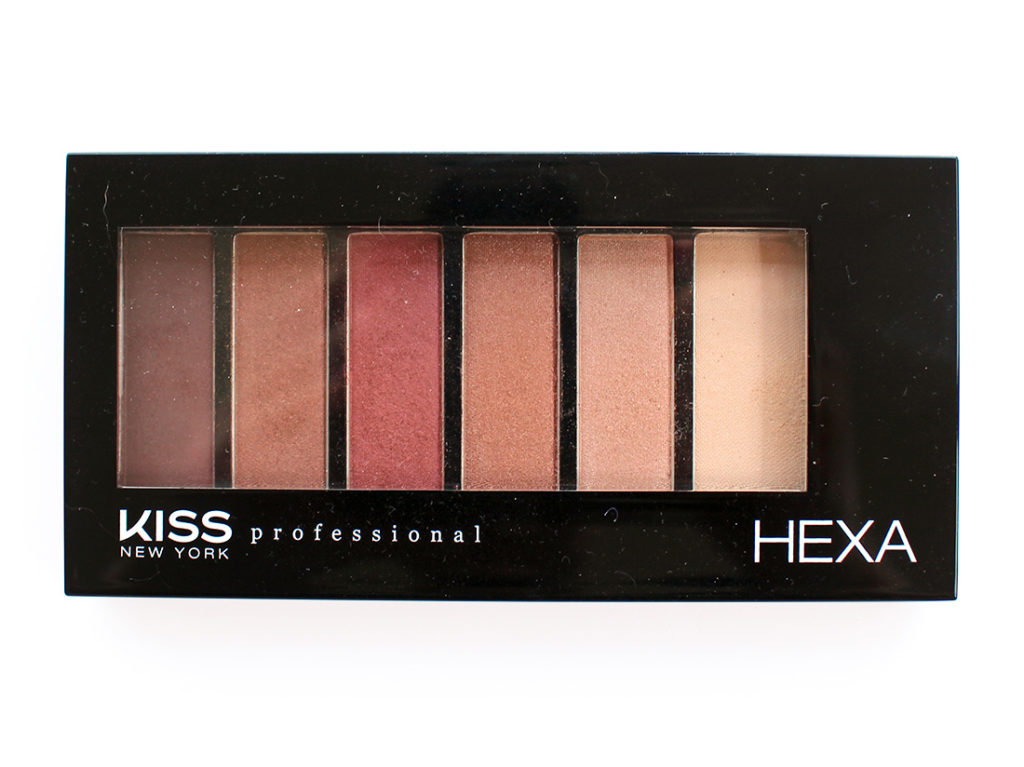
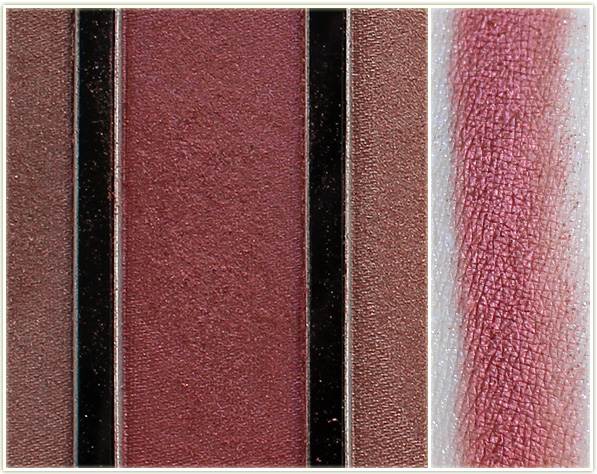
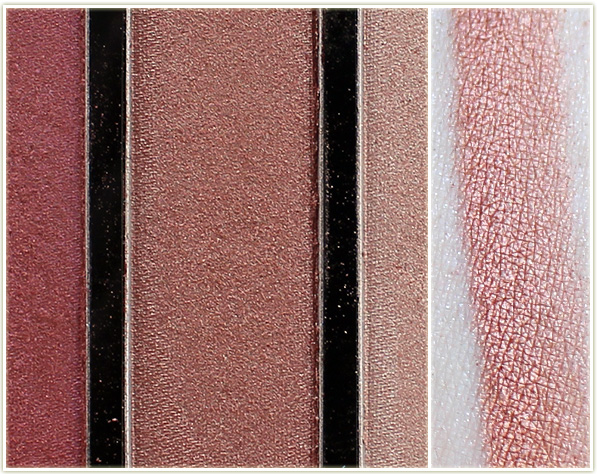
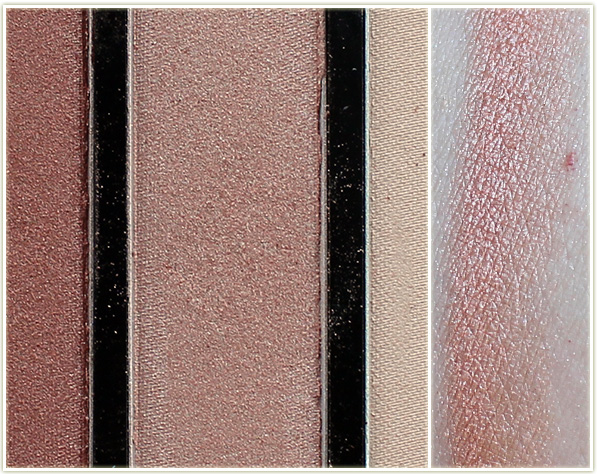
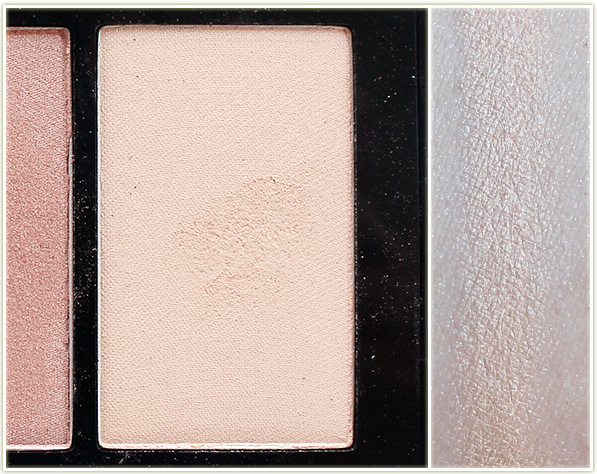
Swatch Sunday: Kiss Professional Hexa Pink Nude
I’ve always been a fan of Kiss lashes, but did you know they’ve also branched out into makeup as well?
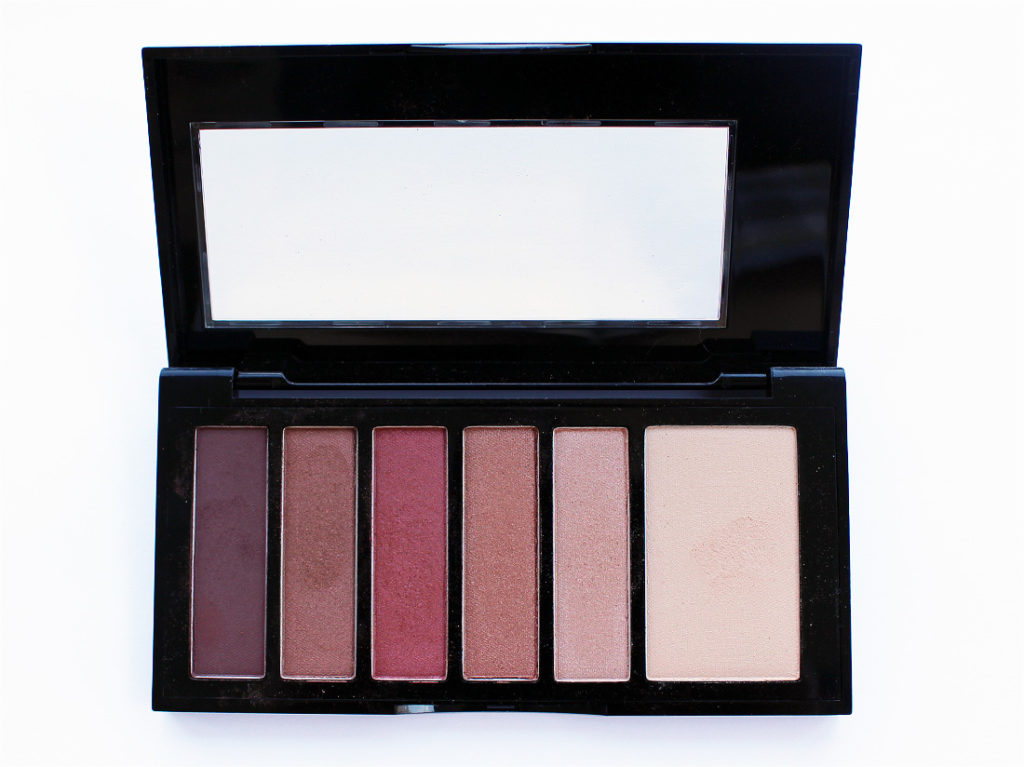
Today’s swatch post features their Hexa palette in the shade Pink Nude, although they do seem to have three other shades available as well.

Please enjoy the swatches, but if you’d like to see this palette in action, alongside more makeup by Kiss, you can check out this video I posted a few weeks ago:
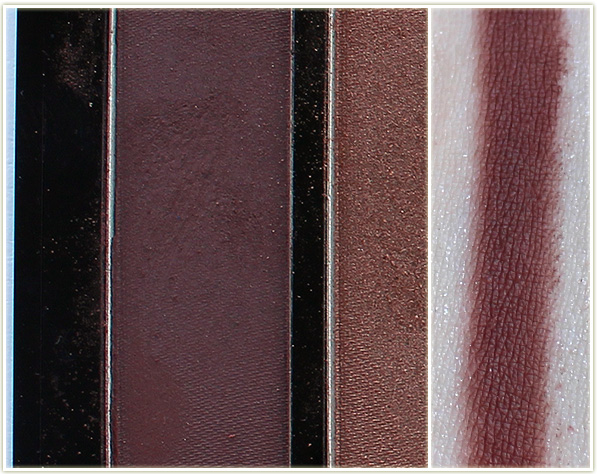
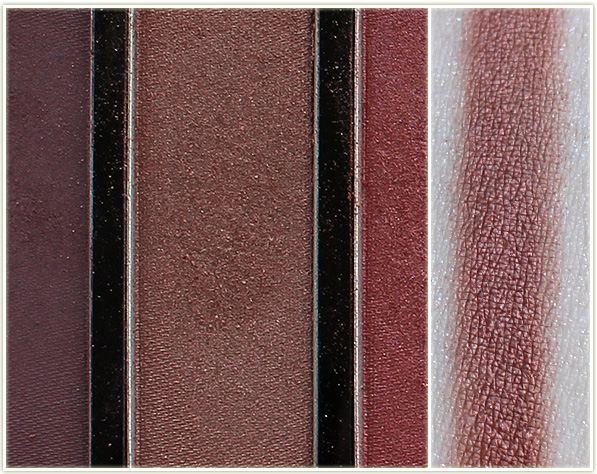
Kiss Professional Hexa Pink Nude Swatches
Kiss Professional makeup can be purchased at London Drugs or at Rexall Pharmacies in Canada.
The product featured in this post was sent to me for consideration.
VIDEO: Kiss New York Professional Try On + Thoughts
Kiss Limited Edition Halloween 2015
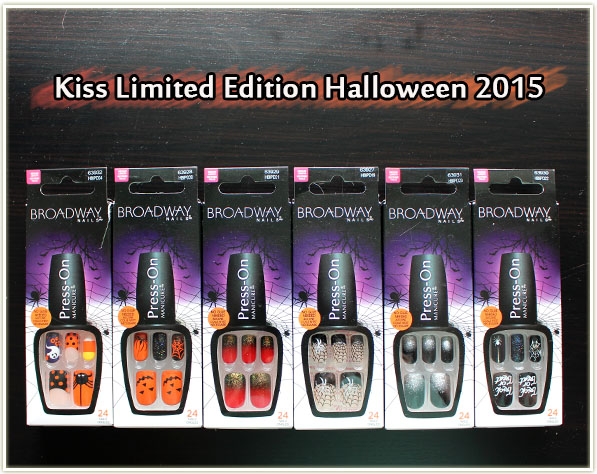
So you may have noticed that I don’t post anything related to nails on my blog. I’m just not hugely into nail polish so it’s not really a “thing” for me. I am, however, HUGELY into Halloween, so that’s why I’m introducing you to the limited edition fake nails by Kiss (aka Broadway Nails).
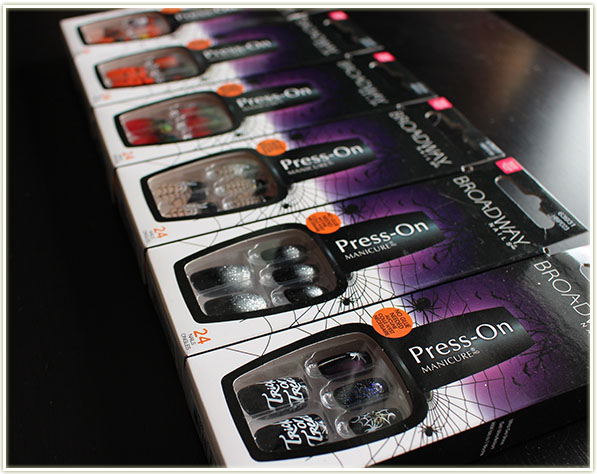
With a six different options, it’s hard not to not fall in love with at least one of the designs, especially if you’re a rabid fan of Halloween like I am!
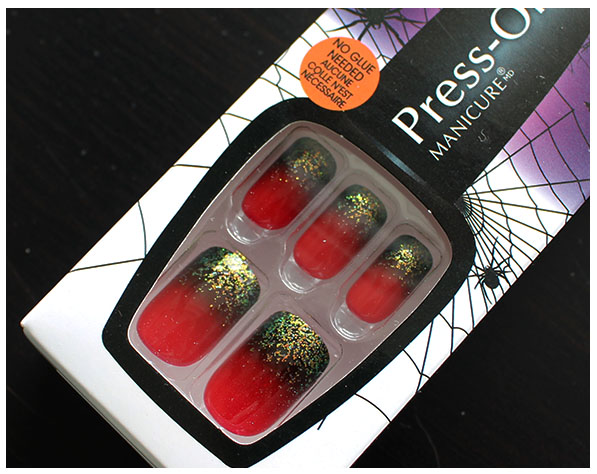
These “RIP” nails were the first ones to draw my attention. I’m going as Harley Quinn for Halloween this year (huge Batman-themed six person group costume) and these are PERFECT for it! Hell yes to a red and black ombre with glitter on top! I cannot wait to wear these with my costume.
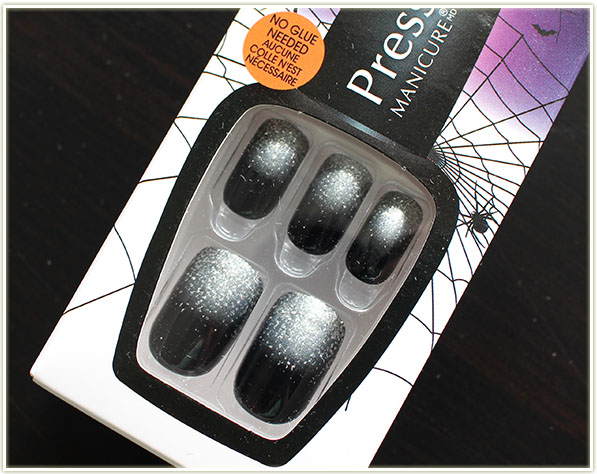
Ghostly – A black to silver ombre with silver glitter on top.
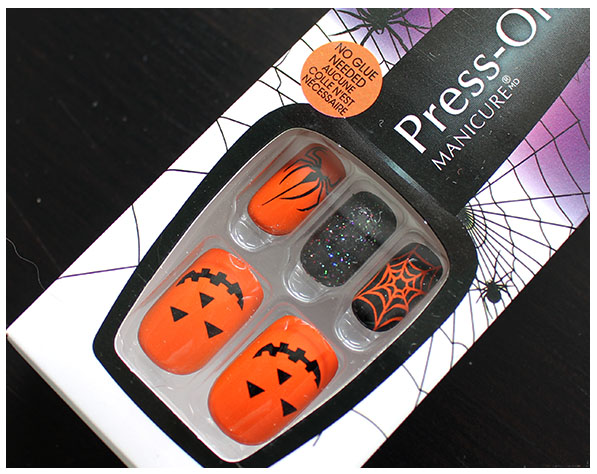
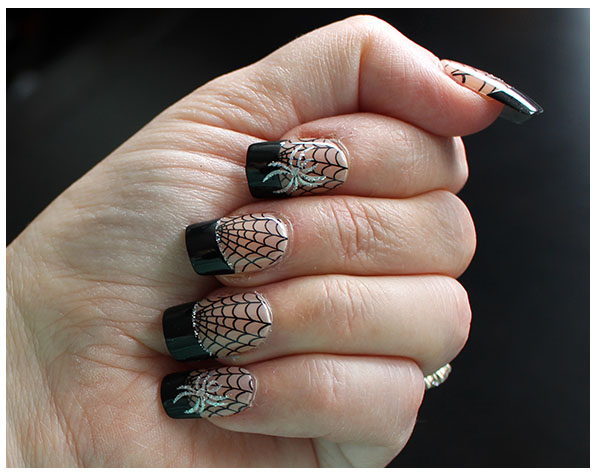
Cauldron – Adorable jack-o-lanterns with spiders and webs.
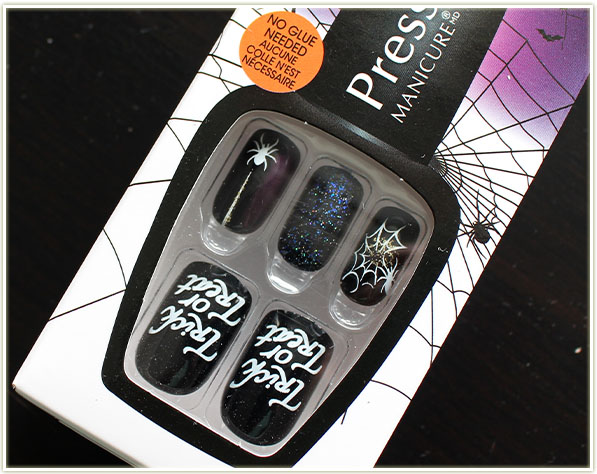
Fright Night – Trick or Treat! With glitter and spiders.
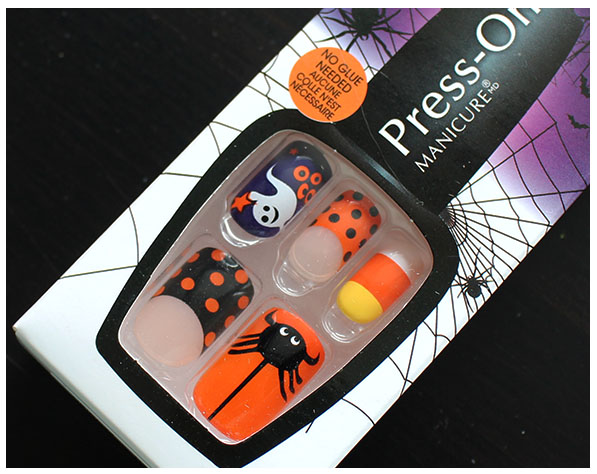
Haunting – Ahhhh candy corn! Easily the best Halloween candy!
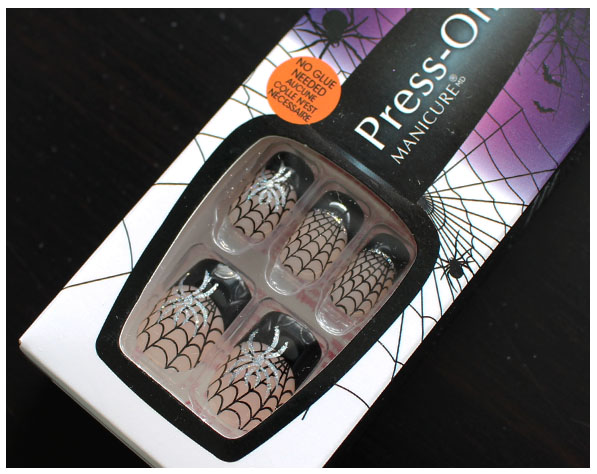
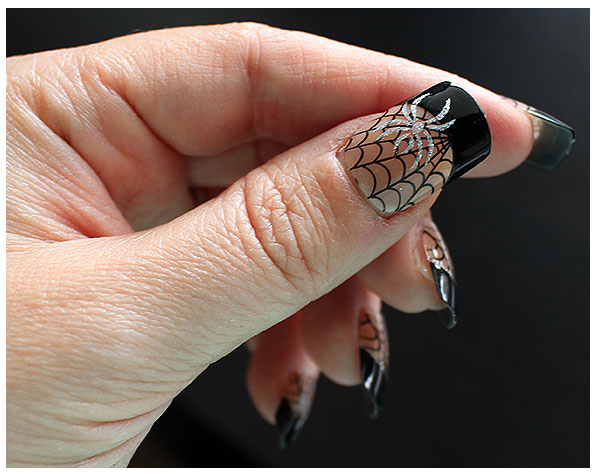
Broomstick – And lastly, glittery spiders and their webs.
Having never tried fake nails before, I really didn’t know what to expect. All of the limited edition Halloween themed nails are marked as “medium” length but holy crap did they ever feel long to me. I saw on someone else’s blog that you can actually file down the tip to make a shape (and length!) you want, so I may be doing that the next time I put a pair of these on. The length on these is definitely not something I’m used to at all, so there’s a bit of an adjustment factor on that.
Staying power? Man, let me tell you about the staying power… these bad boys did NOT want to come off! I was fairly impressed that the glue that’s built into the nail (it’s under a peel off tab) is so impressively strong. You do NOT have to worry about losing a nail while wearing these at all.
Each packet comes with 24 nails for your digits, so you’ll find a wide variety of sizes to pick from for each finger. I love that they have so many Halloween themed options to get us into the mood and I’m really happy I found something that’s a perfect fit for my planned Halloween costume. Woohoo!
This post features press samples sent for consideration.
Wedding Anniversary – Hair & Makeup
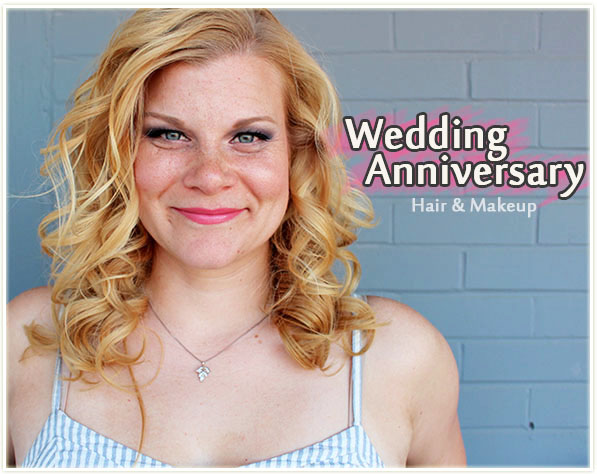
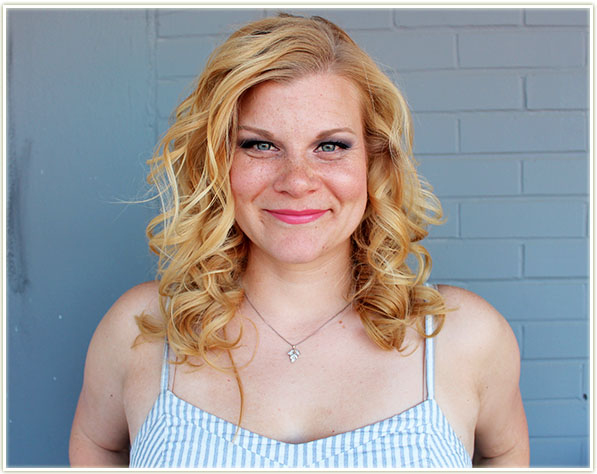
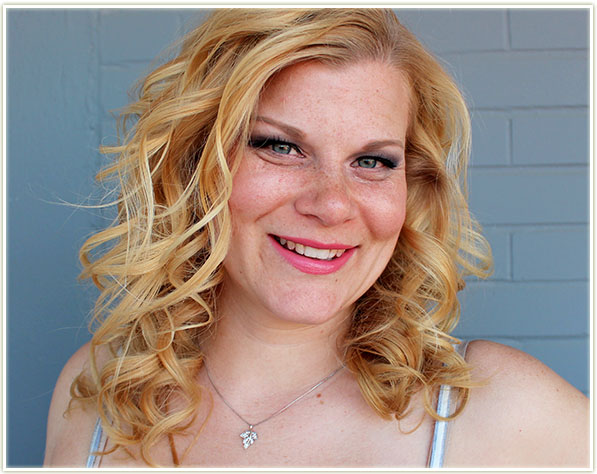
My fifth wedding anniversary was in July, and we had a lovely dinner out in Toronto. I kept it fairly simple: I curled hair (my husband’s favourite style on me) and did some makeup that semi-matched what I was wearing (because really, I have no idea how to do this contrasting business).
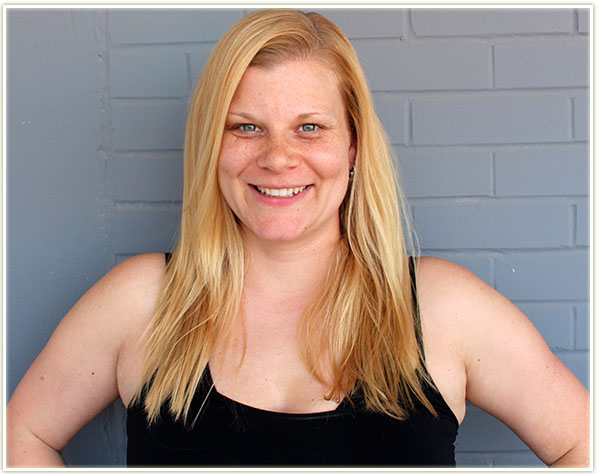
So I took it from this:
To this:
And here’s how I did it:
I always start out with doing my makeup first- it’s the most time consuming portion and the one I have the most fun doing. I also hate having my hair in my face when I’m trying to blend foundation (although, in hindsight, I didn’t apply any for this night out) because it’ll inevitably end up in my hair!
I didn’t really have anything planned out for our anniversary, so I opted to use a palette I don’t get around to using as much as I wish I did! Using the Urban Decay Vice 3 palette (the 2014 holiday release), here’s what I did:
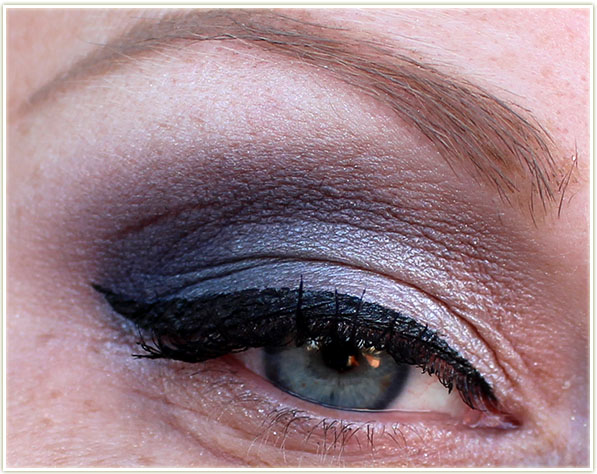
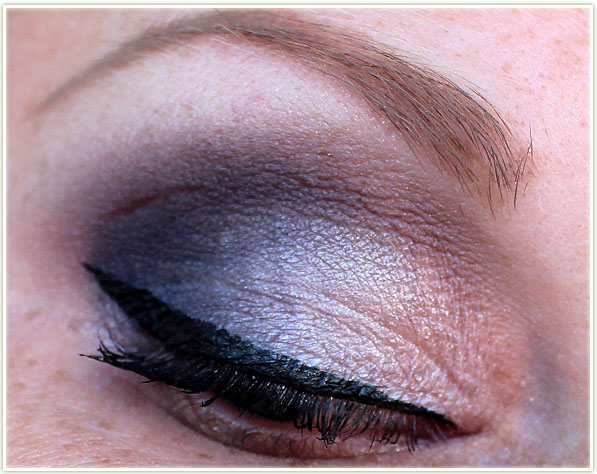
Eyes
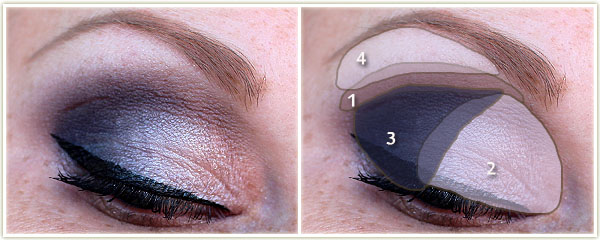
- Undone through the crease to make blending easier.
- Bobby Dazzle and Last Sin mixed together and packed all over the lid.
- Heroine in the outer corner and dragged through the crease.
- I used the Hourglass Ambient Lighting powder in Ethereal Light to highlight the brow bone.
I then created the wing with Kat Von D‘s Tattoo Liner in Trooper and applied Make Up For Ever Smoky Stretch mascara to my lashes.
Rest of the Face
- Bronzer: Hard Candy Hula Hula
- Blush: Hourglass Diffused Heat
- Highlighter: Becca Champagne Pop
- Lips: Bite Beauty Fig
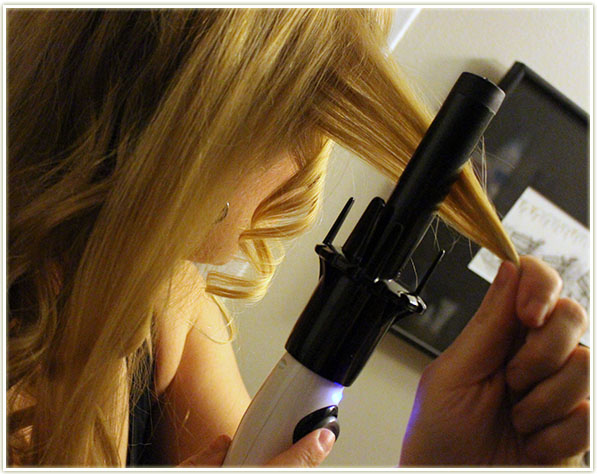
With my makeup done, now was the time to tackle my hair. I had never tried the KISS InstaWave hair curling tool before and was really curious to see how it would compare to my normal technique of using a flat iron to create my curls.
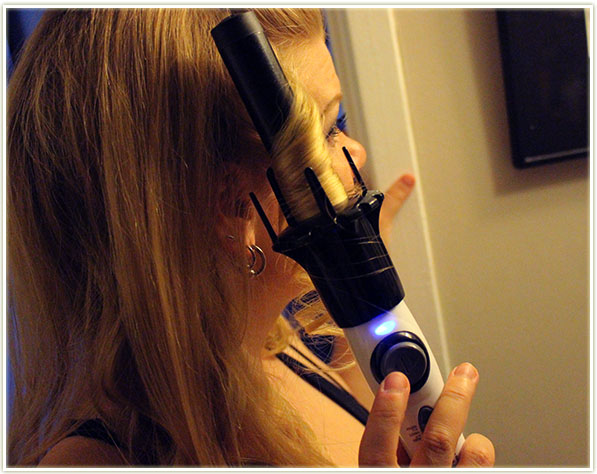
The tool has a button that spins the barrel either clockwise or counter clockwise. The spokes you see at the base of the wand help to corkscrew your hair onto the barrel and keep it in position. To get your hair to spin into place on the barrel, all you need to do is hold a section of hair perpendicular to the barrel, hit the button to rotate the wand, and it’ll automatically suck your hair on the barrel and curl it whichever direction you chose. I let the hair sit for a little bit on the barrel before I release it.
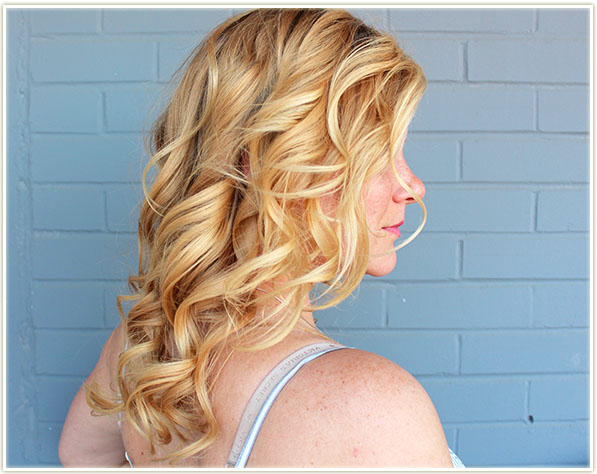
Et voila! Ringlet curls! I don’t brush them out because I prefer them tighter and they’ll relax over time anyway. My first impression is that I think the KISS InstaWave is pretty decent for people who aren’t great at curling their hair – it a foolproof product since it does the whole wrapping motion for you. It also heats up lighting fast.
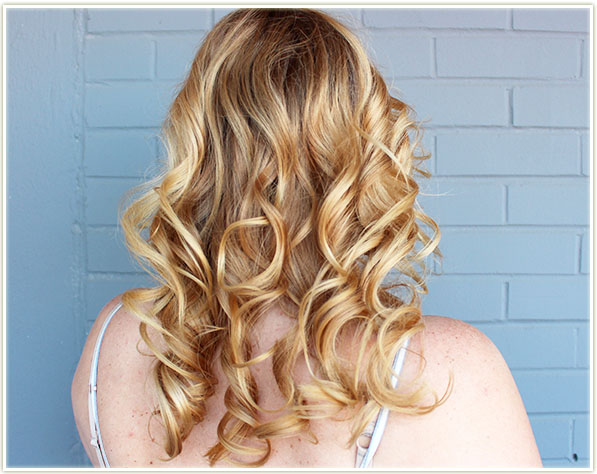
I think it’s awesome that it rotates both ways so you can choose what style you’re going for without having to crane your arms and neck. It also doesn’t clamp your hair like a flat iron or a true curling iron does so keep that in mind. For those of you who want a much tighter curl at the root, this won’t get you that. However, because it’s not as tight at the root, nor does it clamp your hair, you may actually save yourself a little bit of heat damage there (although that’s not something I’m personally that fussed about).
I sprayed my hair with a bunch of hairspray to make sure my hair stayed in place (it was a pretty humid night) and there we go! All done!
The KISS InstaWave hair curling tool was sent to me for consideration.