So I thought I had done really well this month! It got to be the end of the month and I had only purchased three items (that were actually essentials) and I was like “Wow! Look at how much money I saved this month!” Then I remembered that IMATS was on October 1st and I had bought a crapton of products there. So uhhhh… yeahhhhh.
Here’s my IMATS haul in case you hadn’t seen it yet:
As for the items I picked up outside of IMATS, here they are:
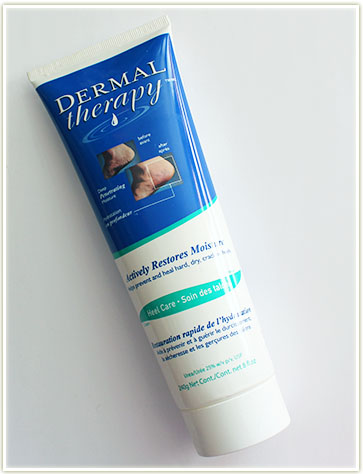
Dermal Therapy – Heel Care (free – gift)
I need to accept that nothing else is going to work on my heel cracks other than Dermal Therapy‘s Heel Care. I’ve been using this for years, but could only ever find it at Walmart (which I’m nowhere close to in Toronto) and I had run out long ago, so my mom brought me back a huge bottle of it from Costco. At one point I had thought that The Body Shop’s Hemp Rescue Balm was working for me, but it was a bandaid fix and wasn’t really healing my heels. I’m not trying anymore products anymore now – Dermal Therapy is IT for me!
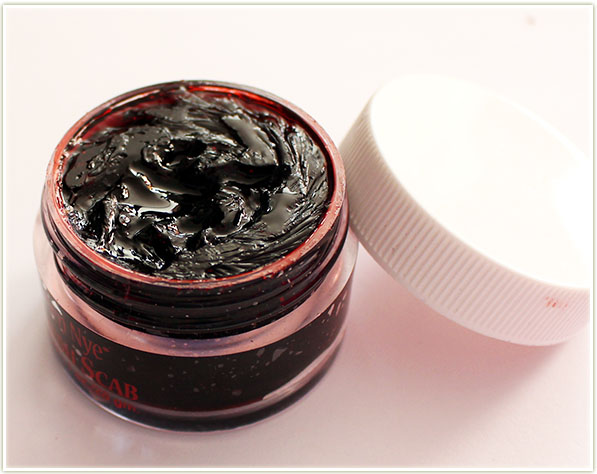
Ben Nye – Scab Blood ($10 CAD)
I needed some kind of bloody stuff for my work’s Halloween costume this year, so I went to Malabar in Toronto and picked up some Ben Nye Scab Blood. I’ve been using this stuff for YEARS to do blood dripping from my eyes (I got it from Dark Angel’s “Red” episode!) because for whatever reason I’ve always been attracted to that look.
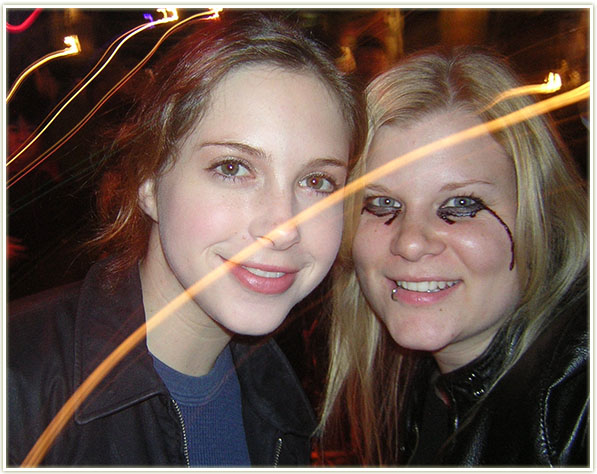
Halloween 2004!
That shot above is Dorothy (university friend and roommate!) and I back in 2004 for Halloween! Anyway, Scab Blood works well as a stay in place kind of congealed blood. It doesn’t move around and it looks realistic so long as you add a black or grey liner behind the product to deepen it. At $10 a pop, Scab Blood is not only cheap, but it’ll also last you a really long time! (My first pot lasted about five years before I had to chuck it.)
In the end, you can’t really tell I’ve got bloody eyes in this group shot we took of our Halloween costumes at work. (We were going as camp counsellors at Camp Crystal Lake – I opted to be a dead one as if Jason had killed me.)
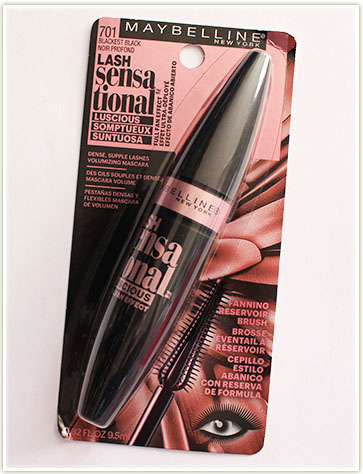
Maybelline Lash Sensational Luscious Full Fan Effect mascara ($5.99 CAD)
I picked up the MaybellineLash Sensational Luscious Full Fan Effect mascara (longest name EVER) at Walmart when we were in Niagara Falls for my half marathon last weekend because I’m planning on doing a drugstore favourites video. I LOVE this mascara, but had used it all up so I decided to grab a fresh tube for the video. I’m currently in the midst of using up another mascara, so I won’t be opening this one yet, but this stuff is phenomenal!
And that’s it for the month! With the Sephora VIB sale looming over my head I’m sure I’ll have plenty of goodies to share next month!
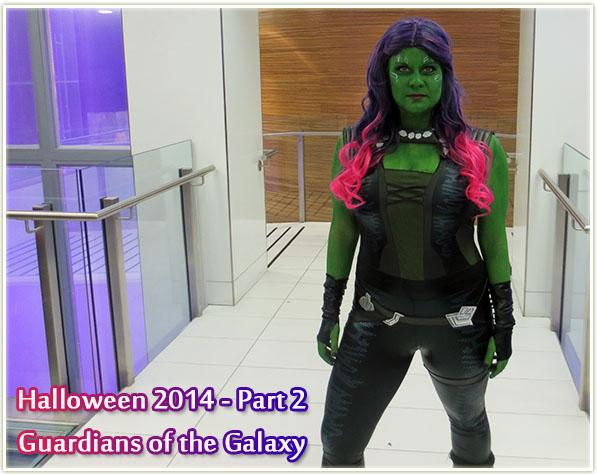
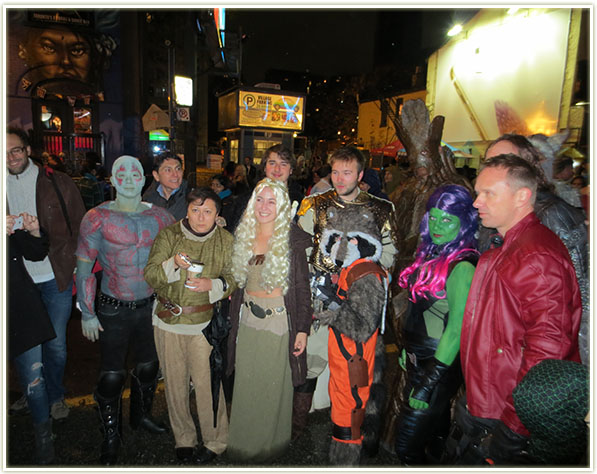
Halloween was QUITE the event this year! A group of friends and I saw the movie the Guardians of the Galaxy in August and walked out of the theatre with the realization that we had the exact perfect combination of people to go as the Guardians for Halloween. We knew it was going to be a lot of work, but holy cow did I ever not realize just how much! We got started at the beginning of October and it feels like it consumed the entire month!
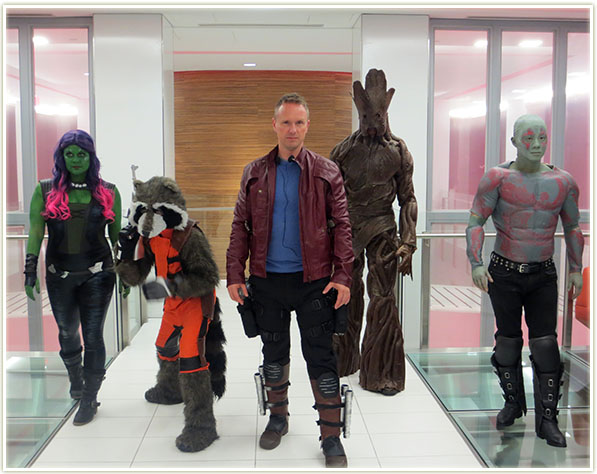
Our group as the Guardians of the Galaxy!
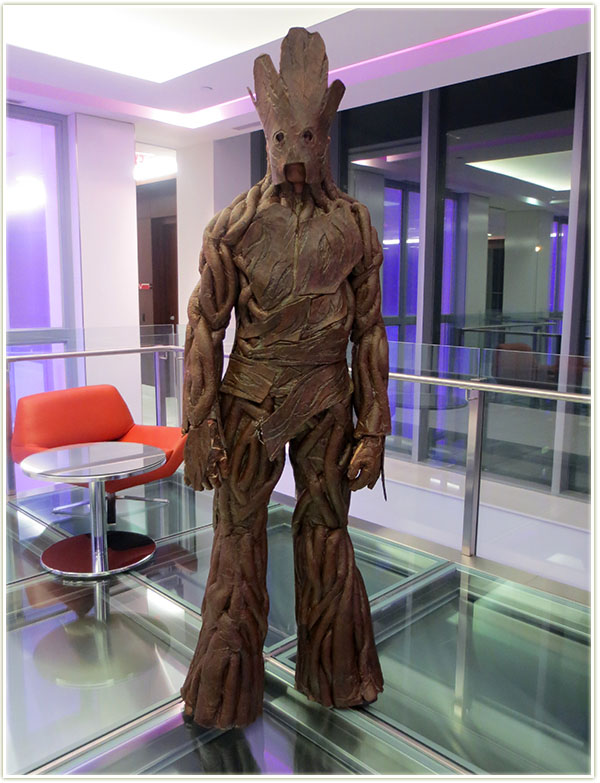
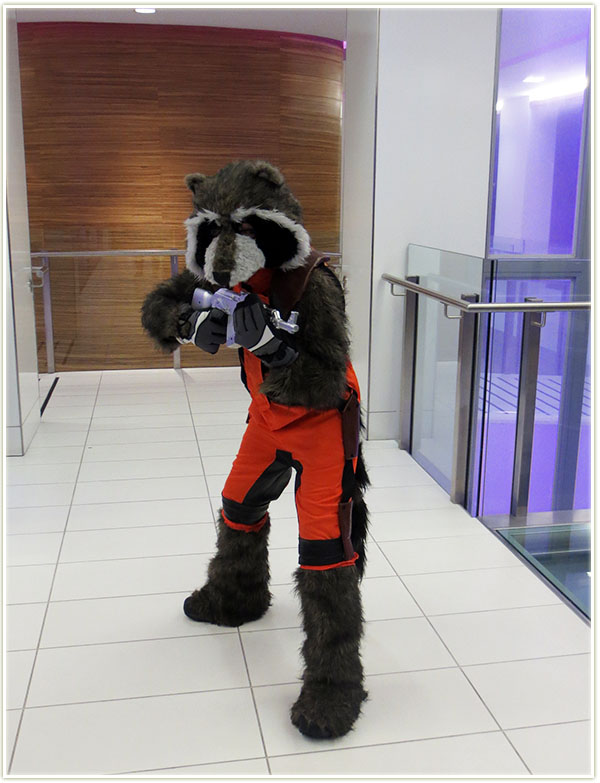
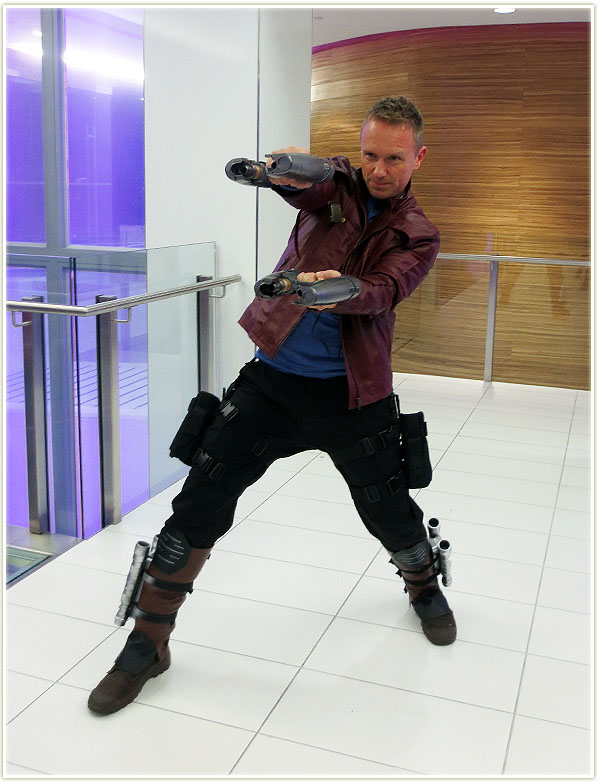
The bulk of the work was spent working on the Groot costume since that was not only massive, but super involved. I think it came out especially well – and we have our costume designer mastermind behind it all – Steve did an amazing job pre-planning and executing the Groot outfit, his own Drax costume (amazing muscle suit!) and then did Rocket Raccoon’s entire costume by himself! It’s worth pointing out that all of those costumes were made from scratch! I got off pretty easy – all of my parts (wig, costume) were all purchased online.
I have a few details on some of our makeup below, if you’re only interested in photos, be sure to scroll down to see some amazing shots of our group in action!
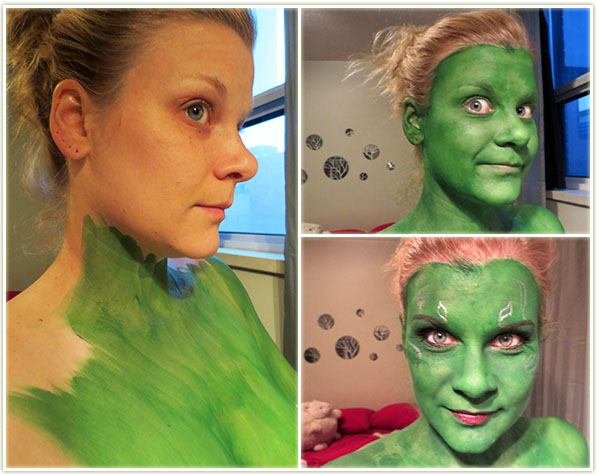
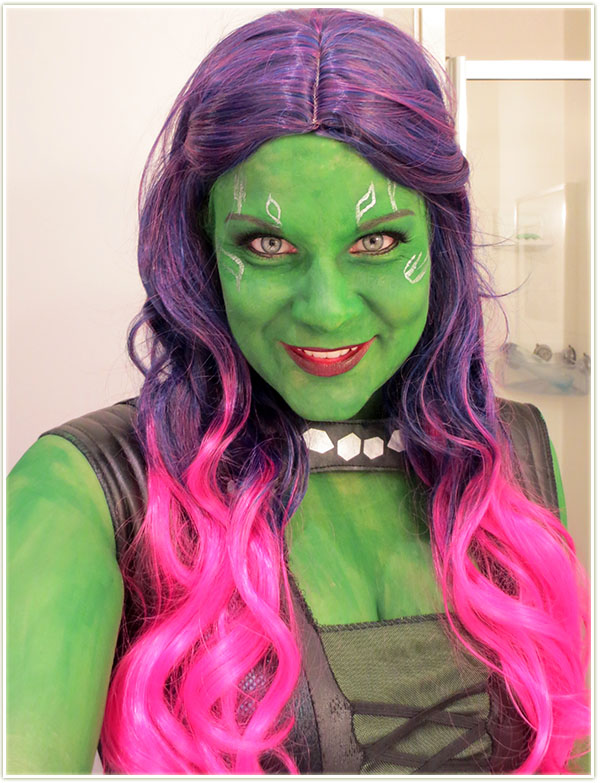
Going green
My makeup took longer than I expected – about two hours to get me completely done. I used MAC‘s Chromacake in Landscape Green to change the colour of my skin. It took about two layers but I’m still not pleased with how it turned out as I feel it’s too patchy. The texture seemed to be more even on my face, but the body was especially bad. I think using an airbrush system would’ve been a better idea.
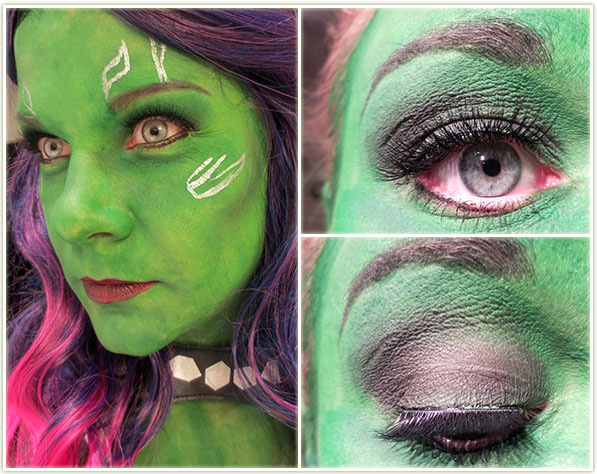
Close up of face detail
My face was pretty straightforward once I had the green base on. I kept it simpler than the trial I had done before and stuck with a single colour on my eye for shadow (MACPrint). I used the same shade through my eyebrows and to contour my face. The contour helped a lot to give me some depth and bring out my cheekbones since I looked especially flat before doing so. I popped on a pair of Femme Fatale lashes in their Catwalk style since I felt my eyes were getting lose amongst all the green. Any liner touchups were done with Urban Decay‘s Black Velvet pencil. On my lips is Revlon‘s Black Cherry because I couldn’t find a decent darker green and I was running out of time to mix shades. Gamora has a few silver lines on her face so I sketched out some rough shapes with a silver liquid liner from NYX.
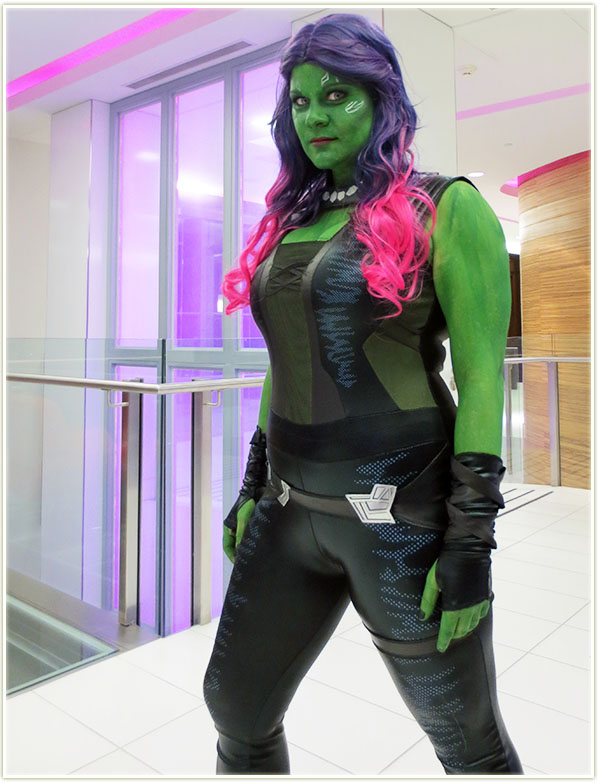
Finished Gamora makeup with outfit and wig
I think the end result is decent. Not movie quality, certainly, but definitely good enough for Halloween! The wig was a $20 I got from Ebay and it worked out far better than I ever expected from a relatively cheap wig (plus I’d never even worn a wig before). I had to pin some of the pieces into the wig cap because they kept dangling in my face, but I think the overall look is relatively realistic. Let me know what you think!
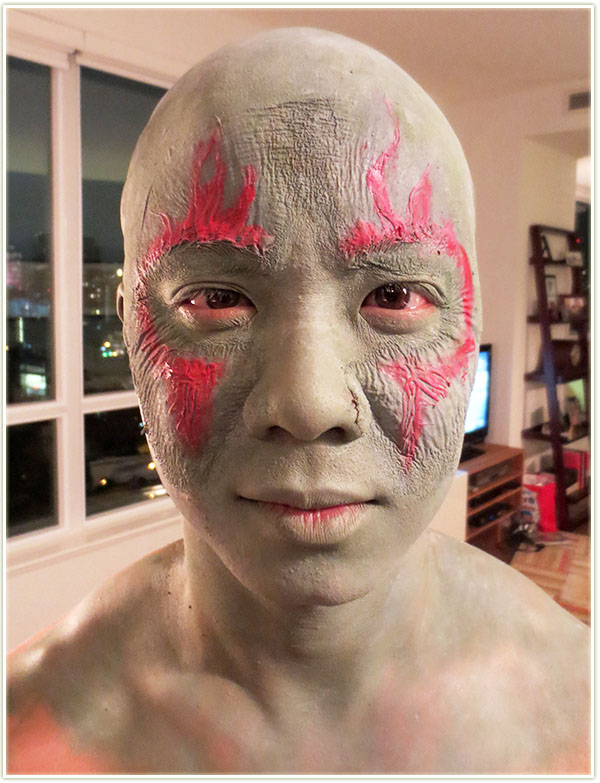
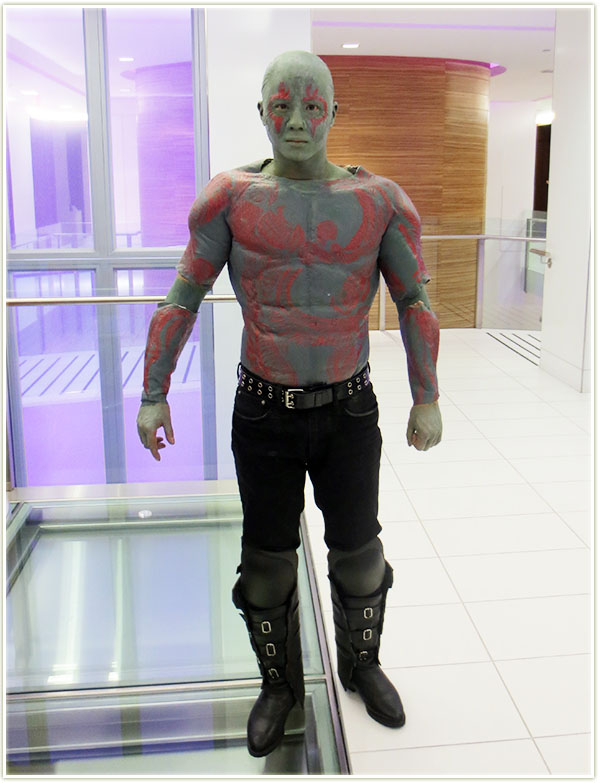
Steve as Drax
My friend Steve did his own makeup for Drax and he was kind enough to share how his turned out. Here’s his summary of what he did on his face:
Creating the Drax make-up required a fair amount of thought, and I wasn’t altogether sure about what supplies to use, or if I would be able to create it properly. For the movie, the tattoos were created using foam latex pieces that were made by taking a cast of Dave Bautista’s face, sculpting the tattoos on the cast, then taking a mould of the sculpt, and then creating the foam latex out of that. I do not have the kind of skills to do that, nor the materials, so I needed a work around that would allow me to have a base coat of greyish green, with raised red tattoos over top. I was comfortable working with latex, but could not get latex that was the greyish green I needed, nor could I make the latex thick enough to hold the shape of the tattoos.
I chose to use acrylic paint mixed with latex. What I found was that acrylic alone would flake off of the latex once it dried, as the latex did not give enough to adhere to. When I mixed the paint with liquid latex, I found that the paint now stuck and kept its thickness. I started by putting on the bald cap (which was an ordeal unto itself) trimming to size first, and then applying to my head using spirit gum. I then sponged “ruddy flesh tone” liquid latex to blend it into my skin so there was no seam.
I would need a base on which to apply the acrylic, so I used the ruddy coloured latex above my eyes and below them (I applied olive oil to my eyebrows so that I would hopefully not lose them all when I pulled off the latex). I then applied a green acrylic/liquid latex blend (I used a 3:2 ratio of liquid latex to acrylic paint) and then some grey to lighten the green, blow-drying between applications to set the latex.
I then applied the red acrylic and liquid latex mix (for this I needed it thicker so chose to use a 1:1 ratio of acrylic to latex). I lacked dexterity when applying to my face, so just used the side of the brush to make lines that criss-crossed and carefully applied tails and sharp ends using a toothpick. I added a coat of grey-green over top to lighten the tattoos.
Unfortunately, as I attempted to blend everything together using Ben Nye‘s Creme Make-up in Army Green mixed with some grey made from white and black Ben NyeCreme make-up, the latex sopped-up all of the colour, and a few minor mishaps ruined the red of the tattoos. As a result, I completely blended using the make-up and then used some leftover red creme make-up to bring the tattoos out.
You’ll notice in the close-up that there is a lot of wrinkling happening with the latex. I realized after the fact that this was probably because of the acrylic. It wasn’t sticking to my face as well because the acrylic didn’t want to stretch as much as the latex. In the end the make-up worked fine, but I wish I had done things slightly differently. I wish that I had just used acrylic and latex for the tattoos to make them raised, but then just used make-up to create colour and blend everything in. In the end the latex took the make-up so well that I would have been fine to paint the raised tattoos using red make-up after the fact.
In the end, I was satisfied with the look, and of course the best news is that my eyebrows escaped intact.
And now for some amazing shots we got before heading out onto the street!
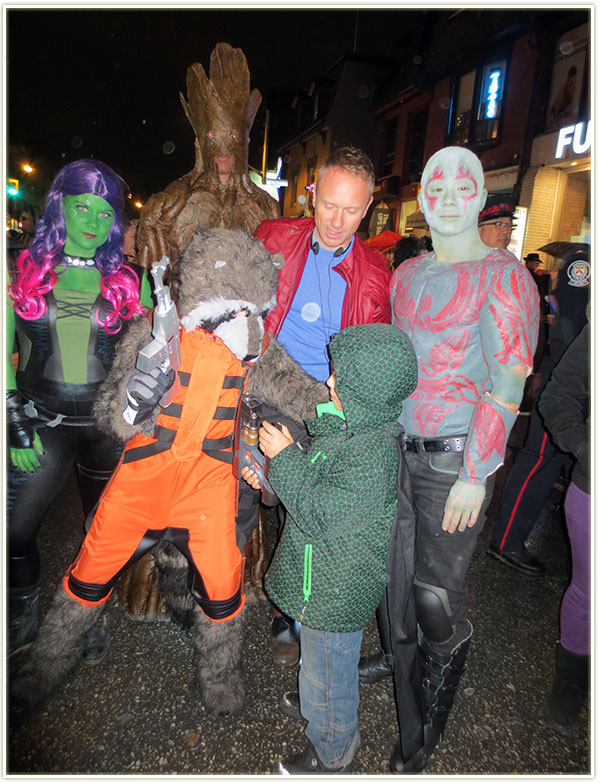
GrootRocket RaccoonDraxStarlordGamora
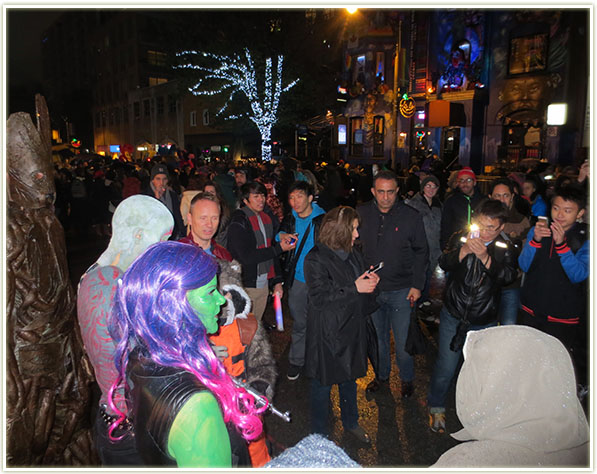
After our brief “photoshoot”, we hit up Church Street which is shut down to traffic on Halloween for the entire evening for a street party. It was seriously cold (about 2 degrees), but it stopped raining for the hour we were out there which was a HUGE blessing since most of the paint would’ve melted off us!
The first group to stop us for picturesPosing with some characters from Game of Thrones!This was cute… a lot of kids came up to us and Rocket was always trying to get them involved!We were stopped so often and so frequently for pictures that we ended up with crowds and crowds of people around us!More posing
As always, Halloween was an amazing experience on Church Street in Toronto. If you live in the city and don’t know what to do on Halloween, it’s worth it to come down to the area and check out all the costumes. Even if you’re not dressed up yourself, it’s still worth it to see what others put together. And if you DO dress up, you’ll end up feeling like a celebrity for the evening.