Category Archives: Reviews
New(er) Wet n Wild 10-Pan Palettes (Review, Swatches & Looks)
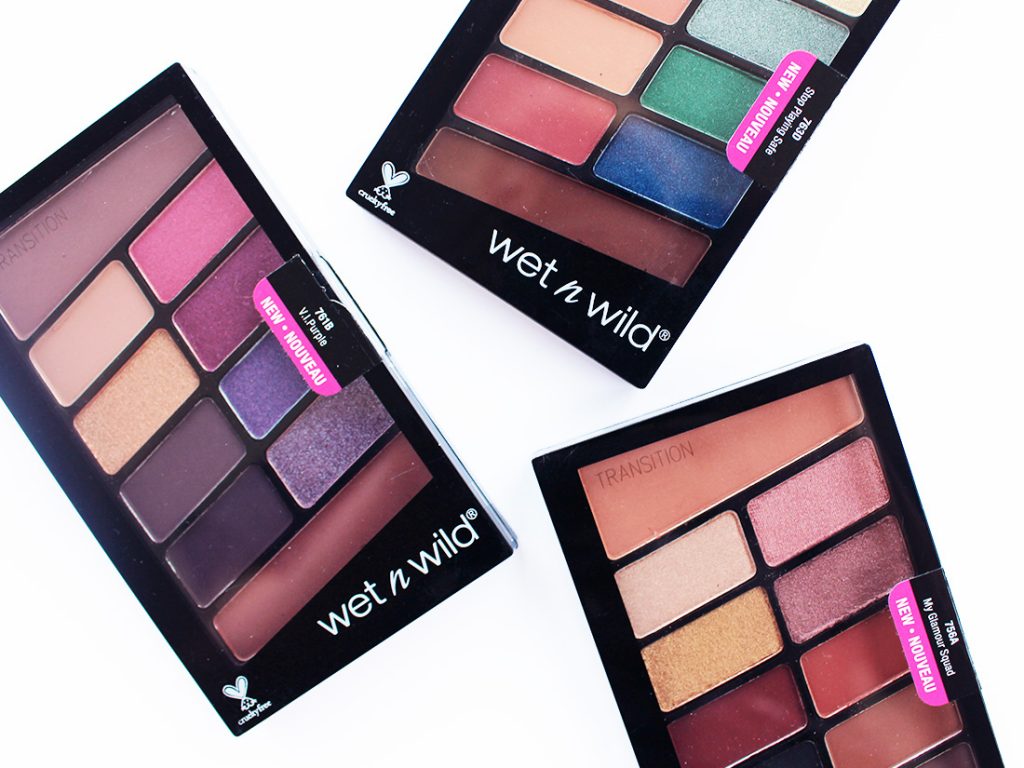
These may not be NEW new, but they’re certainly new to me! I love when Wet n Wild launches new eyeshadow palettes because their colour combinations are always so interesting. They don’t always opt for just neutral palettes, so I was happy to get my hands on these to play around with for a bit. Since they’ve switched to their 10 pan palette layout, I’ve been even more excited to play since there’s *always* transition colours in there, too!
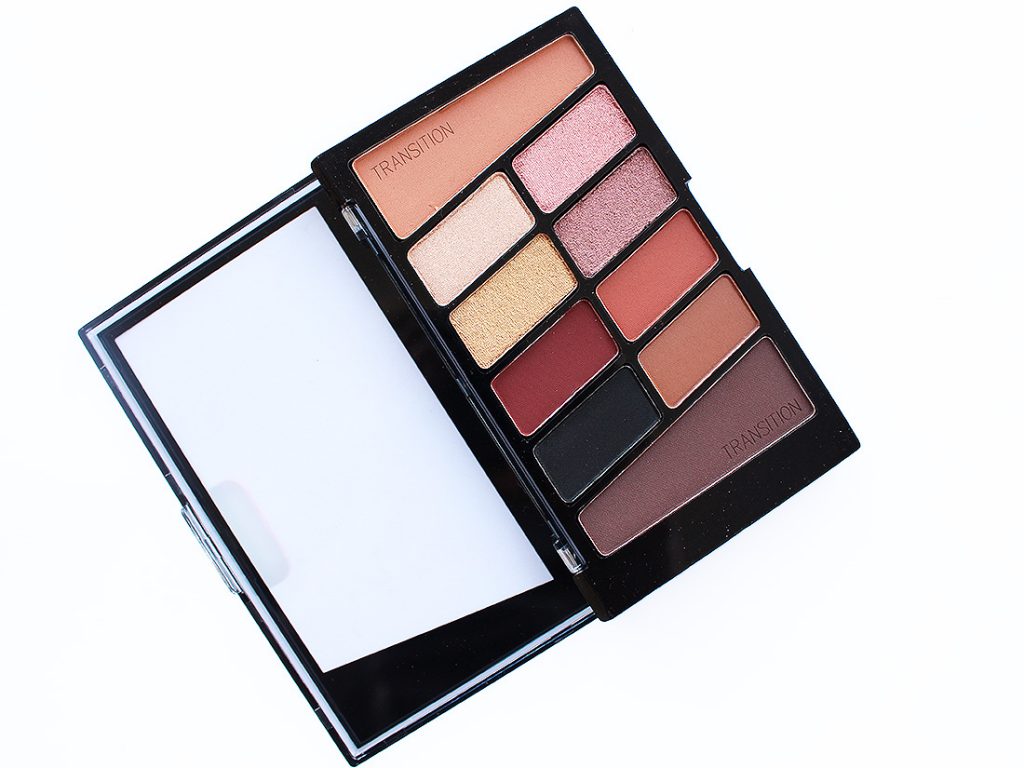
The palette I was most excited to try (surprisingly) was the My Glamour Squad. Although it was heavily neutral based, I was curious to see how that red and orange were going to perform.
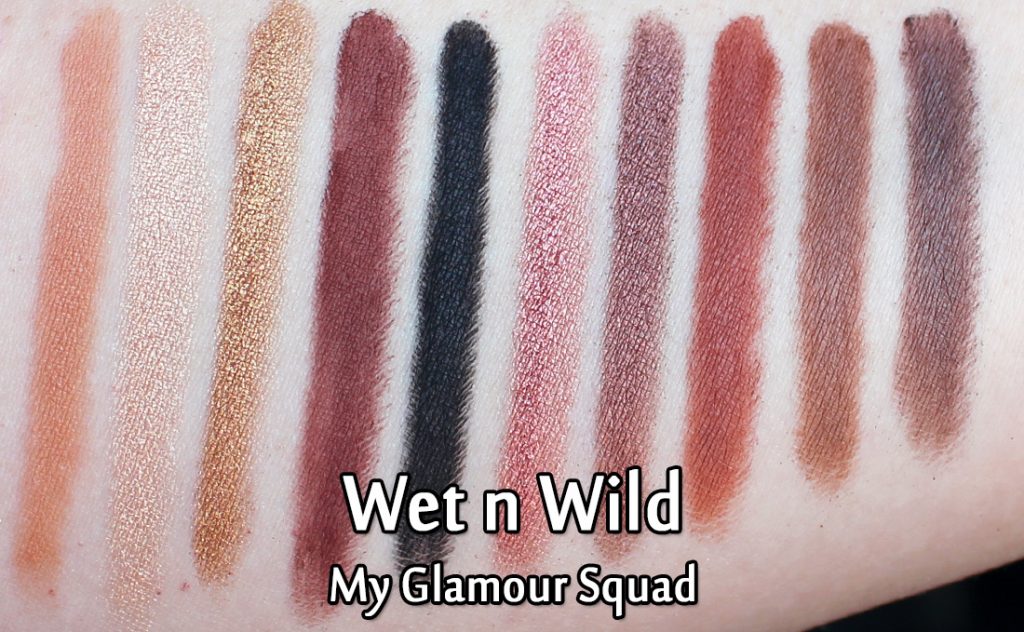
In the end, I was a liiiiittle bit deflated with what I thought were the red and orange shades. The red came across as a deep, warm burgundy that has a tendency to lean more brown than red, and the orange was basically just a mid-tone warm brown. Not quite what I had envisioned when I first looked at the palette!
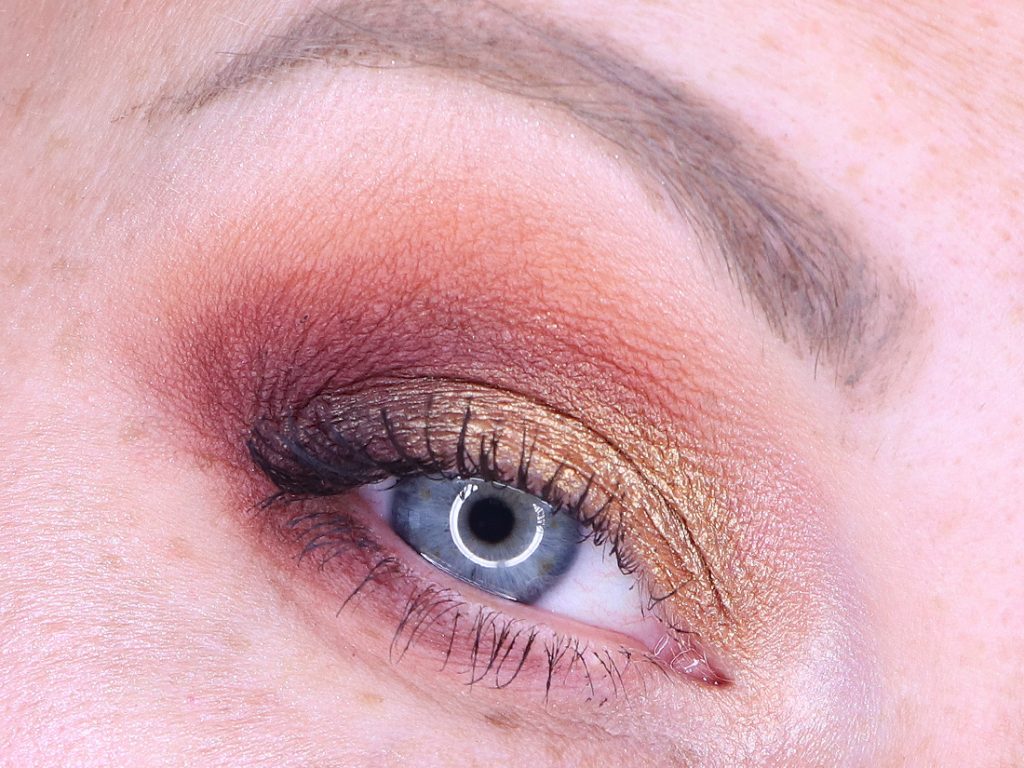
All that being said, I *loved* how this eye look came together. The orange ended up looking far more orange on my eye than in a swatch (hooray!), especially when I paired it with the paler transition colour which brought out the warmer, orange tones in the shadow. The reddish-brown ended up being a beautiful outer corner colour. The gold also paired really, really nicely with the shades I had used too.
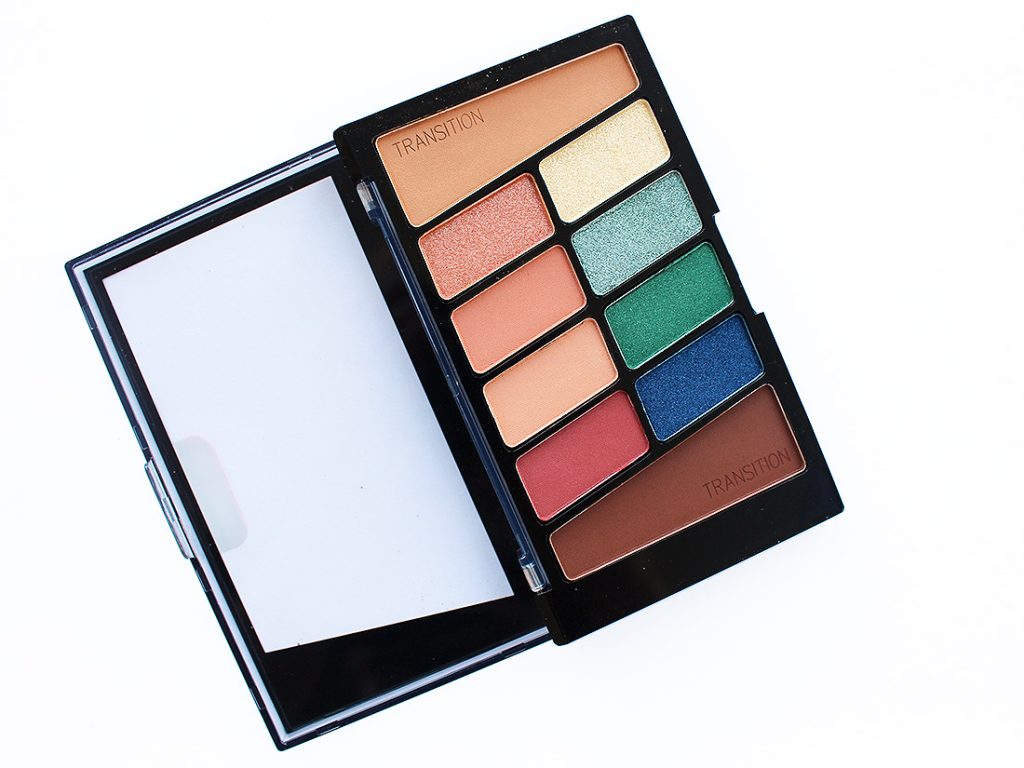
I was initially a bit surprised by the Stop Playing Safe palette. It seemed like a weird mix of warm and cool tones (which aren’t shades I tend to mix together really), but I was so, SO drawn to the turquoise and deep blue colours.
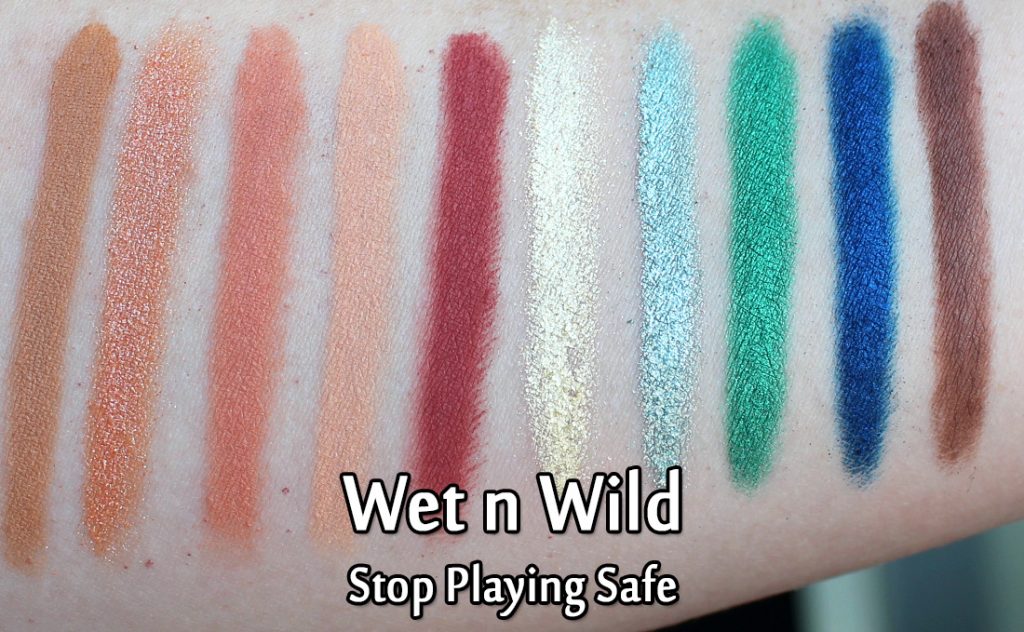
Swatched out I was blown away. The colours in this one are especially pigmented and beautiful, and I love that the more neutral toned left hand side has a definite range of colours in the mix. They are all in the light to medium range, but they don’t come across as similarly as I had expected given how they appear in the pan.
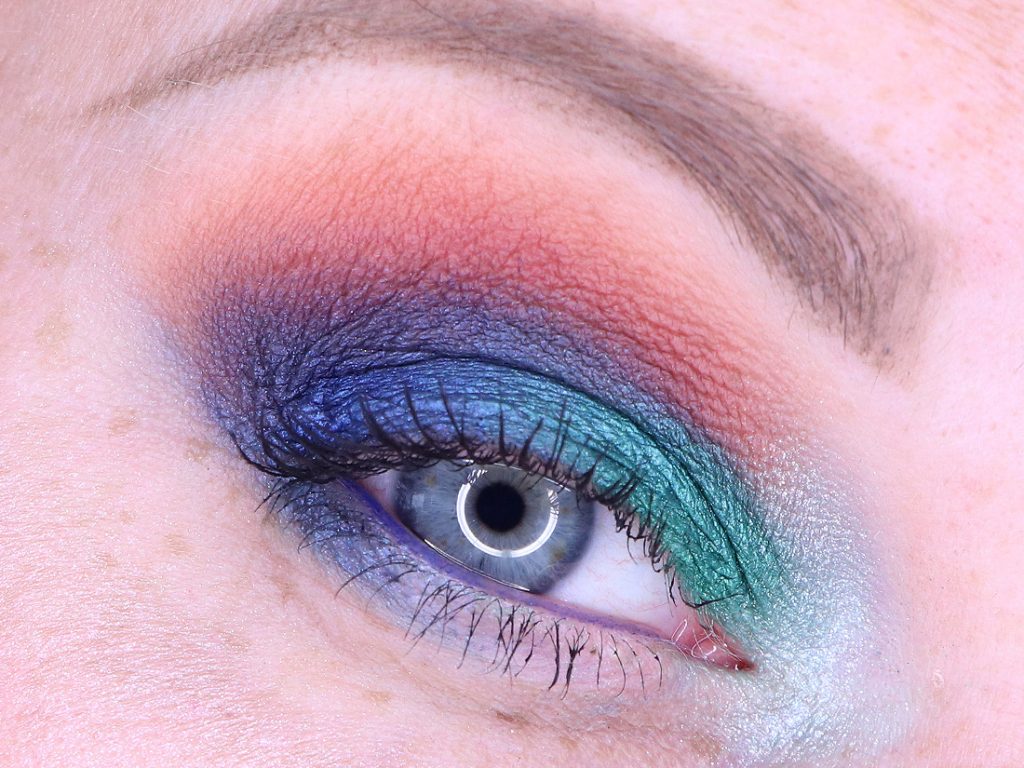
This is a set of colours I don’t think I’ve ever thought to pair together. The warm orange crease with the bright blue shimmery outer corner ended up being a wonderfully weird combo. I also love just how strong the green on the lid comes across.
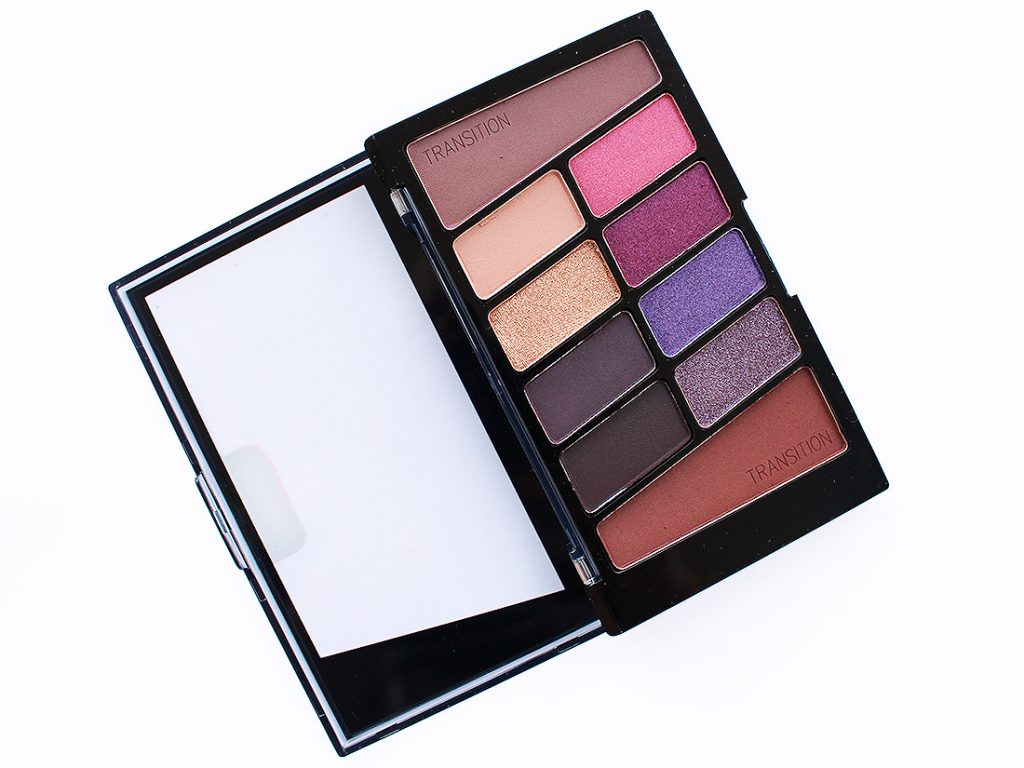
And lastly, I tried out the V.I.Purple palette (which I feel replaces the Petal Pusher palette from yonks back).
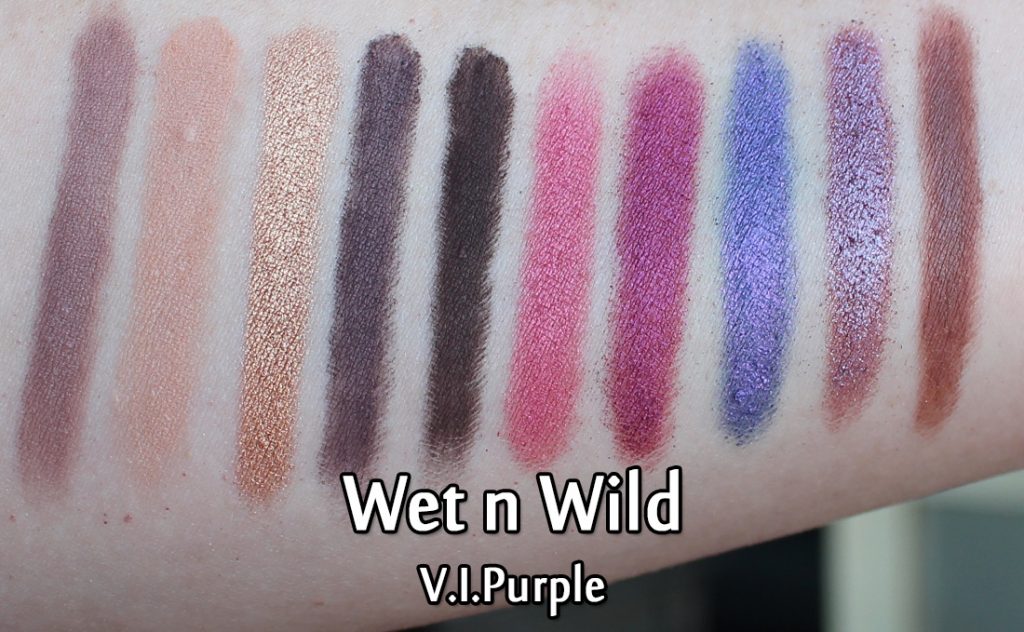
Of the three palettes in this post, I feel like this is the most diverse, unique mix of shades. While you get your neutrals (transition colour, lid colour and some deepening shades), you’re also getting a whack of pinks and purples to assist you with adding some colour to your look. And I LOVE that they’ve included not only a warmed toned brown, but also a cooler toned one as well (both shades are on the ends of the swatch shot above).
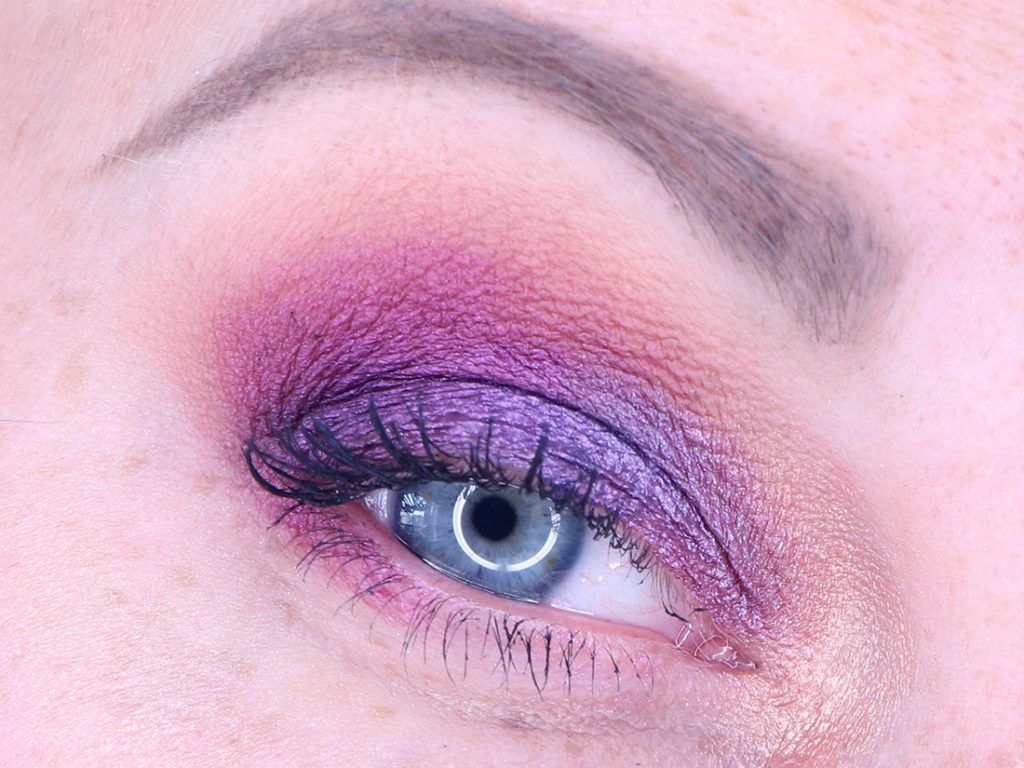
I ended up doing a fairly basic purple/pink eye with a warmer crease and a golden inner corner. I was amazed at how much I liked the shimmery outer corner area on both this look and the previous one. I do tend to prefer mattes in that area, but for whatever reason it really worked out with these shades!
Final Thoughts
Wet n Wild continues to impress me with their eyeshadow offerings. I love all three palettes I tried and found that they were consistent across the board. Their inclusion of plenty of mattes amongst the shimmers is one of the best things that Wet n Wild has ever done with their palettes. There used to be a time when their palettes were ALL shimmers, and it could be difficult to work with them in that state (just due to the lack of dimension). So the extra mattes alongside beautiful transition colours and wonderful to work with shimmery colours make these palettes a no-brainer for me to recommend to anyone. I love them!
The Wet n Wild 10 pan palettes can be purchased on well.ca for $7.49 CAD each.
The products featured in this review were sent to for consideration. Post contains affiliate links.
VIDEO: Tarte Unleashed Palette – Review, Swatches & 5 Looks
Revlon Colorstay Brow Shape & Glow in Taupe (Review & Swatches)

Maybe it’s because I’ve got barely there brows, but I’m always interested in trying out new brow products on the market. I’m not especially GOOD at doing my brows, mind you, but I’m always eager to give something new a shot. There’s been a lot of brow markers coming out lately, and I was eager to try the new Revlon Colorstay Brow Shape & Glow. I was sent the shade Taupe, which is perfect because that’s the shade I use in just about every brow product out on the market.
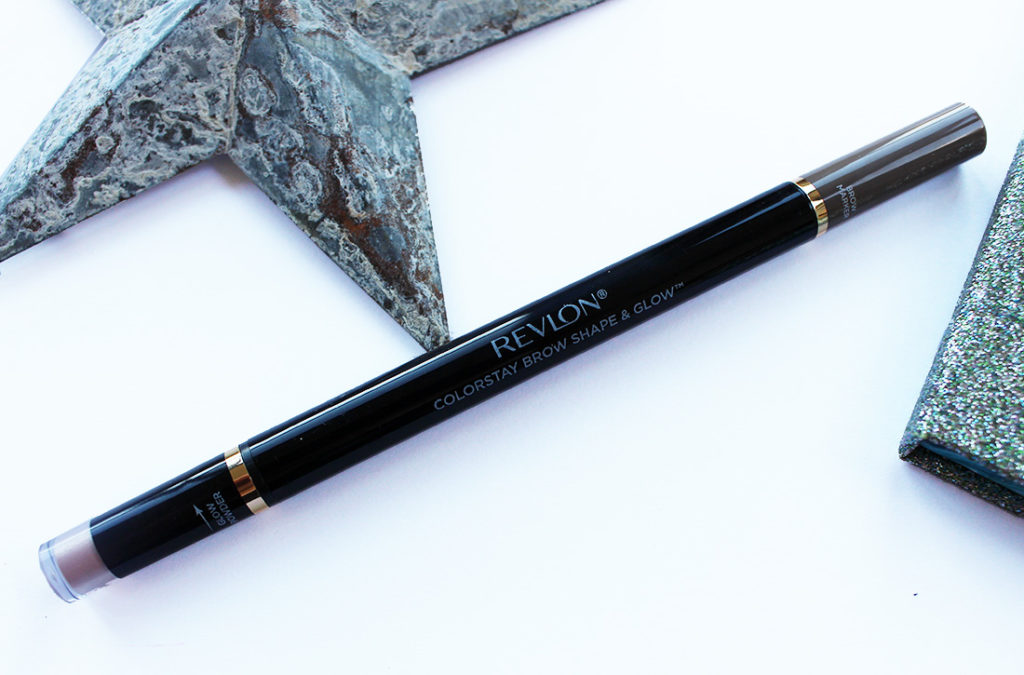
The Revlon Colorstay Brow Shape & Glow is a 2 in 1 product packed into a slim pen tube. The brand claims it’s a replacement for the look of microblading, which I imagine is because of the skinny felt tip on one end of the pen.
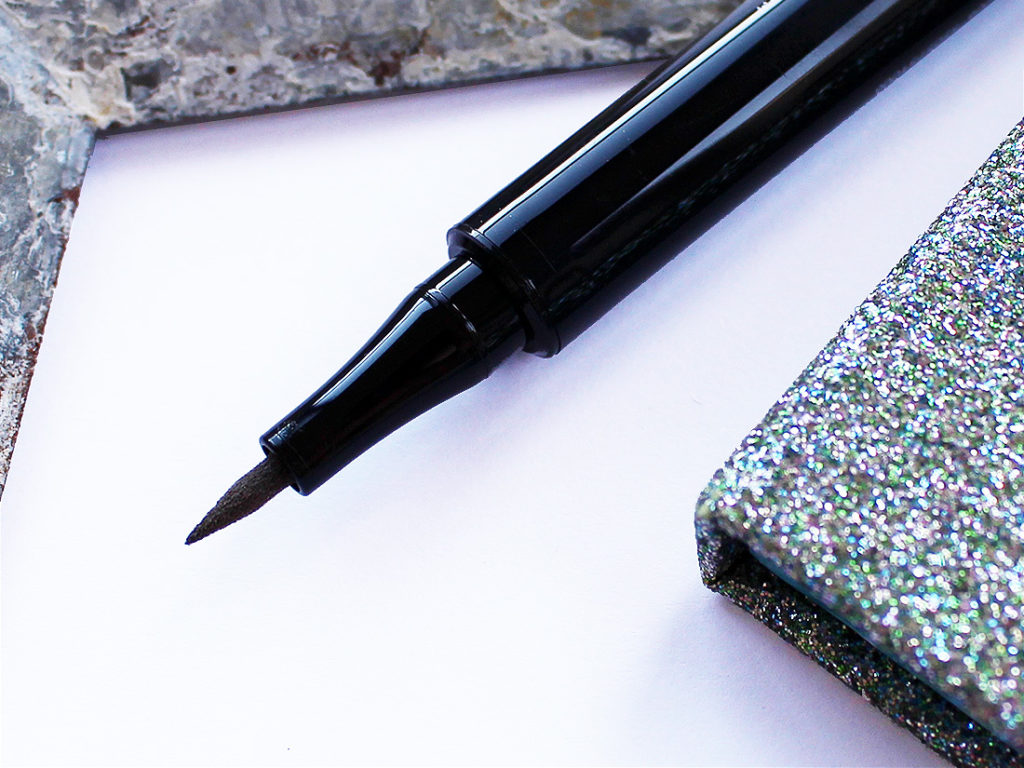
The felt tip end is very flexible and slim – the perfect shape for creating brow strokes I would say since it’s not too thick.
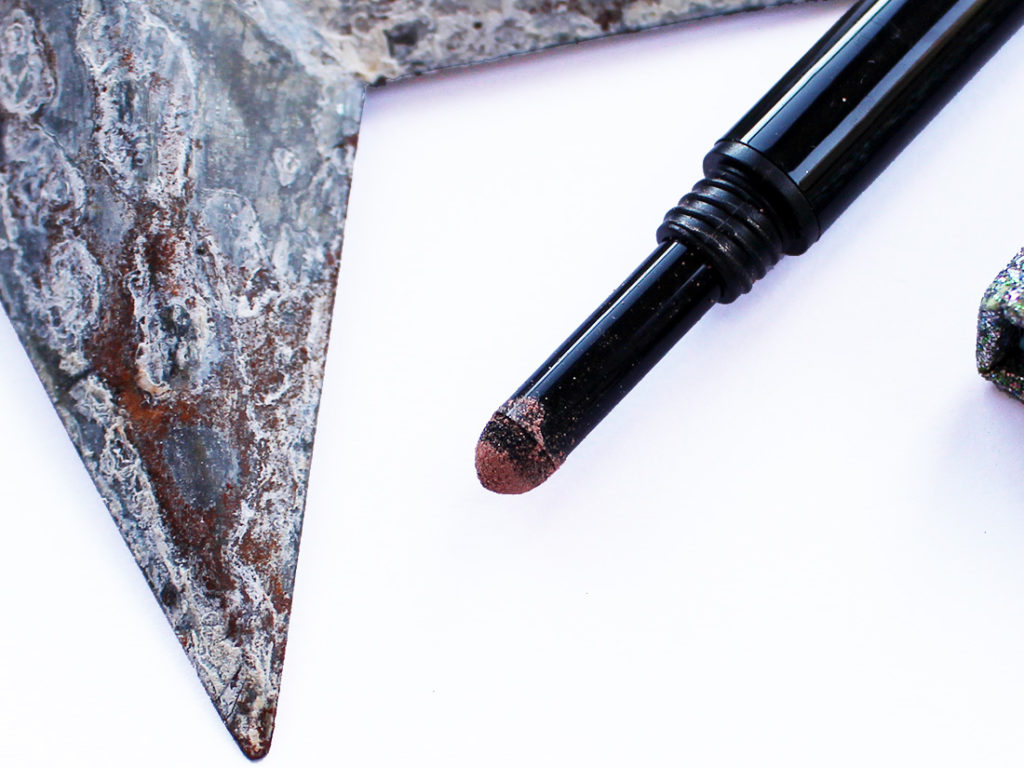
The opposite end of the tube contains a sponge tip applicator that dips into the cap to retrieve powder that you can use to highlight your browbone. I don’t always feel that having one of these built into my brow product is necessary, but it’s a neat to have item regardless.
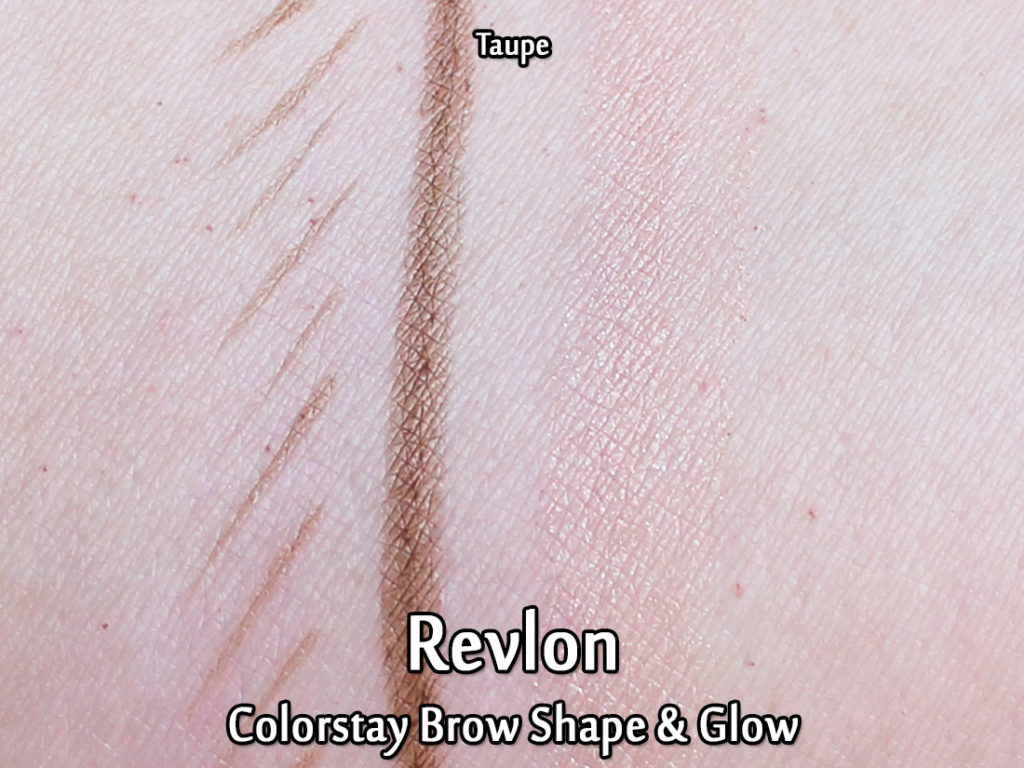
On first stroke of the felt tip side I was astonished – it was so, SO nice! The colour was perfect for my brows and the strokes seemed to be feather-light, but I could vary the intensity based on pressure . I was less interested in the browbone powder, but it was a decent tone to suit my (roughly) NW20 skin.
HOWEVER.
First impression swatches are a dirty, dirty liar and I went on to have three absolute garbage attempts while I tried to apply this product to my brows. I’m sorry there are no pictures of my brows for this, but a) they looked awful and I had to redo them each day and b) the photo would show you basically nothing because that’s what happened with this pen – NOTHING happened. Allow me to describe my miserable experience:
- Day 1 – 7:40 AM before work: I decided not to wear foundation this day, so I was applying the brow product on fairly naked skin/brow hairs. The first two strokes at the front of my brow were great. Fluid and soft looking, easy to use. But when I went in for the third stroke? No more product was coming out of the tip. What the heck! So I shook the pen (nothing jangled inside) and tried to do my brows some more. No dice. Not enough pigment was coming out, and I couldn’t be bothered anymore, so I used my regular pencil for my brows.
- Day 2 – 7:50 AM before work: I’m running a little later today as I had applied foundation, hoping that maybe that would provide a little extra grip to the product around my brows. I had also laid the pencil vertically in a cup this time to ensure that the product sunk down to the tip (it had been laying flat the previous day). Despite these steps… still nothing. I could get a very faint WHISPER of colour to appear on my brows, but it was nothing like what my swatches showed above, and it was certainly not enough to actually look like I had an eyebrow on my face. I gave up, and switched back to my regular brow product.
- Day 3 – 5:00 pm after work: As a last ditch effort I decided I’d try this one more time on my completely naked face just to see if I could get enough of a photo so I could at least put something in this blog post. No such lucky. I shook the pen, mashed the tip against the top of my hand, and STILL product would not reach the end of the felt tip. I could get a little pool going on my hand if I smashed the tip enough so that the base collected pigment, but that was obviously not going to be good enough to create a brow look. What a joke.
So… I’m done with this thing. I thought it was going to be lovely, but it’s just really bad. The product itself seems nice – I love the colour, the tone and the idea behind it all… but that delivery system absolutely does not work on me. I have to chalk it up to the felt tip applicator just not getting enough product out to the end. And after three days of trying this blasted thing… I’m done. It’s not worth picking up at all in my opinion.
The product featured in this post was sent to me for consideration.