Oh boy. Okay so… I don’t contour my face. I never have, simply because I’ve seen a lot of bad contours in my day and I *don’t* want to be the woman on the street with terrible unblended streaks on her face. So when I was sent the Real Techniques Sculpting Brush to try out, needless to say… I was slightly intimidated.
HOWEVER! I spend sooo many hours of my day watching makeup video after makeup video on YouTube that I feel like I’m armed with enough information to give this contouring business a try.
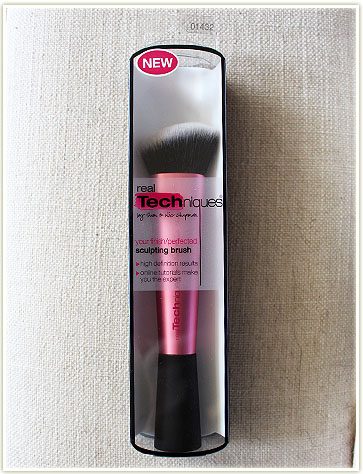
Where do we start? Well, a brush is as good as any. The relatively newly released Sculpting Brush from Real Techniques has the basic shape to get you off on the right foot.
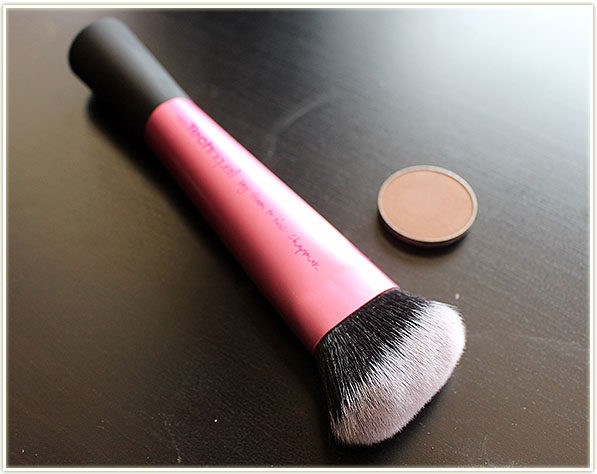
It’s a fat, dense brush, but it’s pinched neatly so it can get into the crevices of your cheekbones. It’s not so stiff that it’ll give you grief while blending, but it’s not so floppy that you can’t get any definition. In my eyes, this makes this brush perfect for newbies like myself.
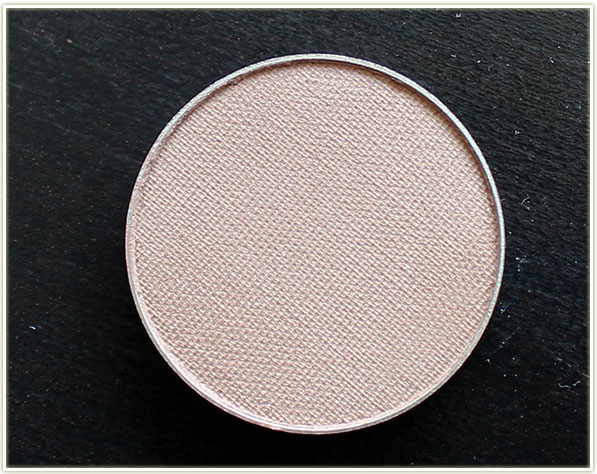
Essentially, the idea behind contouring is to make your face look more gaunt. It helps to slim out our features, pop out our cheekbones and recede anything that we don’t want to draw attention to on our faces. The best way to do this is to use products (powders, creams, etc.) that have a natural grey-cast to them. Ideally, you should be contouring with a product that is darker than your own skin; one that can cause the effect of a natural shadow. Shadows aren’t orange or brown in colour, nor do they sparkle, which is why bronzers are not recommended for contouring. That’s not to say they can’t be used, but orange and glitter definitely don’t scream “shadow”, do they?
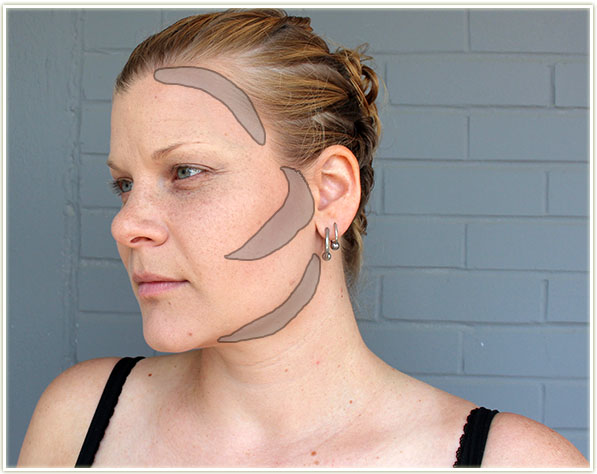
So here’s what I did: I took Makeup Geek‘s Barcelona Beach eyeshadow on my Real Techniques Sculpting Brush and drew a line along the areas I wanted to recede. This included my jaw line, the hollow (not that I have much of one) UNDER my cheekbone and, because I forgot what I was doing, the sides of my forehead (an area I normally bronze. Oops!).
Using the lines as a guide, I then blended upwards and downwards to soften the streak I had created. This is highly necessary, otherwise you end up looking like a badly done up drag queen.

And here’s how it came out. Seeing myself with contouring for the first time is very weird. My first reaction is that I feel like I overdid it, or that it wasn’t blended in enough. As I look at the pictures more over time, I get used to looking at my face like that and it seems less stark than I had originally thought it was.
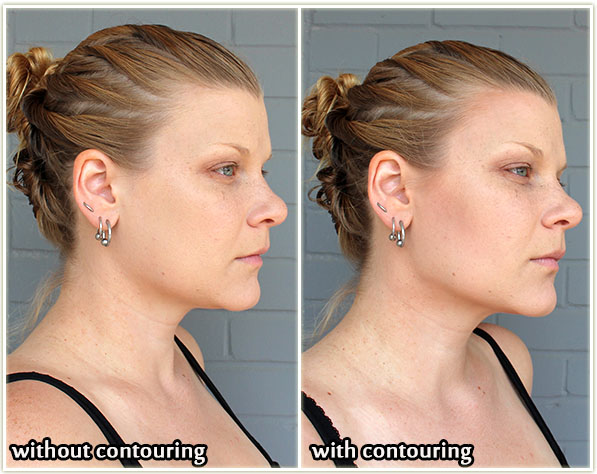
On a side-by-side comparison, I can see how much it chiseled out my jaw bone and created a definite recession underneath my cheekbone. I’m not a huge fan of the forehead business, but I can live with it. Amazingly, I don’t think it makes me look dirty either, which is something I half expected to see.
I don’t see myself contouring my face on a regular basis as I just don’t feel it’s a step that I need (or want to do!) on a daily basis. I can see how much of an impact it can make though! I’m really happy that the Real Techniques Sculpting Brush made this a relatively simple job to do. And I mean that, I don’t think contouring my face took more than 3-5 minutes, which is pretty good for a total rookie.
So how do you guys contour? Or do you not bother with it?